Calibration
Before you start the calibration process, take note of the following:
1.
Make sure to install the cameras in a
fixed position and with a fixed configuration
to the light conditions of
the room. The cameras should not be moved or the configuration should be changed once the calibration
process has started or after completing the calibration.
Any changes
made to the camera's position, pan,
tilt, zoom, and/or light conditions require
re-calibration
of the CD500!
Calibration can be done with one person, but it is recommend to calibrate the software with two persons: one
before the cameras and one behind the computer to configure the settings and to give instructions where to
stand in the room or podium.
Follow instructions below to calibrate a person before the camera:
1.
Click
Start Configuration
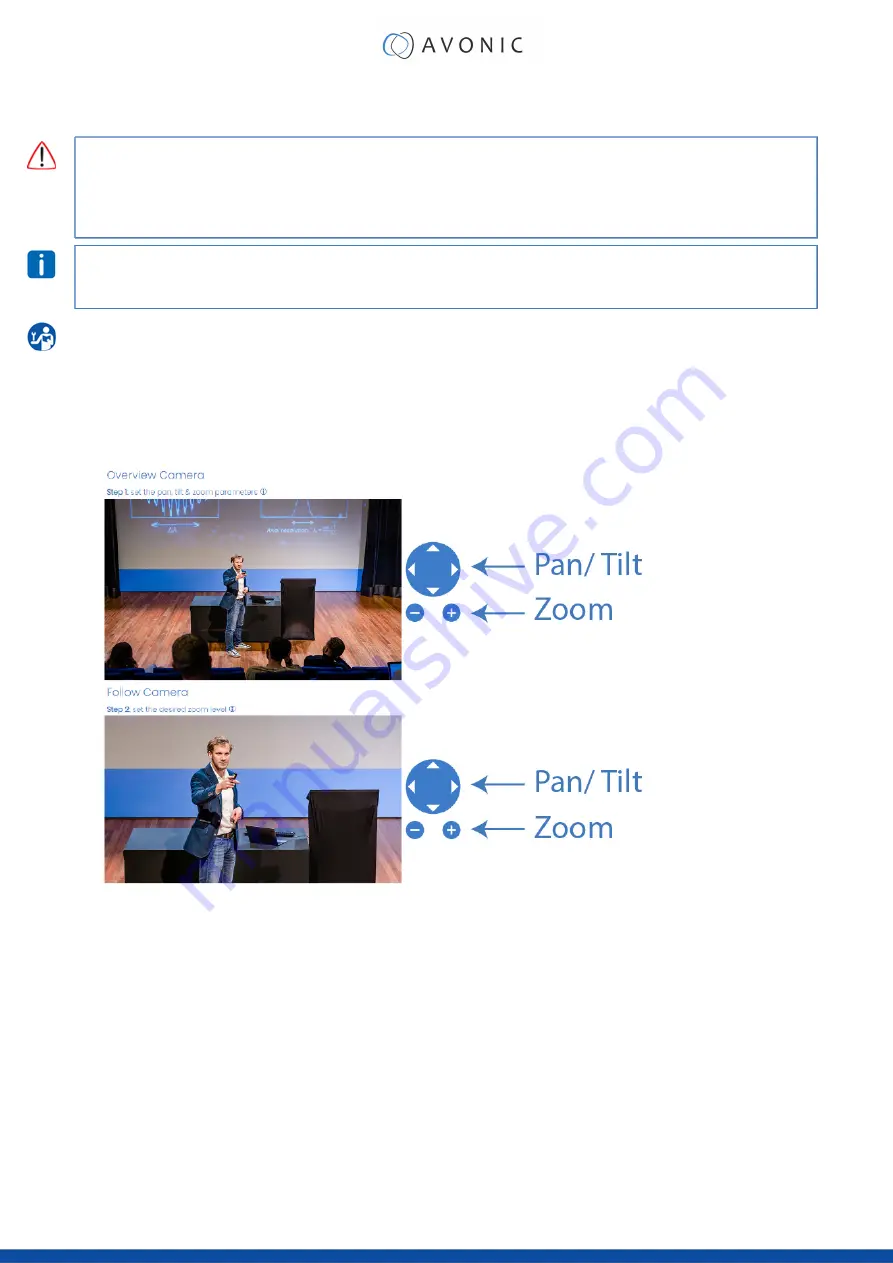
. Configure the Pan, tilt and Zoom levels. Make sure that the person to be
calibrated his or her face and upper body are fully visible in the pictures of both cameras (see
picture below). Make also sure that the person to be calibrated is alone in front of the camera. With
two or more persons (with their face) before the camera the software is not able to find a detection
point and will wait until it has found one.
2.
Click
Start Calibration
. At the bottom of the next page a bar appears that is slowly turning full. The
number of calibration points will increase during calibration.
3.
Choose a position in the room or on the podium. Wait until (both) cameras are ready. The camera
will blink 4 times red when the calibration is in progress. If a calibration point is found, the camera will
blink green.
4.
When both the cameras are blinking green, the person to be calibrated can move to another
position in the room or on the podium. Make sure to use the
full widthness
of the room or podium
and take
at least 5 calibration points in a sitting position
on a chair. Repeat this until all calibration
points (20) are found and completed.
19


