6
specific address, insert a new address as if you were setting a destination, then in the Start navigation
page press Add to contacts. Insert the name for the contact,
and choose an icon. To save your current location, press the
WHERE TO GO hard key, press the Contacts button, and
then press Add contact. In the Add contact page press Here
to save your current GPS position.
1.6 Setting a contact as departure or destination
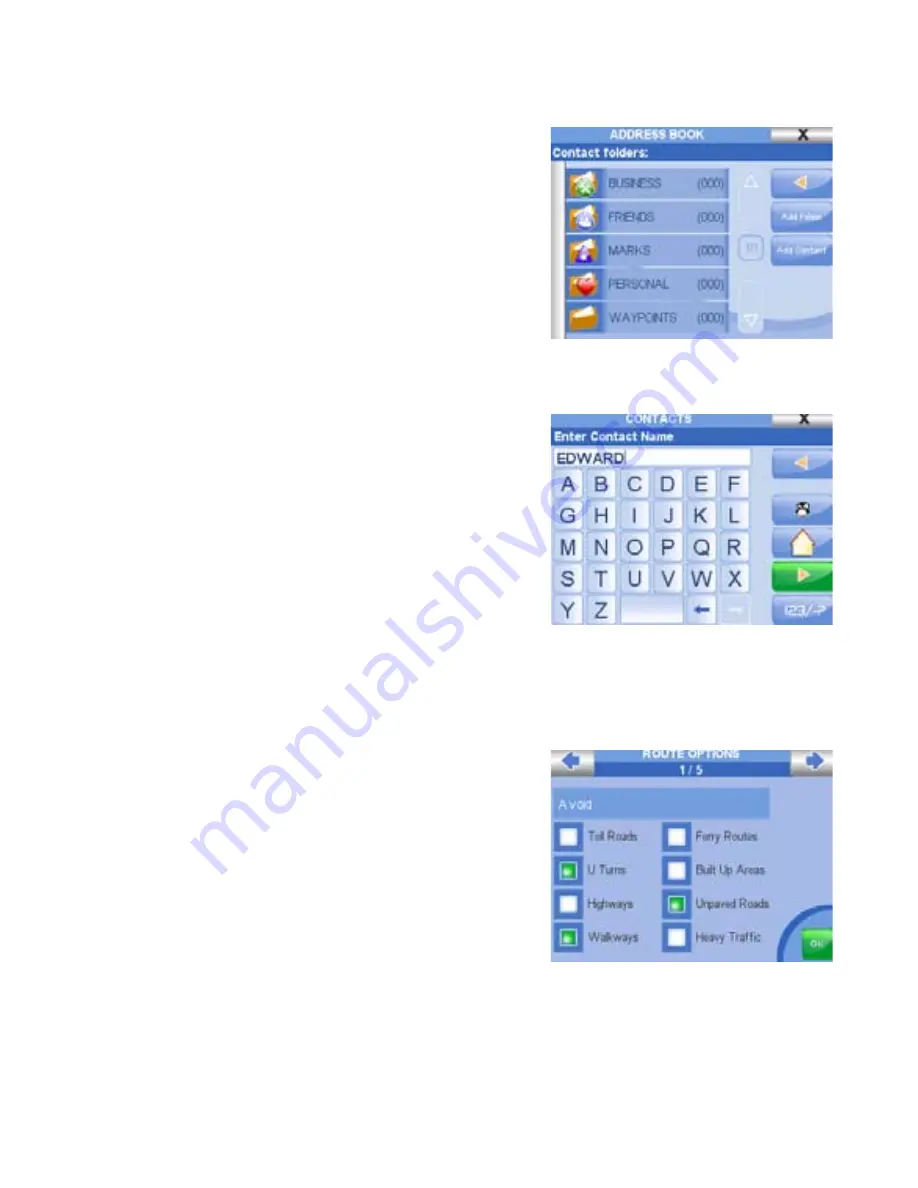
All the contacts are saved in the address book. To open the
address book press the WHERE TO GO hard key, press the
Contacts button, then choose one folder form the left column
to see the list of contacts. Press on one contact to open the
Start Navigation page from which you can edit the contact,
delete it or set it as destination, departure or viapoint. Press
the GO button to start the navigation form your GPS position
to the selected contact’s address.
1.7 Drive me Home!
When saving your personal address as a contact, after
editing the name, choose the House icon to set it as Home.
Then to set your Home as destination you simply have to
press the Drive Me Home hard Key on the Geosat keyboard,
and the navigation will start from your current GPS position
to your Home.
1.8 Setting the route options
Press the Route options hard key to open the route options menu.
Here you can choose to Avoid in your route: Toll roads, U turns, Highways, Walkways, Ferry routes,
unpaved roads, built-up areas.
In the second page of route options it is possible to set
the route preferences: Fastest time (gives priority to major
roads), Shortest distance (gives priority to shortcuts even
if they are secondary streets), Fewer turns (gives priority
to the route with the fewer turns) or Off Road. Press Ok to
go back to the user preferences menu, and then close the
menu by pressing the cross button to go back to the map.
1.9 Setting the data boxes
Press the MAIN MENU hard key to open the Main Menu,
press on the Settings button and then press the Set data
boxes button. Press on one data box and then choose the info you would like to display, if you
choose none, the data box will be hidden. Once all of the Data Boxes are set, press OK to go back


