


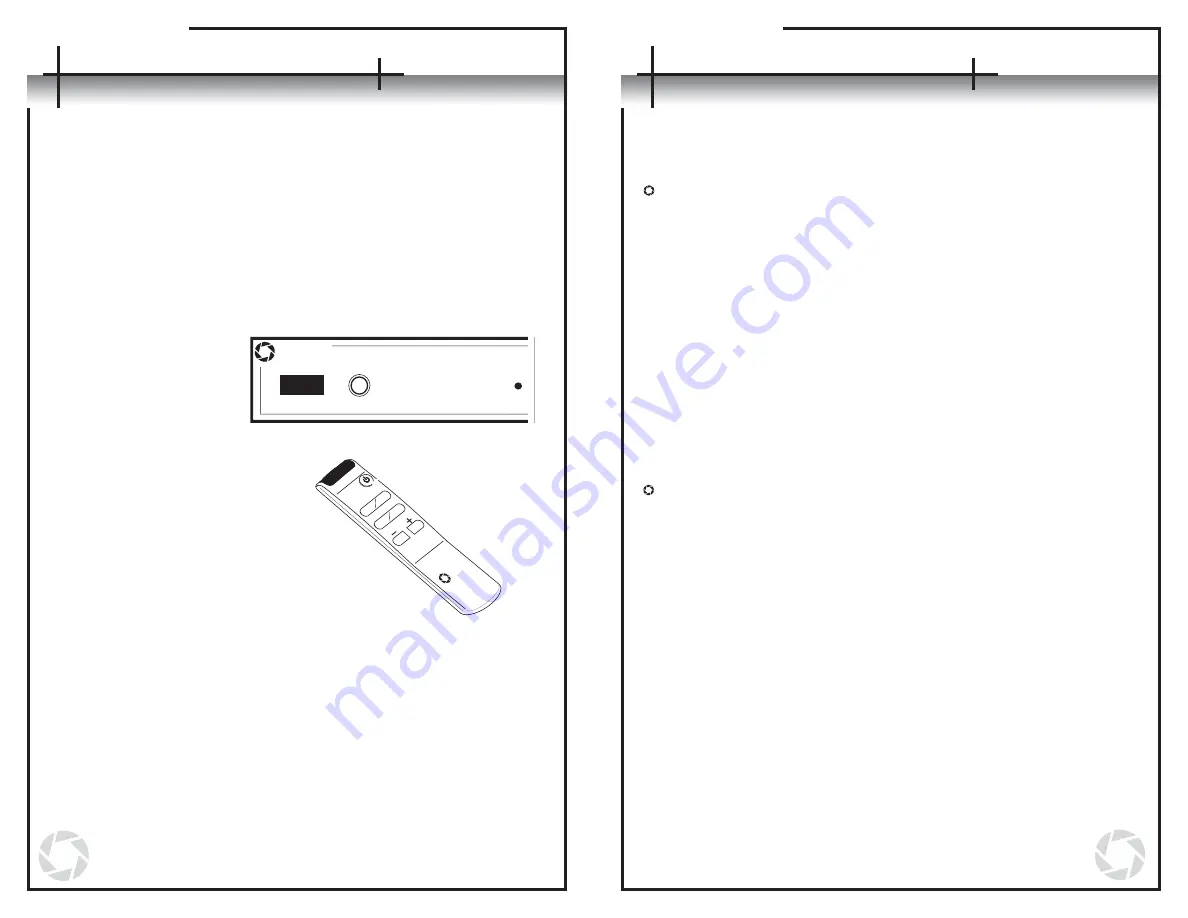
The AVS4.1 comes preprogrammed to recognize command codes from the
supplied AVLinx remote control. An alternate remote can be used in place of the
supplied remote. The original AVLinx remote control can be used to program most
universal remote controls by following the instructions for that product. Universal
and pre-programmed remote users may also choose to teach the AVS4.1 a new
set of pre-programmed codes. A small sample list of compatible manufacturers’
codes is listed in Appendix A on page 17. Please consult your universal remote
documentation on how to set pre-programmed codes. When an alternate remote is
configured with a suitable pre-programmed code set, the AVLinx remote functions
can be assigned to the alternate remote by performing the following steps:
Programming Input Selector Keys
1.Turn the unit on.
2.Make sure there are no
other infrared remote
control signals
interfering with the
unit during the
programming process.
3.Press and hold the
input selector button
on the front panel for
5-10 seconds. Continue
holding the button until
all steps are completed.
4.
A
im the supplied AVLinx
remote directly at the
IR sensor window
and press the key
you are reassigning.
5. If the unit recognizes
that command, the active
input’s green LED
will turn off briefly
then come back on.
6. Aim the new remote that
is to be used for programming
directly at the IR sensor window and
press the key that will be performing the
desired function.
7. If the unit recognizes the command on the new remote, the active
input’s green LED will blink twice to confirm that the unit has set the new
key code.
8. Repeat Steps 1-7 for the remaining direct input selector keys.
Programming a Power Key
A power key can be programmed to perform one of three different tasks: turn the
unit on or off in a toggle progression, only turn the unit on, or only turn the unit off.
Power On / Off
1. Turn on the unit.
2.
Make sure there are no other infrared remote control signals
interfering with the unit during the programming process.
3. Press and hold the input selector button on the front panel for 5-10
seconds. Continue holding the button until all the steps are
completed.
4.
Aim the supplied AVLinx remote directly at the IR sensor window and
press the power key. The active input’s green LED will turn off briefly
then come back on to recognize that the unit has begun the
sequence to reassign a power key.
5.
After the LED comes back on, press the power key on the AVLinx
remote again. This tells the unit that the user is reassigning the
power toggle feature.
6.
Aim the new remote at the IR sensor window and press the key that
will now be controlling the power toggle feature of the unit.
7.
If the unit recognizes the new command on the new remote, the
active input’s green LED will blink twice to confirm that the unit has
set the new key code.
Power On Only
1.
Turn on the unit.
2.
Make sure there are no other infrared remote control signals
interfering with the unit during the programming process.
3. Press and hold the input selector button on the front panel for 5-10
seconds. Continue holding the button until all the steps are
completed.
4.
Aim the supplied AVLinx remote directly at the IR sensor window and
press the power key. The active input’s green LED will turn off briefly
then come back on to recognize that the unit has begun the
sequence to reassign a power key.
5.
After the LED comes back on, press the + key on the AVLinx remote.
This tells the unit that the user is reassigning the power on feature.
6.
Aim the new remote at the IR sensor window and press the key that
will now be controlling the power on feature of the unit.
7.
If the unit recognizes the new command on the new remote, the
active input’s green LED will turn off for a second and then blink
twice to confirm that the unit has set the new key code.
10
11
Using an Alternate Remote
Using an Alternate Remote
AV
Linx
1
3
4
2
AVLinx
Inputs
1


