User’s Manual
3-7
View Scanned JPEG images Individually
.
Wi
splayed, press
1
th the screen di
to enter the Display mode.
.
The slideshow automatically begins and displays the images in the alphanumeric order
2
they are stored on the SD card.
3.
Press
/ to view previous or next image.
4.
Press to exit the Display mode and return to the Scan Ready screen.
the Scanned Images (Windows)
and connect it to a card reader, or connect the scanner to your computer via the
supplied USB cable (be sure to turn on your scanner).
3.7
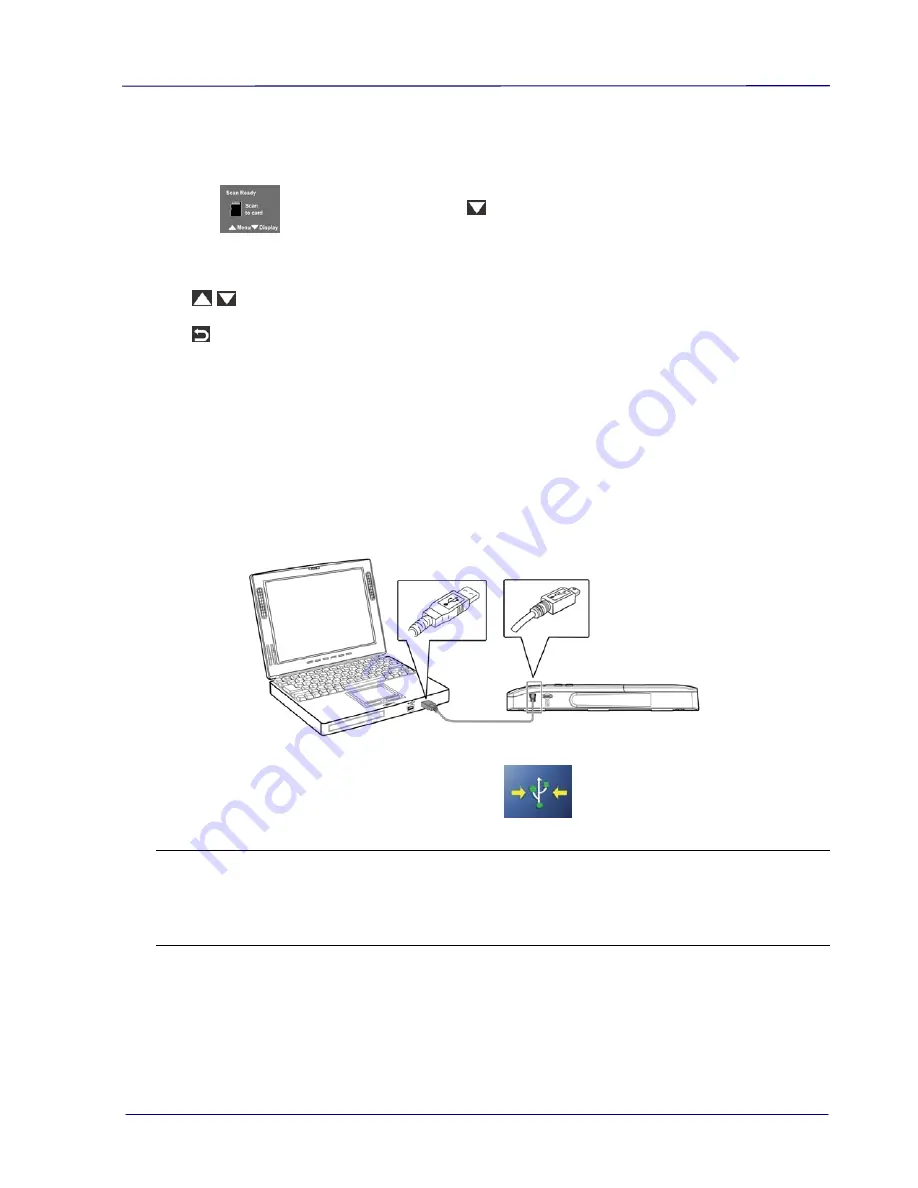
View or Download
1.
To view or download your scanned images, you can either remove the micro SD card
* When the scanner and your computer is connected successfully, all tasks are
interrupted and the USB connection screen is display.
Warning:
It is recommended to download the scanned images by removing the memory card
from the scanner and then inserting the memory card to your computer instead of
connecting the scanner directly to your computer with the USB cable since this may
require a lot of battery power.
2.
Your computer should recognize the card or the scanner as a Removable Disk.
nd all the PDF
files will be stored in the subfolder of “200DOC” and the JPEG files in the subfolder of
001.pdf or IMG_0001.jpg.
3.
Click the Removable Disk and you will find a folder of “DCIM” is created a
“100PHOTO”. File name starts from IMG_0