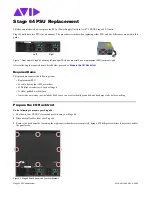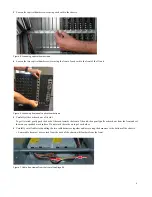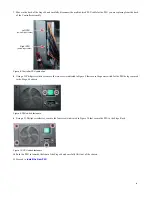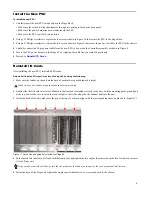
6
6
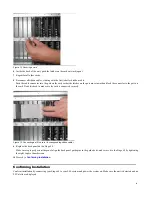
Inside the back of the unit, push the latches on the card outward (open).
7
Repeat for all other cards.
8
Reconnect all ribbon cables, starting with the first (shortest) ribbon cable.
Push the cable connector into the port on the card so that the latches on the port move inward and lock the connector to the port on
the card. Double-check to make sure the card is connected securely.
9
Replace the back panel on the Stage 64.
Make sure to properly orient the panel, align the back panel guide pins to the guide holes, and secure it to the Stage 64 by tightening
the eight captive thumbscrews.
10
Proceed to
Confirming Installation
Confirm installation by connecting your Stage 64 to your S6L system and power the system on. Make sure the unit is detected and no
PSU alerts are displayed.
Figure 12. Securing a card
Figure 13. Connecting an I/O card to its corresponding ribbon cable i

