Chapter 5: Using Recording Studio
17
9
Switch the track to record mode by clicking its
Record Enable button.
10
Continue singing or playing, and if the level
meter for the track is in the red, lower the re-
cording level using the appropriate Gain knob.
11
Using the on-screen transport controls, Re-
cord Arm Pro Tools SE by clicking the Record
button.
12
Begin recording your performance by click-
ing the Play button.
13
Click the Stop button when you have fin-
ished recording.
14
Switch the track out of record mode by click-
ing its Record Enable button.
15
Click the Mute button for the track, so that
you can hear your recording during playback.
Adjusting the Output Level
The volume of the sound sent from Fast Track to
your headphones, powered monitors, stereo
power amplifier, or mixer is adjusted using the
Output knob.
It is important to remember that connecting
your headphones will disable the Line Outputs.
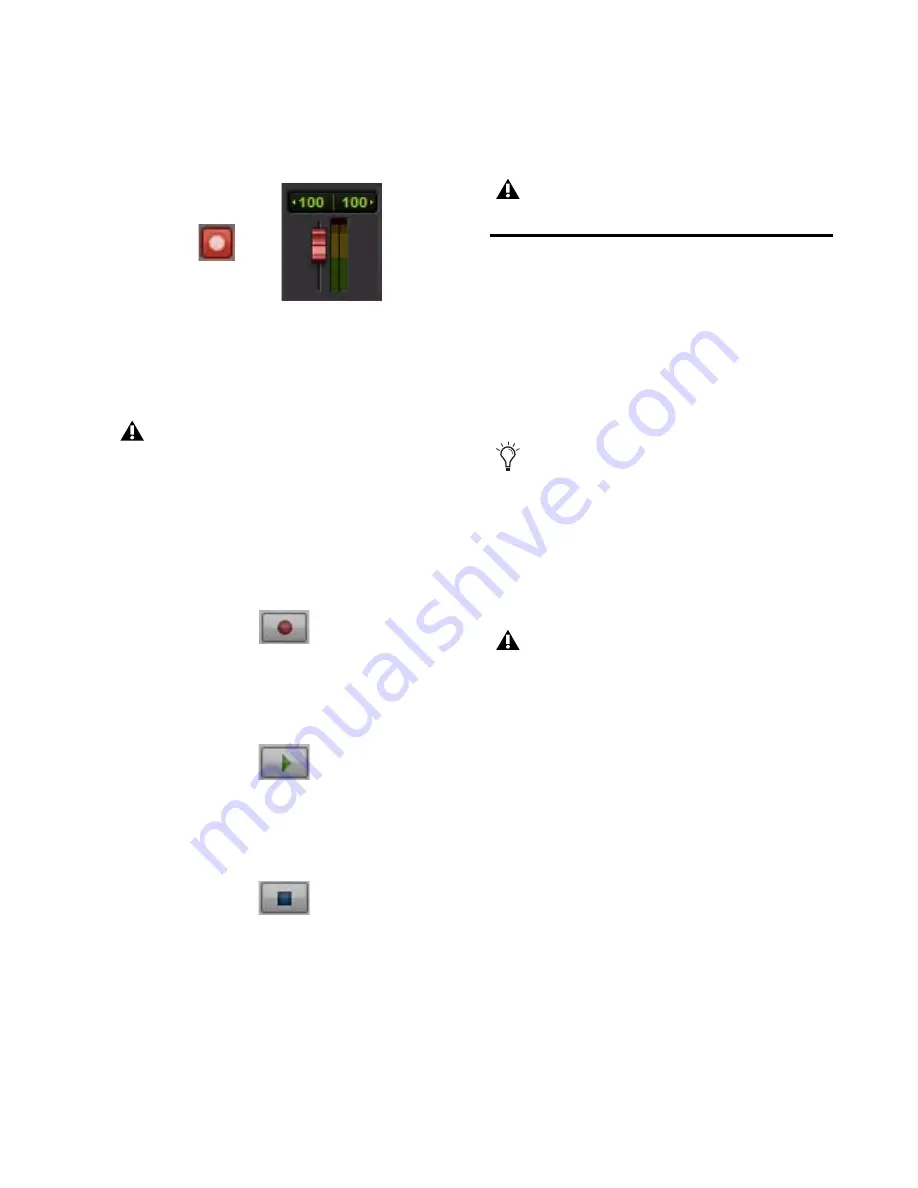
Track Record Enable Button and Fader in Record Mode
Raising or lowering the on-screen Track
fader will not affect the input level, as it is
set up to only control the playback volume
for the track.
Record Button
Play Button
Stop Button
Do not forget to save your work.
When recording with a microphone while
monitoring with speakers, you should turn
the Output Gain all the way down in the
Software Control Panel. This prevents the
microphone from picking up the output from
Pro Tools SE if the microphone is in the
same room as your speakers.
Placing a microphone too close to your
speakers with the Output Gain set to high
levels will result in feedback which could se-
riously damage your hearing and/or equip-
ment.


