Installation
1. Position the fume extractor as near as possible to the TrafficJet printer allowing for easy access to
the control panel, filter replacement, exhaust, electrical, and hose connections. Once in place,
lock all casters.
2. Connect the extraction hose to the intake of the fume extractor and the other end of the hose to
the supplied Maintenance Cover. Make sure all connections are properly sealed.
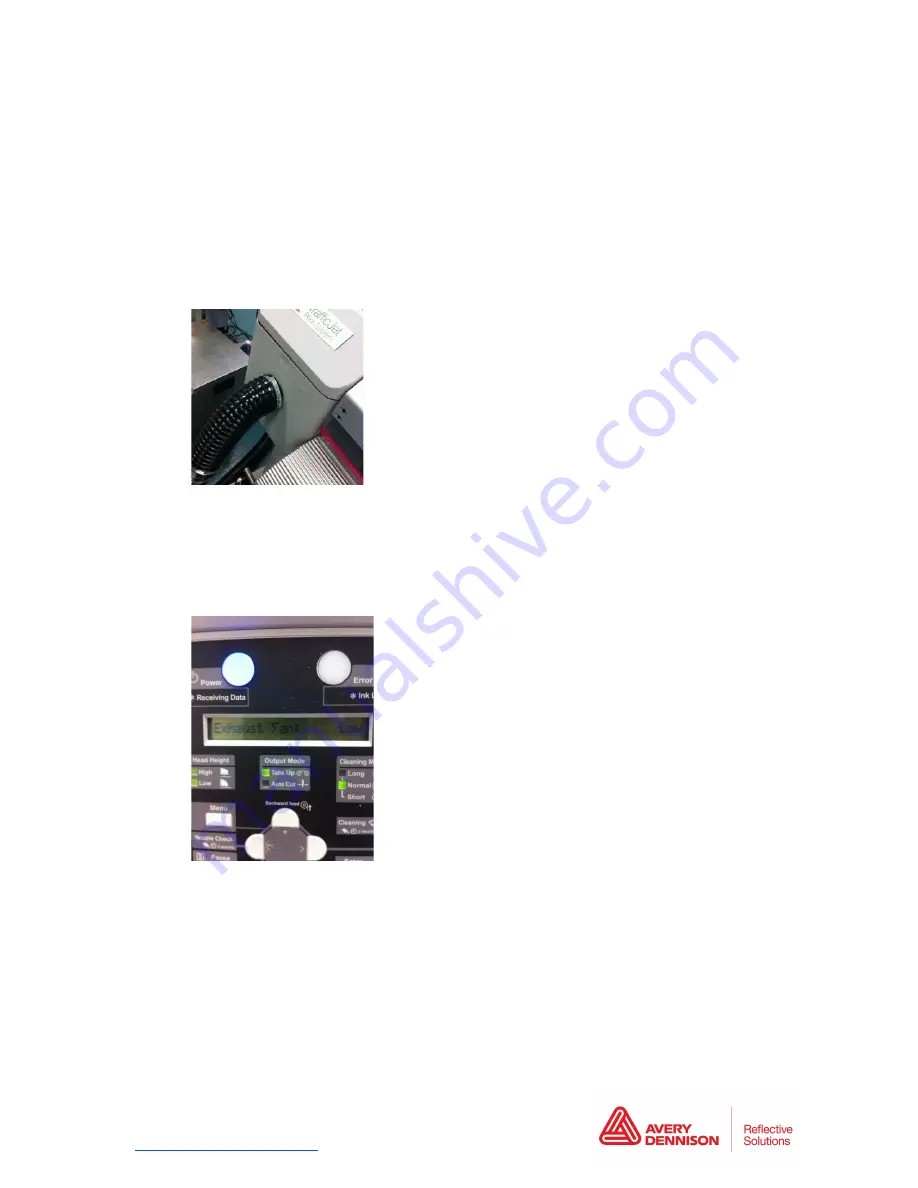
3. Remove the Left Maintenance Cover of the TrafficJet and replace it with the New Maintenance
Cover connected to the fume extractor.
4. Connect the power supply cable to the fume extractor and plug in the extractor to a dedicated
power source.
5. While the TrafficJet printer is not printing or cleaning, go to the user panel and select “Menu”.
Scroll through until you reach “18 Exhaust Fan” and select “OFF”.
Turn off the Printer’s exhaust fan while the fume extraction system is running in order to achieve maximum
efficiency.
Instructional Bulletin #1.00
TrafficJet™ Purex Fume Extractor
Page 2 of 6


