


33023AA
35
Motion detection is based on Stream 1, and by default, all regions are
disabled. Up to three detection regions can be enabled, each with their
own location, size, and sensitivity.
To enable and configure motion detection:
1. In the Motion Detection tab, click
Setup.
2. Check the
Enabled
check box to enable the desired Detection
Regions.
3. Drag the
detection square
to the desired region in the camera
view.
4. Drag the
lower right corner
of the detection square to change
the size if needed.
5. Using the drop-down menu, se the
sensitivity
of the detection
square. The lower the sensitivity, the more movement is
permitted before triggering an event.
Trigger threshold is an effective tool for quantifying how much
movement and what speed of movement that will trigger an event. This
is necessary in outdoor situations where insects or small animals may
cause a motion detection trigger.
Thresholds are based on pixel percentages. The default trigger
threshold is 10% of pixels moving. Ideally, the trigger threshold is small
enough to effectively sense human and vehicle motion, but ignores any
smaller motion.
Low threshold: 0-5%, will detect and trigger even minute movement.
High threshold 5-100%, will detect and trigger only larger movement.
There are two profiles available for motion detection
: Runtime MD
Profile
and
Event MD Profile
. These are independent groups that can
have three separate regions per group. Having two separate profiles is
most commonly used when motion detection needs are different
between day and night.
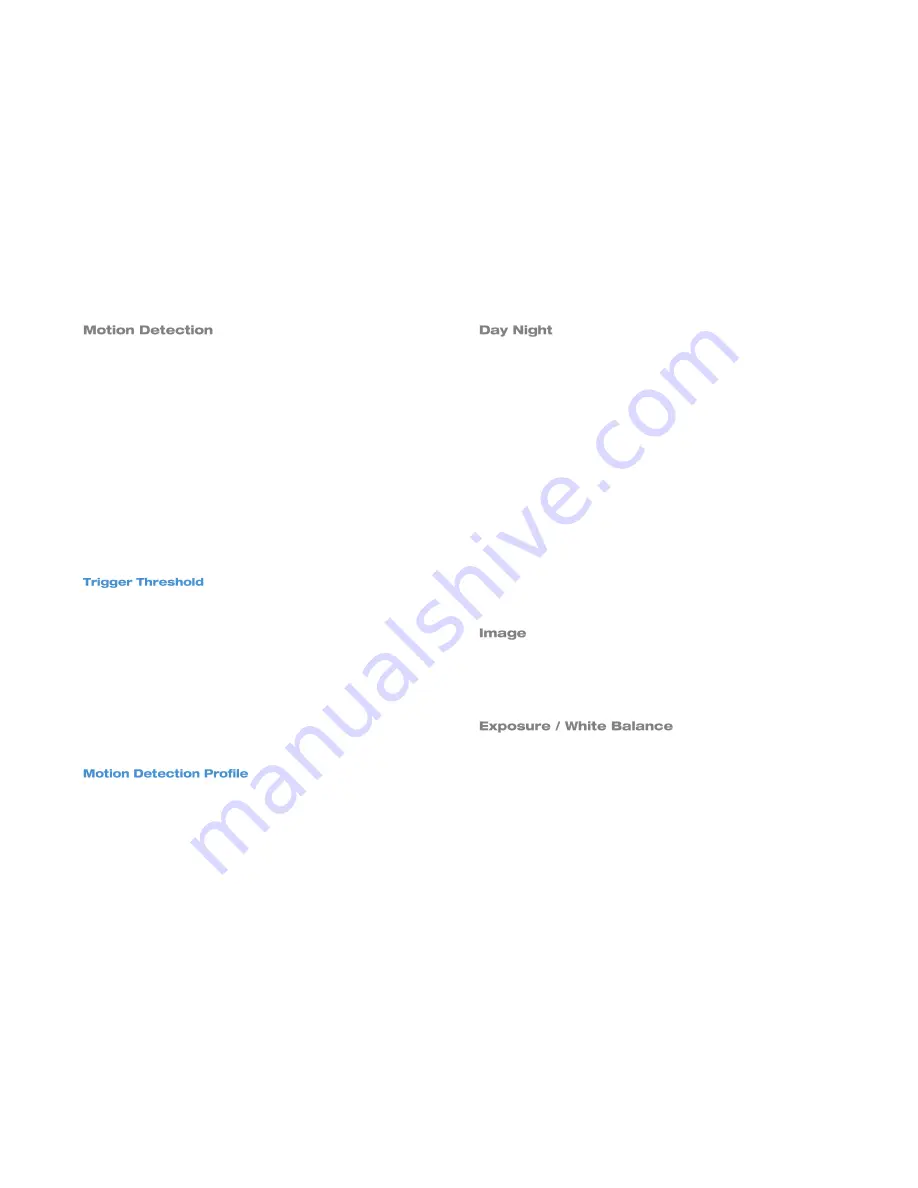
This section allows for the configuration of day/night settings. The
AvertX HD510 has three Day/Night Modes:
Auto:
the camera wil automatically switch between day mode (color)
and night mode (black and white) under certain exposure levels. This
level is defined by the user in the Switch from Day mode to Night mode
drop-down menu.
Day:
the camera stays in day (color) mode regardless of the exposure
level.
Night:
the camera stays in night (black and white) mode regardless of
the exposure level.
To configure Auto Day/Night mode:
1. Select
Auto
in the Day/Night mode drop-down menu.
2. Use the
Switch from Day mode to Night mode
drop-down
menu to select an exposure value that will switch the camera
from one mode to another.
--OR—
Use the sliding scale to set the exposure value.
This section allows for the configuration of certain parameters of a video
frame. The default settings in this section are well suited to most
environments and it is recommended that the default remain
unchanged.
This section allows you configure exposure settings, such as shutter,
iris, and gain control, and white balance settings. The default settings in
this section are well suited to most environments and it is recommended
that the default remain unchanged.


