


17
OSD MENU
Description
OVERWRITE ENABLED :
Enable/disable replacing the earliest record when the
hard disk space runs out. By default, the HDD overwrite
setting is enabled.
HD1 FORMAT / HD2 FORMAT :
For security purpose, you may have to enter the
password to format hard disk.
To format hard disk:
1. Use the
and
or
and
buttons to go up and down and select
HD1
FORMAT
. Then press
or
.
2. In the CHECK PASSWORD screen, press
or
. Then use the
and
or
and
buttons to select the security
combination number. Press
or
button
again to make the selection. Repeat till you key in
the last number.
To move the selection to the left and right, use
and
or
and
buttons.
CHECK PASSWORD
ENTER PASSWORD
3. After entering the last number, if the PASSWORD
CORRECT appears, you are now authorized to
format the hard disk.
YES
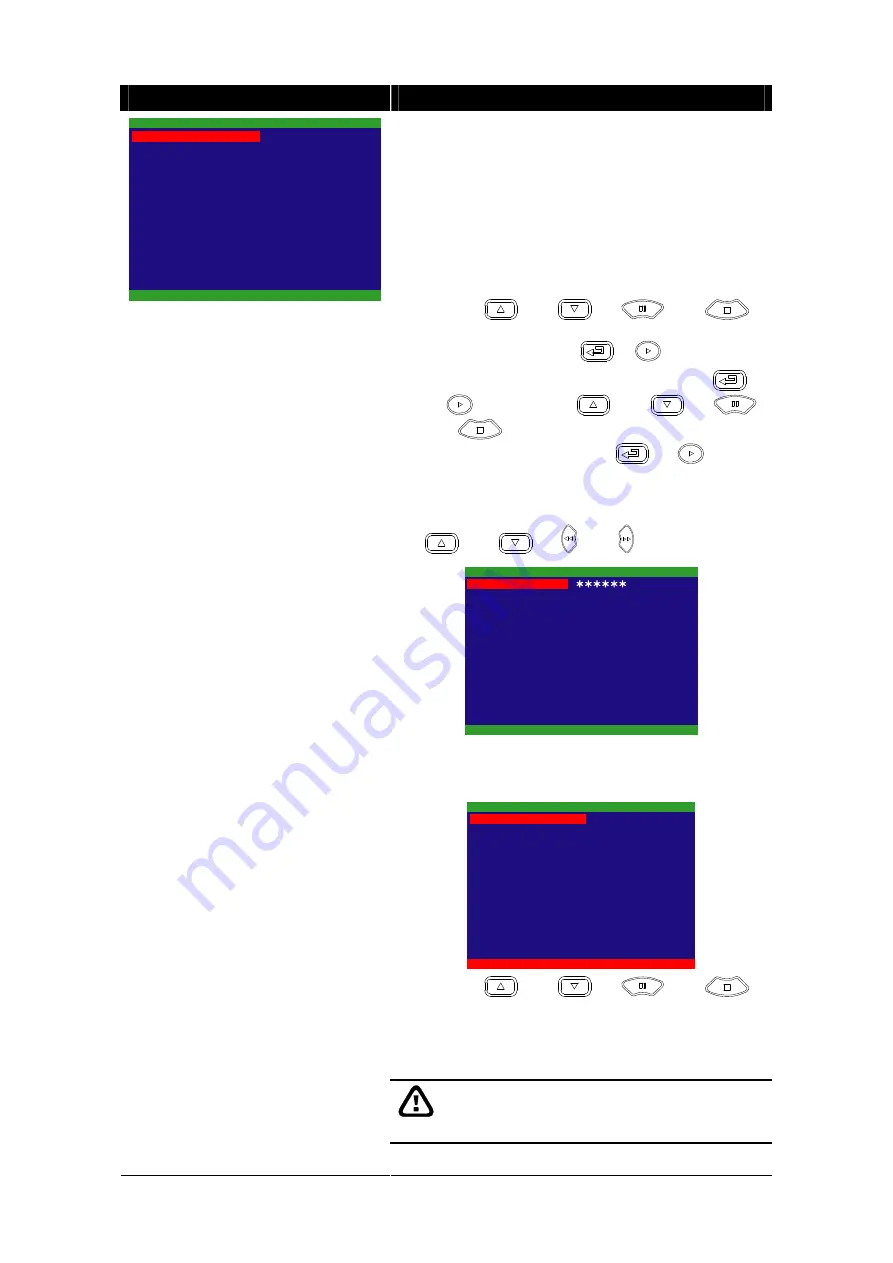
HARD DRIVE SETUP
OVERWRITE ENABLED
PASSWORD CORRECT
HD1 SIZE 37 GB 78MB
HD1 USED 0 GB 232MB 0%
HD1 FORMAT
HD2 SIZE 0 GB 0MB
HD2 USED 0 GB 232MB 0%
HD2 FORMAT
4. Use the
and
or
and
buttons and select the hard disk you want to
format.
5. It is done when the “
HDD FORMAT COMPLETED
”
appears.
Formatting the hard disk will permanently
delete all the records. The records can no
longer be retrieved.
YES
HARD DRIVE SETUP
OVERWRITE ENABLED
HD1 SIZE 37 GB 78MB
HD1 USED 0 GB 232MB 0%
HD1 FORMAT
HD2 SIZE 0 GB 0MB
HD2 USED 0 GB 232MB 0%
HD2 FORMAT
* HD1//HD2 SIZE shows the total
capacity of the hard disk.
* HD1/HD2 USED shows the amount
of space that has been used.


