


English
䓇慚ᒳⰍ
ㅔԧЁ᭛
ᣣᧄ⺆
ѓѥќ
ѥѳъѕ
P
P
a
a
c
c
k
k
a
a
g
g
e
e
C
C
o
o
n
n
t
t
e
e
n
n
t
t
s
s
AVerMedia
®
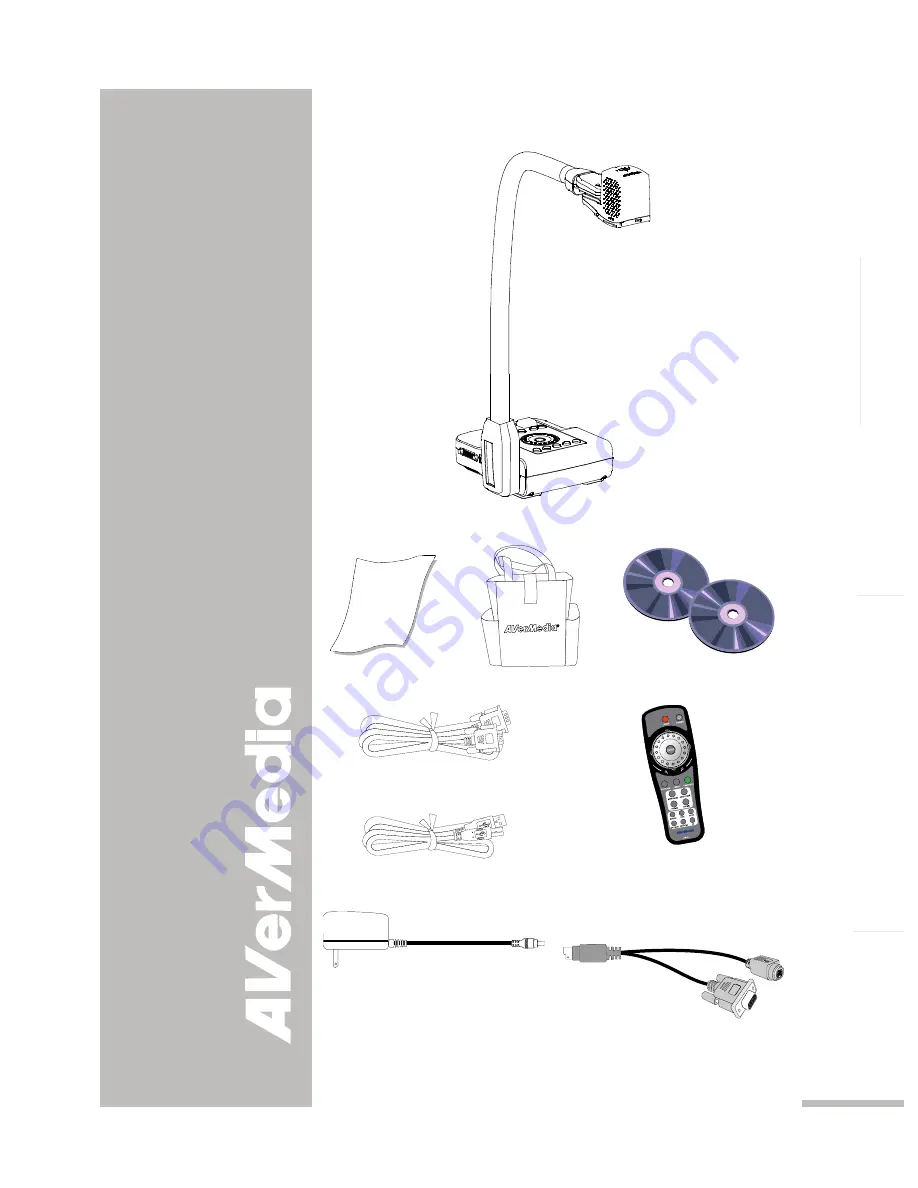
AVerVision CP355
Anti-glare Sheet
Bag
Software & Manual CD
RGB Cable
USB Cable
Remote Control
(batteries included)
I
I
n
n
t
t
r
r
o
o
d
d
u
u
c
c
t
t
i
i
o
o
n
n
Thank you for purchasing
the AVerMedia®
AVerVision CP355.
AVerVision CP355 is
integrated with 5X optical
zoom and wide angle
technology to increase the
area of visibility. You can
use this to display
documents, negatives,
transparencies, and 3D
objects onto a TV, LCD or
DLP projector making
presentations a snap.
AVerVision CP355 is an
ideal presentation tool for
business, academic,
medical and the scientific
community.
Power Adapter
* The power adapter will vary
depending on the standard
power outlet of the country
where it is sold.
S-Video/RS-232 Cable
1


