17
English
Esp
a
ñol
Português
OSD Menu
Description
MENU
EFFECT
REVERSE/MIRROR
PRESENTER
TIMER
CAPTURE
SETTINGS
RECALL
DEFAULT
AVERBOX OFF
AVERVISOR OFF
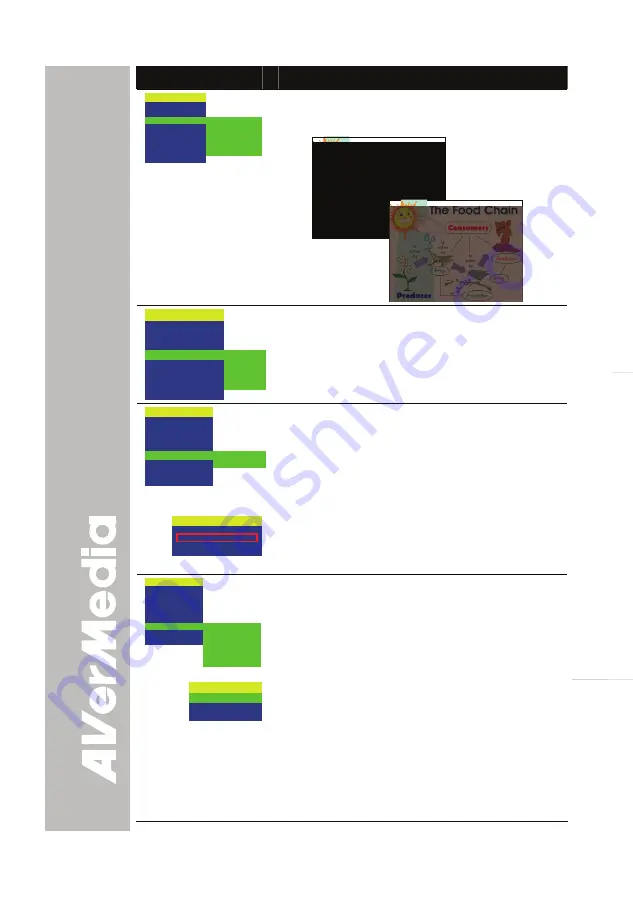
SHADE
COLOR
RESIZE
part of the covered area, press the shuttle wheel
▲
,
▼
,
◄
, &
►
. Select
SHADE
to change the darkness
of the shaded area between 50% or 100%.
MENU
EFFECT
REVERSE/MIRROR
PRESENTER
TIMER
CAPTURE
SETTINGS
RECALL
DEFAULT
START
PAUSE
STOP
SET TIME
TIMER
Press
►
and use
▲
or
▼
buttons to select
SET TIME
to set the time value,
START
to begin the countdown
timer,
PAUSE
/
RESUME
to temporarily halt or
continue, and
STOP
to end.
MENU
EFFECT
REVERSE/MIRROR
PRESENTER
TIMER
CAPTURE
SETTINGS
RECALL
DEFAULT
SINGLE
CONTINUOUS
CAPTURE
Press
►
and use
▲
or
▼
buttons to select
SINGLE
or
CONTINUOUS
capture mode.
Setting
SINGLE
saves one still image only and
CONTINUOUS
saves successive still images until the
built-in memory is full or when the
CAP/DEL
button is
being press again to stop.
INTERVAL
5 SECS
In Continuous mode, use
►
or
◄
buttons to increase
or decrease the capture time interval between frames
and then press
ENTER
to save the setting and exit.
The time interval can be set from 5 to 600 sec.
MENU
EFFECT
REVERSE/MIRROR
PRESENTER
TIMER
CAPTURE
SETTINGS
RECALL
DEFAULT
MODE
IMAGE
LANGUAGE
FORMAT MEMORY
USB CONNECTION
SAVE
SETTINGS
Press
►
, then use
▲
or
▼
buttons to select the items
in
SETTINGS
list and press
►
/
ENTER
.
MODE
TEXT
GRAPHICS
HIGH FRAME
SETTINGS > MODE
Use
▲
or
▼
buttons to select between Text, Graphics
and High Frame enhancement mode and then
ENTER
to make a selection.
•
Text - corrects the intensity of the adjacent pixel
making it more uniform producing sharper and
clearer images.
•
Graphics - adjusts the gradient of the adjacent
pixel making it appears to have a smooth image.


