Page
14
of
33
AC-MAX-24 USER MANUAL
Locating the IP Address
The default IP setting is DHCP mode, an IP address will be automatically assigned to the unit by the DHCP
server. Use a PC on the same network to locate the unit’s IP address, then enter it into a web browser (such
as Chrome or Edge) to access the unit’s Web UI. Once connected, you can use the Web UI to assign the unit
a static IP address. If there is no DHCP server on the network, the unit’s IP address can also be located by
connecting to the RS-232 port on the back of the unit and sending serial commands using the API. For
more information, see the
Accessing the Web UI
The AC-MAX-24 features the built-in AVPro Edge User Interface (AEUI) that can be accessed through a web
browser for configuration and control. For initial setup, it is recommended to connect the AC-MAX-24 to a
local area network (LAN) with a computer on the same network to access the built-in Web UI and check for
any firmware updates to the unit.
OTA Cloud Services
Firmware updates to the unit can be performed OTA (Over-the-Air) by enabling the
Cloud Services
setting on the Web UI. This allows the unit to search the Cloud for the latest versions of firmware. If a
newer version of firmware is detected, a dialog box will prompt the new update is available from the
Web UI.
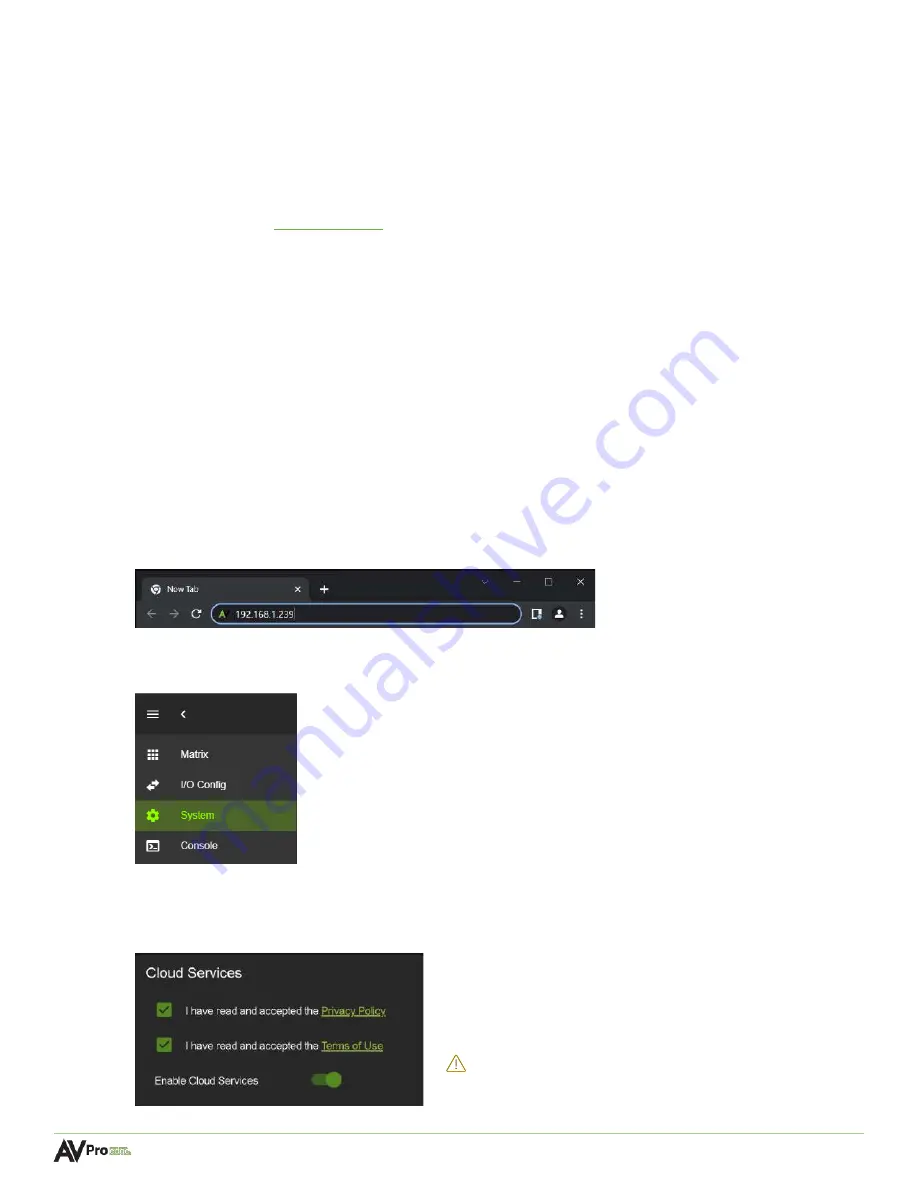
1
Enter in the unit’s IP address into a Chrome or Edge web browser to access the unit’s Web UI.
2
Navigate to the
System
tab page.
3
In the
Cloud Services
section, review the
Privacy Policy
and
Terms of Use
, then check both boxes and
select the
Enable Cloud Services
toggle setting.
IMPORTANT:
This is a required step in order for the
unit to perform OTA firmware updates.


