Autodesk Design Institute 7 Installation Guide
Detailed Procedures for Multi-Seat Stand-Alone Installation
Following are detailed steps for setting up a multi-seat stand-alone installation. Follow all of
the general steps in the order they are mentioned on the previous page, and refer to the
following procedures when you need specific details about performing a step.
Create a Network Share (for Products Using the Deployment Wizard)
A network share is an installation folder that you make available to users’ computers on a
network. Create a network share that will be used by the Deployment wizard during the
creation of a client deployment. The network share is the location where you point users to
install the program.
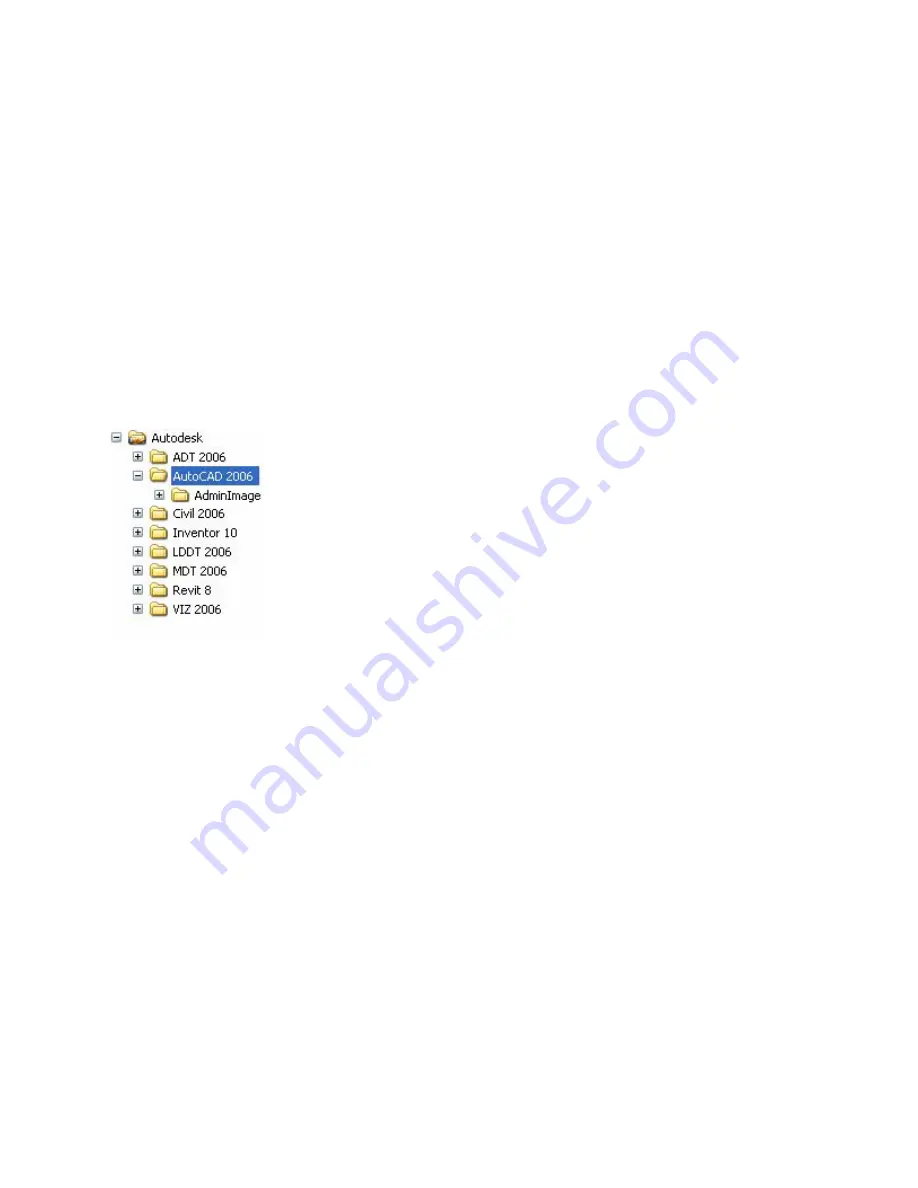
It is recommended that you name the network share folder Autodesk. Make sure that the
new subfolder located under the shared Autodesk folder clearly conveys the product name.
(For example, the Autodesk Architectural Desktop subfolder could be named Autodesk/ADT
2006.) See the following example:
Note: To create a network share, you must have Change and Read permissions. Users
must have Read permissions to access the network share and administrative permissions on
the workstation where the program is installed.
To create a network share
1.
Create a folder named Autodesk.
2.
Right-click the Autodesk folder and click Sharing and Security (or Sharing).
3.
In the folder Properties dialog box, in the Sharing tab, select Share This Folder.
4.
Adjust any settings or permissions as necessary, and then click OK.
Use the Deployment Wizard
It is strongly recommended that you use the Deployment wizard to deploy and activate
products. If a product does not support network deployment, use the stand-alone
installation option detailed in “Manual Installation of Products on a Workstation” on page 29.
Note: Autodesk Revit Building 8 provides a method of deploying the product that does not
include a Deployment wizard. To deploy Autodesk Revit Building 8, see “Autodesk Revit
Building 8 Deployment” on page 27.
The Deployment wizard installer installs the files necessary to run the Deployment wizard in
the location that you specify. Install a single Deployment wizard and use it for all products
that offer the Deployment wizard.
16


