


-9-
5. Unit Operation
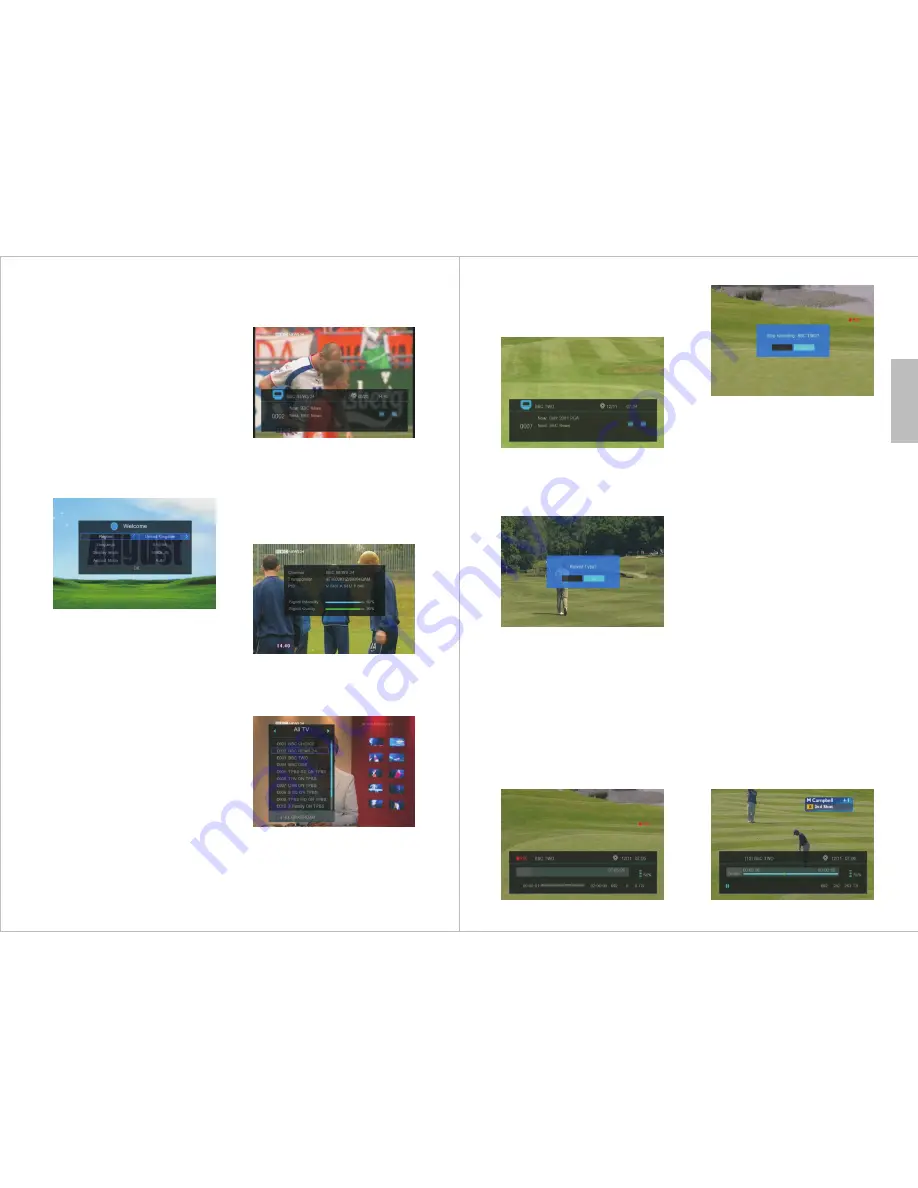
5.1 Initial Installation
After you first switch-on your device, a
Welcome screen is displayed that allows
you to set your preferences and search for
channels. Select the values for Region,
Language, Display Mode and Aspect Mode
as required. Note that the Display Mode
requires <OK> to be pressed to show a list.
Once complete, highlight “OK” and press
<OK> on the remote control to begin the
Auto Scan or press <EXIT> to enter the
main menu.
At the end of the search, confirm the
search end by pressing <OK> and you
can start watching channels which
have been found. Press <TV/RADIO>
to switch between TV and Radio
channels. If no channels are found,
the main menu will open. You can try
a different location or use a rooftop
aerial, then press <◄> or <►> to
select the “Installation” menu
followed by <OK>, highlight
“DVBT/T2 Auto Scan” and press
<OK>, then set the correct Country,
FTA Only as Yes, and T2 Signal Only
as No by using the <
▲>
and <
▼>,
5.2 Channel Information
Press <INFO> in TV or Radio mode to show
Now and Next program information for the
current station. The display also shows
whether subtitles and EPG information are
available.
Press <INFO> again to show detailed
information including signal strength and
quality.
5.3 Channel List
Press <OK> or <LIST> in TV or Radio mode
to show the channel list. Press [TV/Radio] to
switch between the TV and Radio channel list.
5.4 Recall
Press <RECALL> in TV display mode to
change back to the last channel that was
being watched.
5.5 Record
Plug a USB memory stick with sufficient free
space into the USB socket, then press <REC>
to record the channel being watched. A
window will pop up asking for Record Type.
Select PS to record in .mpg format, or TS to
record in .ts format, then press <OK>. A
recording status window will open for 5
seconds, then
●
REC will show on the right
of the picture to show recording is in progress.
To stop recording, press <
■
.
A pop up
window will display to confirm recording
stop. Select “Yes” or “No”, and press <OK>.
>
To use time shift it needs to be enabled and
a USB memory stick with sufficient free
space needs to be plugged into the USB
socket. To enable or disable Time Shift refer
to section 5.8.4.10.
With timeshift enabled press <
||
> pause to
show the timeshift OSD and go into
timeshift operation.
Press <◄> or <►> to move the slide to the
left or right and press <OK> to begin
playing from that point. Press <◄◄> and
<►►> for slow backwards or forwards.
Press <|◄◄> or <►►|> to jump the
recording backwards or forwards by the
amount of time set for Jump. See section
5.8.4.10 for details on setting Jump.
Press <
■
stop to end the timeshift playing
mode.
5.6 Time Shift
>
-8-
English
and <◄> or <►> buttons, then
highlight “Search” and press <OK>.
Press <
▲>
and <
▼>
to select the desired
channel, then press <OK> to confirm. Press
<EXIT> to close the list.


