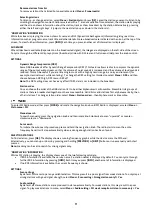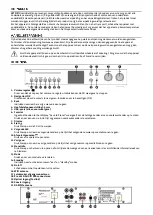
7
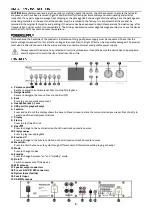
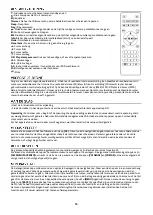
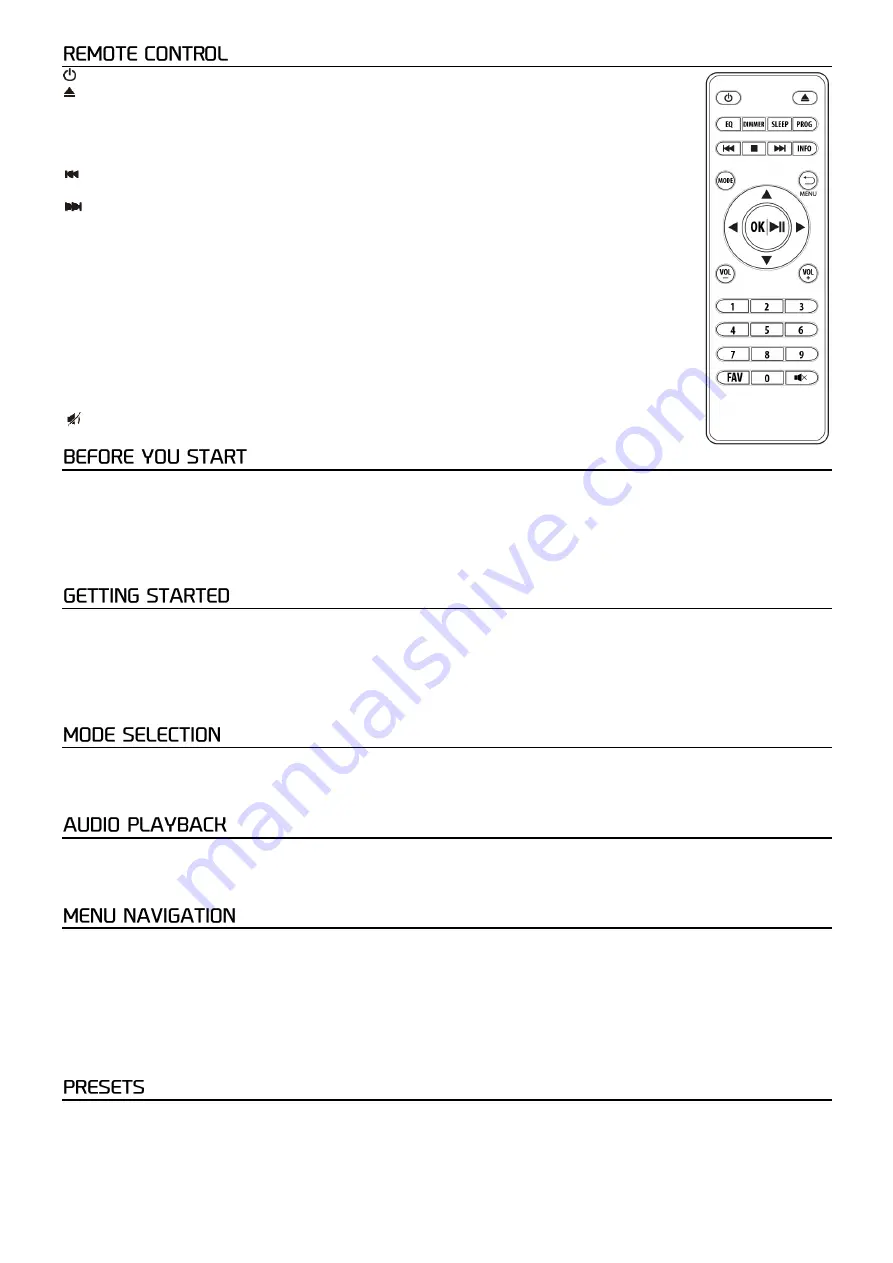
: Press to toggle between Standby and Operation
:
Press to eject the CD disk
EQ:
Equalizer
Dimmer:
Access the Dimmer menu to adjust the brightness of the display
Sleep:
Sleep timer
Prog:
Program
: Previous station on the list/previous track on media sources
◼
:
Press to stop playback
: Next station on the list/next track on media sources
Info:
Cycle through different sets of information while playing a channel
Mode:
Switch between radio modes
Menu/back:
Press to go to menu or go back
▲
:
Cursor up
◄
: Cursor left
►
:
Cursor right
▼
: Cursor down
OK / Play/pause:
Press to confirm, or play/pause playback
Vol-:
Volume down
Vol+:
Volume up
0-9:
Input index numbers / input characters for WiFi password
FAV:
Preset the current playing station to favorites
:
Mute
Please ensure the following is ready: You have a broadband internet connection. A wireless broadband router is connected to
the internet successfully. The radio supports Wireless B, G and N connection (Wireless N router can also be used with the
setting on B or G). You know the Wired Equivalent Privacy (WEP) or Wi-Fi Protected Access (WPA) data encryption
code/password. You need to key in the correct code when the radio is connected to the wireless router for network
connection. If you do not know the code/password, please contact the person/technician who set up the router/network for
you. The radio can work via Wireless network connection (Wi-Fi connection).
• Remove internet radio from the packag
e box.
• Plug in the power
lead and switch the Power on/off switch (on the rear cabinet) to ON.
Note:
Before starting, please make sure that the voltage mentioned on the power supply is corresponds to the voltage used in
your local area. Only use the supplied mains VDE plug to connect the device to a household mains socket.
When it is the first time booting up the device, the setup wizard is launched automatically.
From the Main Menu, select a mode and press
[OK]
. Alternatively, use the navigation knob to switch to different modes. After
just a moment, the radio switches to that mode. The last used station or track previously used in that mode is selected. If this
is not possible, radio scans for relevant stations, networks, or prompts the user for input.
The common controls for audio playback are identical across all playback modes:
Turn the volume rotary control to increase or decrease the volume level. The general track controls are
[PLAY/PAUSE]
to start
and pause tracks and the
[NEXT]
and
[PREVIOUS]
buttons to skip to the next or previous track in the current playlist.
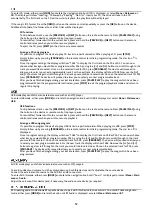
The main control for moving through menus and options is the navigation knob. Rotate the knob to move up or down a menu.
Once the required option or value is highlighted press the knob to confirm and enter the highlighted sub-menu. All menus
and lists act as loops, meaning that turning the control to go beyond the first or last entry in a menu or list takes you to the
opposite end of the menu or list. To enter the menu tree in a particular mode press and hold
[MENU]
. To move back a menu
level press
[BACK]
. Each mode has a unique menu structure, with options specific to that mode. For example, the FM mode
menu has two mode specific options: Scan setting and Audio setting.
The System setting menu presents system setting functions to allow the user to setup how the unit functions. This includes
network, time, language, and software parameters.
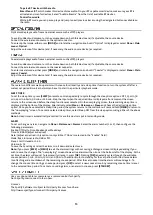
In DAB-, FM- and Internet radio mode, up to 40 preset stations can be stored and recalled. To store the current station as a
preset, press and hold
[FAV]
until the display shows the Save to Preset screen. Select one of the 40 preset numbers to save
the currently playing station and press
[OK]
to confirm. To select a preset, press
[FAV]
, then select one of the listed preset
stations. When a preset station is playing, its preset store Star icon are shown in the bottom of the screen.


