background image

E - 2

IMPORTANT SAFETY INSTRUCTIONS

1)  Read these instructions.
2)  Keep these instructions.
3)   Heed all warnings.
4)  Follow all instructions.
5)  Do not use this apparatus near water.
6)  Clean only with a dry cloth.
7)  Do  not  block  any  ventilation  openings. 

Install in accordance with the manufacturer’s 
instructions.

8)  Do  not  install  near  any  heat  sources  such 

as  radiators,  heat  registers,  stoves,  or 

other apparatus (Including amplifiers) that 

produce heat.

9)  Do  not  defect  the  safety  purpose  of  the 

polarized or grounding-type plug. A polarized 
plug has two blades with one wider than the 
other. A grounding type plug has two blades 
and a third grounding prong. The wide blade 
or the third prong is provided for your safety. 

If the provided plug does not fit into your wall 

outlet, consult an electrician for replacement 
of the obsolete outlet.

10) Protect the power cord from being walked on 

or pinched particularly at plugs, convenience 
receptacles,  and  the  point  where  they  exit 
from the apparatus.

11) Only use attachments / accessories specified 

by the manufacturer.

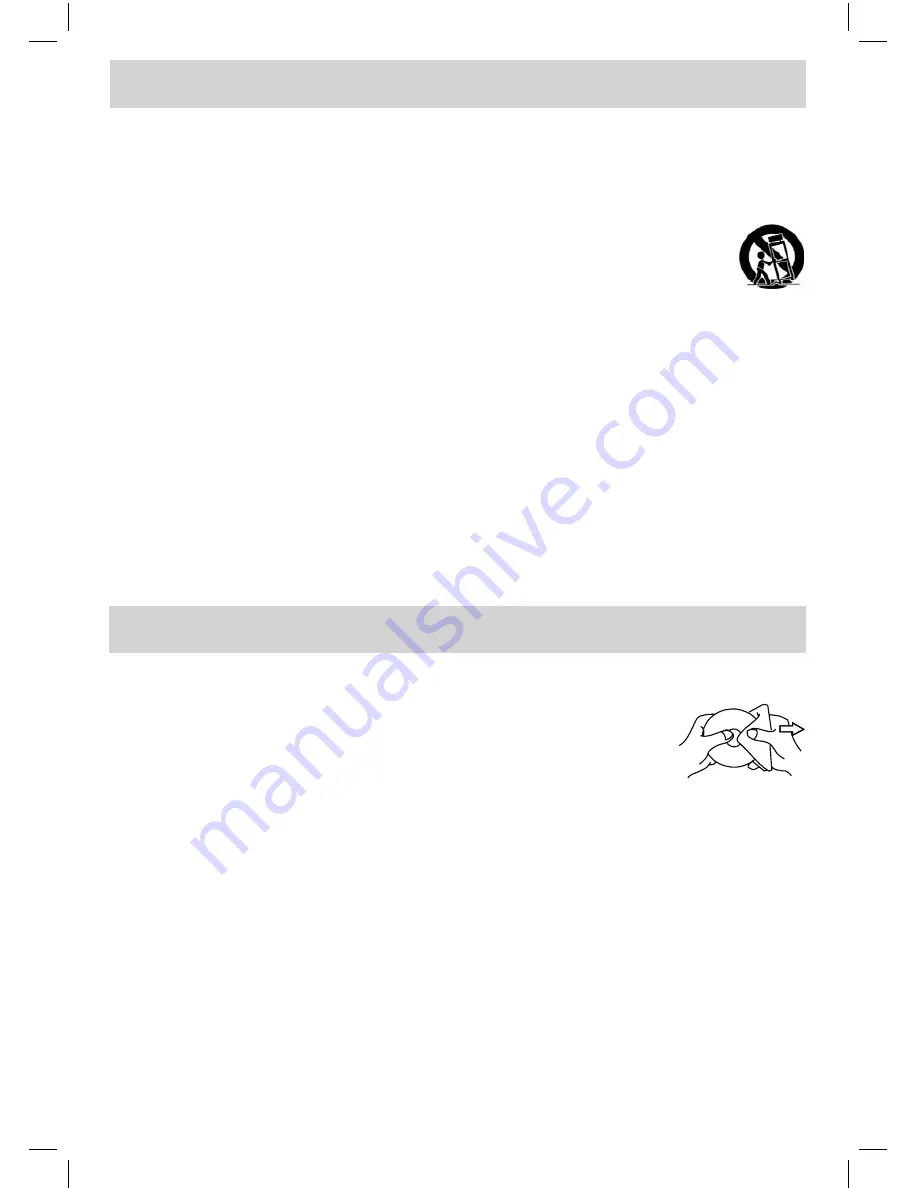
12) Use  only  with  the  cart,  stand, 

t r i p o d ,   b r a c k e t ,   o r   t a b l e 

specified by the manufacturer, 

or  sold  with  the  apparatus. 
When  a  cart  is  used,  use  caution  when 
moving the cart / apparatus combination to 
avoid injury from tip-over.

13) Unplug  this  apparatus  during  lightning 

storms or when unused for long periods of 
time.

14) Refer  all  servicing  to  qualified  service 

personnel.  Servicing  is  required  when  the 
apparatus  has  been  damaged  in  any  way, 
such as the power cord or plug is damaged, 
liquid  has  been  spilled  or  objects  have 
fallen into the apparatus, the apparatus has 
been exposed to rain or moisture, does not 
operate normally, or has been dropped.

MAINTENANCE

CLEANING THE DISC

A defective or soiled disc inserted into the unit can cause sound to drop out during 

playback.

Handle the disc by holding its inner and outer edges.

•  Do NOT touch the surface of the unlabeled side of the disc.

•  Do NOT stick paper or tape on the surface.

•  Do NOT expose the disc to direct sunlight or excessive heat.

•  NEVER use solvents such as benzine or alcohol to clean the disc.

•   Clean the disc before playback. Wipe the disc from the center outward with a cleaning cloth.

•  Do  NOT  use  irregular  shaped  discs  (example  :  heart  shaped,  octagonal,  etc.).  They  may  cause 

malfunctions.

CLEANING THE UNIT

•  Be sure to turn the unit off and disconnect the AC power cord before maintaining the unit.

•  Wipe the unit with a dry soft cloth. If the surfaces are extremely dirty, wipe clean with a cloth that has been 

dipped in a weak soap-and-water solution and wrung out thoroughly. Wipe with a dry cloth.

•  Never use alcohol, benzine, thinner, cleaning fluid or other chemicals. Do NOT use compressed air to 

remove dust.

IMPORTANT NOTE

Before transporting the unit, remove the disc from the disc compartment.

FPE1508DV_UL_IMTK_E1-20.indd   2

1/10/2008   10:04:25 AM

Summary of Contents for FPE1508DV - 15" LCD TV

Page 1: ...S1 AUDIOVOX ENGLISH IB I B P N 811 211591W420 SIZE 148 X 210MM MATERIAL 80g WOODSFREE PAPER 09 01 2008 OWNER S MANUAL Printed in China 811 211591W420 FPE1508DV FOR ASSISTANCE CALL CUSTOMER SERVICE AT...

Page 2: ...d of time disconnect the AC power cord CONDENSATION INFORMATION When left in a heated room where it is warm and damp water droplets or condensation may form inside the equipment When there is condensa...

Page 3: ...unused for long periods of time 14 Refer all servicing to qualified service personnel Servicing is required when the apparatus has been damaged in any way such as the power cord or plug is damaged liq...

Page 4: ...menu 16 Audio menu 16 Time menu 17 Setup menu 17 18 Parental menu 18 19 TV menu 20 CD DVD OPERATION 21 22 Playing a disc 21 Playing a picture file disc 21 Pausing playback still mode 21 Stopping play...

Page 5: ...ing If you selected CATV on Step 2 you need to select Cable System before Start to Scan The system will automatically start to scan and preset all available TV channels 4 After scanning has finished t...

Page 6: ...umber of this unit this unit cannot play that disc The region number of this equipment is DISC FUNCTION OR OPERATION THAT IS NOT AVAILABLE When the symbol appears on the screen it indicates that the f...

Page 7: ...nt of the universal remote control manufacturer for assistance or refer to the instructions included with the universal remote control We cannot offer assistance in programming universal remote contro...

Page 8: ...acks on a disc 10 SUBTITLE button Press to select one of the subtitle languages programmed on a DVD 11 ANGLE button Press to switch the camera angle of the video presentation when scenes with multiple...

Page 9: ...f a CD 24 SLOW button Press to perform slow forward playback of a DVD 25 DVD MENU button Press to enter the main menu of the DVD 26 SETUP button Press to enter and exit the SETUP menu of the DVD 27 A...

Page 10: ...acks Left Right 9 AV IN Video Input Jack 10 AV IN Audio Input Jacks Left Right 11 PC IN MONITOR VGA Jack 12 PC IN Audio Jack 13 YUV IN Component Video Input Jacks Y PB PR 14 YUV IN Audio Input Jacks L...

Page 11: ...nalog Antenna or Device The tuner in this TV receives NTSC TV signals analog cable signals or the RF output from a satellite receiver VCR or cable box Satellite cable or TV antenna cable to TV ANTENNA...

Page 12: ...he other equipment for more information CONNECTING DEVICES WITH A COMPOSITE YELLOW RCA TYPE VIDEO INPUT To connect A V devices such as a VCR PVR or camcorder Connecting to a VCR PVR Camcorder Connect...

Page 13: ...this unit can support DVD players up to a maximum resolution of 1080i May require a subscription for receiving HD channels Check with your cable satellite service provider for details CONNECTING A PC...

Page 14: ...nit for a long period of time disconnect the AC power adapter Using the Car Power Adapter The car power adapter allows the unit to be used with vehicles that have a 12V negative ground electrical syst...

Page 15: ...cted at all times when removing the base stand Be sure that no hard or sharp object or anything that could scratch or damage the LCD display comes into contact with it Do NOT place pressure on the fro...

Page 16: ...DVD the DVD logo will appear on the screen Note When the unit is not going to be used for a long time disconnect the AC power adapter from AC power outlet Dolby Digital for DVD Dolby Digital is a soun...

Page 17: ...of the picture toward purple toward green Color Adjust the color of the picture AUDIO MENU 1 Press the MENU button 2 Use the or button to select Audio then press the button to enter the Audio settings...

Page 18: ...lock Display the current time SETUP MENU 1 Press the MENU button 2 Use the or button to select SETUP then press the button to enter the SET UP settings 3 Use the or button to select the options OSD La...

Page 19: ...caption or turn it off Digital Caption Style Select as Broadcaster to use the default digital caption style of the broadcaster Select Custom to activate the caption style items and set your desired de...

Page 20: ...A Mature Audience Only N A Not rated G GENERAL AUDIENCES Suitable for all ages PG PARENTAL GUIDANCE SUGGESTED Some material may not be suitable for children PG 13 PARENTS STRONGLY CAUTIONED Some mater...

Page 21: ...sing the or button or press the button to go into the detailed settings 4 Press the MENU button to return to the previous menu 5 Repeat steps 3 and 4 to adjust other options 6 To exit the MAIN MENU an...

Page 22: ...AY button to start playback Note You can press the PAUSE button to interrupt playback and press the PLAY button to resume playback You also can use the GOTO function or use the numbered buttons to ent...

Page 23: ...e SUBTITLE button repeatedly to select the desired subtitle language Note If only one language is recorded the language does not change About two seconds later playback continues with the new subtitle...

Page 24: ...ng number button s for the setting point you want 3 Press the ENTER button to confirm Playback starts from the selected section Note Some discs may not respond to this process Some scenes may not be l...

Page 25: ...repeatedly 3 The unit will immediately begin replaying your selection To resume normal playback 4 While the disc is playing press the A B button until the indicator displays on the screen Note A B re...

Page 26: ...turn to the normal screen press the SETUP button SYSTEM SETUP 1 Press the SETUP button in stop mode 2 Use the or button repeatedly until SYSTEM SETUP appears 3 Use the or button to select the option T...

Page 27: ...e is no disc inside No Disc appears on the screen Insert the disc correctly with the playback side facing down Clean the disc A non valid disc has been inserted The unit and disc region number are inc...

Page 28: ...E 27 Unit INCH Printed in China 811 211591W420 4 1 8 16 3 4 14 3 8 6 5 8 7 1 2 10 1 2 11 8 FPE1508DV_UL_IB_MSTAR MTK_E21 27 indd 27 1 10 2008 10 15 26 AM...

Reviews: