7
8
Quick Start Installation
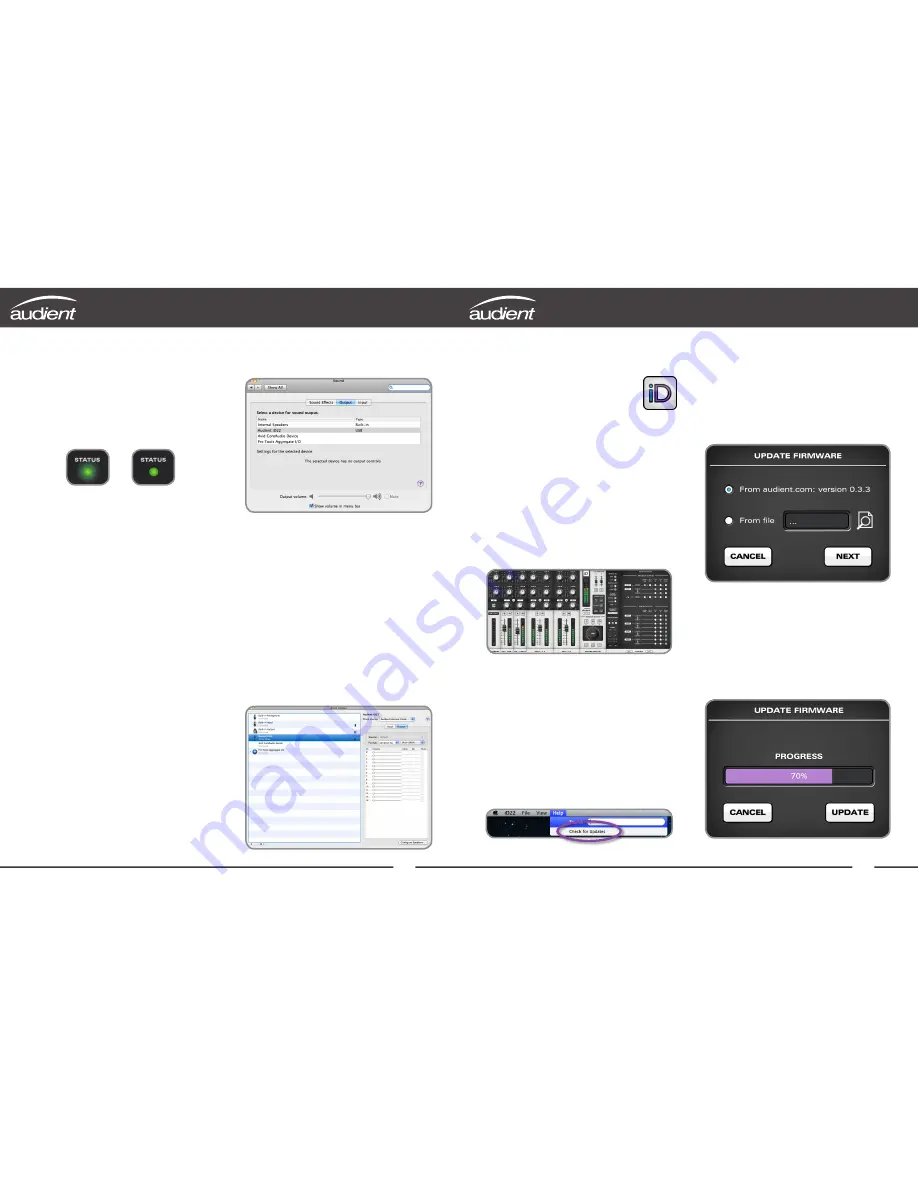
3. Status LED
Once powered on and connected to your
computer via USB, the green status LED on
iD22 will flash for a few seconds as the unit
stabilises and establishes communications.
This LED will become solidly lit as soon
as iD22 has achieved stable communication
and should remain solidly lit during operation
of the unit until power down. Once solidly lit
you can launch the iD mixer application
without issue.
If at any time the status LED begins to flash
during normal operation please check all
connections and if further problems develop
please contact
audient support
.
4. Double Checking Connectivity
To ensure iD22 has been detected by your
computer and correct clocking sources are
set-up, navigate to:
Macintosh HD > Applications >
System Preferences
Check that iD22 is set as your i/o device.
It is recommended to disable system sounds.
It is also worth checking
Audio MIDI Setup
(found in
Mac HD > Applications > Utilities
).
Window > Show Audio Window
Here you should see iD22 report with 10
inputs and 14 outputs. Clock source should
be set to
Audient Internal Clock
unless you
are connecting an external digital device
acting as master to the digital input in iD22.
Quick Start Installation
5. Launch the iD Mixer Application
Launch the iD22 mixer application
by finding it in the following folder:
Macintosh HD > Applications > iD22
If the iD mixer application icon is not in
your dock, just drag it onto the dock from
the applications folder.
For more information on the mixer
application feature set, please refer to
page 20 of this manual onwards.
6. Check for Firmware Updates
It is essential that you regularly (especially on
a fresh installation) check for new updates.
To make it simple, providing you have an
internet connection, the iD mixer application
itself provides the functionality to check for
firmware updates.
7. Firmware Update
You can either select to update the iD
firmware from disk using the load from
file (browse button) or you can use the
internet to search for the latest version.
The latest version number will be retrieved
from our servers and will be displayed (as
shown above). Press next to continue with
the firmware update. Press
update
to
program and once complete close the
window. iD22 is now ready to use.


