background image

40

39

Service Information

iD14 contains no user-serviceable components, please refer to qualified service personnel 
for diagnosis and repair. Your warranty will be void if you tamper with the device at component 
level. If you have any questions with regard to the repair, please contact Audient Ltd.

If your unit is in warranty, please contact your dealer directly for a repair or replacement (at 
the discretion of the dealer).

For out of warranty repairs, please contact Audient Ltd, after which a 

Return Materials 

Authorization

 (RMA) number will be assigned. This number will serve as a reference for you 

and helps facilitate and expedite the return process. When the unit is returned please include 
this RMA number along with a description of the fault inside the packaging box.

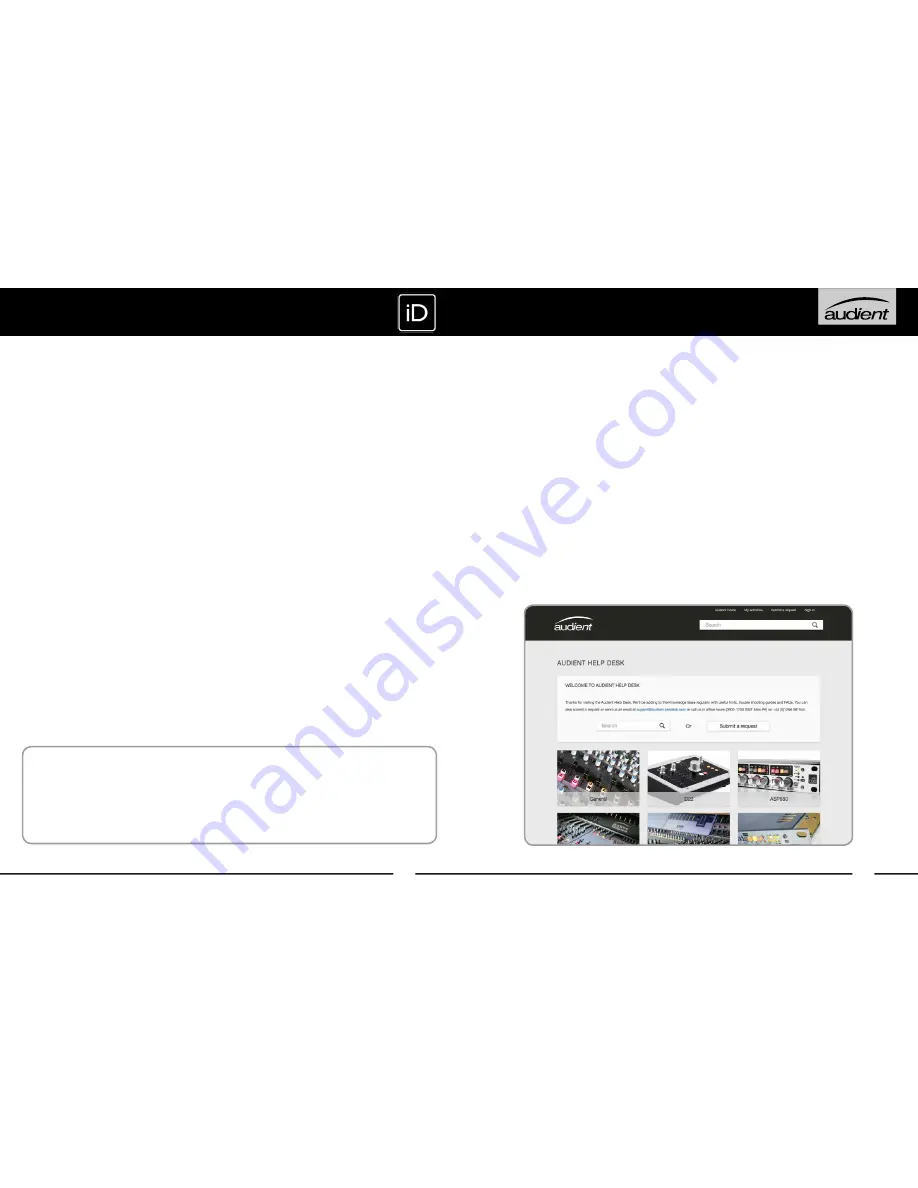
To request an RMA, access technical support & FAQs, ask for troubleshooting assistance or 
make an enquiry, please visit: 

www.audient.com/support

SERVICE

Warranty Statement

Your iD14 comes with a manufacturer’s warranty for one year (12 months) from the 
date of despatch to the end user.

The warranty covers faults due to defective materials used in manufacture and faulty 
workmanship only.

During the warranty period Audient will repair at its discretion or replace the faulty unit 
provided it is returned carriage paid to an authorised Audient service centre. We will not 
provide warranty repair if in our opinion the fault has resulted from unauthorised modification, 
misuse, negligence or accident.

We accept liability to repair or replace your iD14 as described above. We do not accept 
any additional liability. This warranty does not affect any legal rights you may have against 
the person who supplied this product - it is additional to those rights.

Warranty Limitations

This warranty does not cover damage resulting from accident or misuse. The warranty is void 
unless repairs are carried out by an authorised service centre. The warranty is void if the unit 
has been modified other than at the manufacturer’s instruction. The warranty does not cover 
components which have a limited life, and which are expected to be periodically replaced for 
optimal performance. We do not warrant that the unit shall operate in any other way than as 
described in this manual.

Audient Ltd
Aspect House
Herriard
Hampshire
RG25 2PN
United Kingdom

Tel: 0044 1256 381944

www.audient.com

WARRANTY

Summary of Contents for iD

Page 1: ...HIGHPERFORMANCEUSBAUDIOINTERFACE audient com www audient com connect with us facebook com audient twitter com audientworld youtube com audienthampshire USER MANUAL v1 1 ...

Page 2: ...t Introduction Box Contents 1 iD14 Overview 2 Safety Information 3 Declaration of Conformities 5 Installation 6 Installation on Mac 6 Installation on Windows 8 iD App Firmware Update 10 Hardware Features 11 Microphone Line Inputs 12 Instrument Input 13 Digital Inputs 13 Loudspeaker Outputs 14 Headphone Outputs 14 Monitor Control 15 Metering 16 Kensington Lock 16 iD Mixer Application 17 Input Chann...

Page 3: ...for our product range The 12VDC power supply comes with interchangeable UK EU US and Australian socket adapters and will work across a broad range of line voltages making iD14 globally portable We hope that you enjoy using iD14 ID14OVERVIEW 48V Phantom Power Main Meters USB Status LED Channel 1 Gain 0 56 dB Speaker Volume Select Programmable iD Button Channel 2 Gain 0 56 dB Encoder Headphone Volum...

Page 4: ...or products that are a mains powered device The equipment shall not be exposed to dripping or splashing and no objects filled with liquids such as vases shall be placed on the equipment Important Safety Instructions Please read all of these instructions and save them for later reference before connecting the DC power adapter to the mains and powering up iD14 To prevent electrical shock and fire ha...

Page 5: ...encouraged to try to correct the interference by one or more of the following measures 1 Re orient or relocate the receiving antenna 2 Increase the separation between the equipment and receiver 3 Connect the equipment into an outlet on a different circuit from that to which the receiver is connected 4 Consult the dealer or an experienced radio TV technician for help DECLARATIONOFCONFORMITIES We Au...

Page 6: ...en applied WINDOWSINSTALLATION 3 Status LED Once connected to your computer and powered on the green status LED on iD14 will illuminate If at any time the status LED turns off during normal operation please check all connections and if further problems develop please contact Audient support 4 Double Checking Connectivity To ensure iD14 has been detected by your computer and correct clocking source...

Page 7: ...D will become solidly lit as soon as iD14 has achieved stable communication and should remain solidly lit during operation of the unit until power down To double check the connection go to PC sound settings by following PC Settings Control Panel Hardware and Sound Sound Here you can see whether iD14 is visible to the PC and you can make it the computers default sound device by pressing Set Default...

Page 8: ...ack combi connectors provide microphone and line inputs The line inputs are padded through the microphone preamplfiiers NOTE Due to power restrictions over USB and the requirements of the high quality mic pres and converters phantom power is only enabled when using the 12V power supply The microphone preamplifiers feature 56 dB of clean gain 48v 4V phantom power rated at 10mA channel 2 8kΩ input i...

Page 9: ...o no matter what model of headphones you have HARDWAREFEATURES Instrument Input iD14 employs a discrete class A JFET instrument D I input on channel one which is easily accessible on the front of the unit The JFET circuitry adds a tiny bit of colour and distortion to the signal making it sound great on guitars and basses Plugging in a TS tip sleeve unbalanced jack will override the mic signal and ...

Page 10: ... and headphone volumes with a perfectly matched stereo volume control on the main unit The three encoder mode buttons allow you to change what the encoder controls The button that is selected will be illuminated Loudspeaker and Headphone Buttons Pressing the speaker or headphone button allows the encoder to control the level of the selected output The volume of the output is displayed on the meter...

Page 11: ...uts are provided as two stereo pairs and are designed as virtual playback channels from your DAW Setting outputs in your DAW will feed signals into these channels For example if you send signal to Output 1 2 in your DAW it will be seen in the meters of DAW 1 2 in the iD mixer Then if you want to hear it turn up the channel s Main Mix Fader Channel Naming Strip The iD mixer application allows you t...

Page 12: ...er Mode Icons Icons display the mute states of the outputs See page 21 iD Mode Right click to select what the iD button controls See page 22 SOFTWAREFEATURES Stereo Linking All channels can be linked or unlinked for stereo or mono operation Level controls are combined in stereo operation but ste reo pan control remains individual for left and right channels Useful Functionality Every active contro...

Page 13: ...our speakers without changing the encoder and losing your monitoring level Talkback Use the iD button to toggle talkback See page 25 for information on setting up and using Talkback SOFTWAREFEATURES Channel View Settings When tracking without using a digitally expanded iD14 it is most likely that the following channel view Analogue DAW would be the most useful enabling you to see mic line inputs a...

Page 14: ...you can set the digital input settings talkback channel assignement mono mode and output routing It also allows you to save and load mixer presets which is useful if you have multiple configurations for the mixer To open the system panel press the SYSTEM button found in the master section or use Command 4 in OSX or Ctrl 4 in Windows Clocking If optically expanding iD14 you need to make sure it syn...

Page 15: ...channel is assigned as talkback source in the iD mixer application system panel the selected mixer channel strip updates to become a talkback channel Channels will be presented in the talkback assign menu as per their labelling in the mixer scribble strip console tape As such they are easy to identify For many who record vocalists one input for the artist will be enough so we suggest using a talkb...

Page 16: ...to the physical outputs For more Pro Tools information consult your Avid user manuals documentation PROTOOLSSETUP Keyboard Shortcut Index To allow you to find all shortcuts for the mixer application in one place without having to go through each page of this manual please refer to this table Location Mac Windows Description Faders Alt Click Alt Click Resets fader to unity gain 0 dB Pans Alt Click ...

Page 17: ...ge 6 of this manual launch Logic Pro and check the following Logic Pro Preferences Audio Ensure that iD14 is selected as the active audio device and set the buffer size to affect system latency If you are experiencing issues with playback stability and CPU loading try increasing the buffer size This appears with overload errors and or pops and clicks and distortion in the audio If you are using th...

Page 18: ...sion Add new buses and assign them to the necessary i o if required Bus types can be set mono stereo and the VST control room section can also be used For more information regarding set up please consult your Steinberg user manuals and documentation CUBASE NUENDOSETUP Operation with Cubase Nuendo Once iD14 has been successfully installed following the steps detailed after page 6 of this manual lau...

Page 19: ...l Panel Hardware and Sound Sound Manage Audio Devices Audient iD14 Windows Launch the iD mixer application to activate communication between your computer and iD14 This only needs to be done once straight after power up Once iD14 is set to the operational state you desire you can quit the iD application and it will continue to function as intended In the software mixer locate the DAW channels by p...

Page 20: ...k which can also be found in the support section of our website see link above TROUBLESHOOTING FAQ Troubleshooting I have clocking issues which include iD14 not locking to external ADAT or SPDIF devices or operating at the incorrect rate compared to my session If there is an issue with syncing of an external device the Status LED in the System Panel will be red or yellow If the status light is red...

Page 21: ...dB 20Hz to 22kHz THD N 0dBu 1kHz 0 04 all musical 2nd and 3rd harmonic SNR 95 dB un weighted 98 dB A weighted 1 4 TS JACK Tip Hot Sleeve Shield ANALOGUE TO DIGITAL CONVERTER ADC 1 2 Measured sans microphone preamplifier under AES 17 MAXIMUM INPUT LEVEL 12 dBu 0 dBFS digital maximum DIGITAL REFERENCE LEVEL 12 dBu 0 dBFS FREQUENCY RESPONSE 0 1 dB 10Hz to Fs 2 flat to nyquist CROSSTALK 100 dBu 1kHz 1...

Page 22: ...rs faults due to defective materials used in manufacture and faulty workmanship only During the warranty period Audient will repair at its discretion or replace the faulty unit provided it is returned carriage paid to an authorised Audient service centre We will not provide warranty repair if in our opinion the fault has resulted from unauthorised modification misuse negligence or accident We acce...

Page 23: ... EQ Equaliser FAQ Frequently Asked Questions FCC Federal Communications Commission GB Gigabyte GUI Graphical User Interface HPF High Pass Filter HV High Voltage i o Input Output JFET Junction Field Effect Transistor LED Light Emitting Diode RoHS Restriction of Hazardous Substances RAM Random Access Memory S PDIF Sony Philips Digital Interface Format THD N Total Harmonic Distortion Noise TRS Tip Ri...

Reviews: