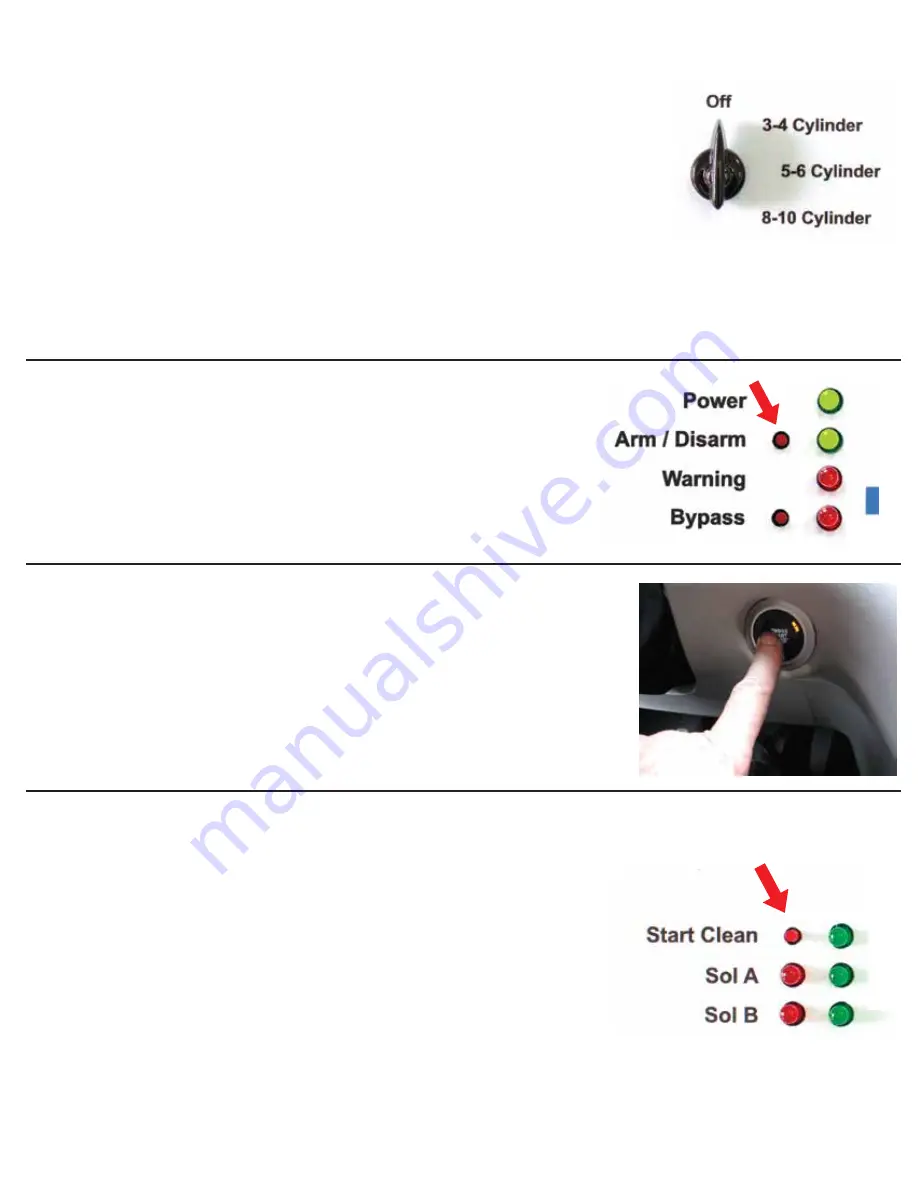
Step 12:
Select the number of cylinders that the engine actually has. This
will assure that the correct amount of chemical is delivered.
NOTE: Always select the proper number of cylinders for the vehicle’s
engine. Each cylinder number selection will change the amount of
chemical delivered in each pulse to the engine. E.g. an 8 cylinder
engine has more cylinders to divide the chemical into than a
4 cylinder engine, so more chemical can be delivered per pulse to
an 8 cylinder engine as opposed to a 4 cylinder engine.
Expected 3C run times:
3-4 cylinder = 15 min,
5-6
cylinder
=
12.5
min,
8-10
cylinder
=
10
min.
Step 13:
Push the Arm/Disarm button. This will arm the system
so the 3C is ready to operate. The green Arm/Disarm will
be illuminated once the system is armed.
Step 15:
On the 3C push the Start Clean button. This will allow
the 3C to begin injecting chemical into the induction system.
Once this button is pushed an audible alarm will sound for
10 seconds before the chemical delivery begins automatically.
When the alarm frequency goes up, the chemical injection is
about to start. After the Start Clean button is pushed you will
have 10 seconds to get into the vehicle and raise the RPM to
3000. Now, hold the RPM between 2500 and 3300.
NOTE: The RPM will drop when the chemical is delivered.
Keep the RPM close to target until the cleaning process is
finished.
Some engines will run very well and other engines
will not. If the RPM does not want to increase with the
accelerator pedal then quickly let off the accelerator pedal
and reapply to snap the throttle or hold to the target RPM. If
any problem occurs during the cleaning process turn the
engine off immediately.
Step 14:
Make sure the vehicle is outside or in a well ventilated
area. Start the engine. The Start Clean lamp on the 3C
should be blinking. This shows that the engine is running.
If the lamp is not blinking move the holding clamp to a
different location on the engine.


