Step 11:
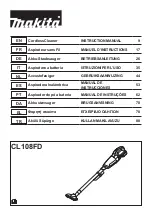
To turn the power on: Locate the Emergency Stop Switch on the
front panel of the 3C and turn it clockwise. This will power the 3C,
turning the red emergency stop light off.
Step 9:
Attach shop air to the compressed air plug of the machine. A minimum
of 6.2 CFM at 40 PSI and 5.3 CFM at 90 PSI is required to run the 3C.
NOTE: Only use atmospheric compressed air.
If the air pressure is low
the warning buzzer will beep 2 times.
Step 10:
Attach the battery leads located on the side
of the 3C to the vehicle battery. Make sure the
red lead (positive) is connected to the
positive terminal (+) of the battery and the
black lead (negative) is connected to the
negative terminal (-) of the battery. If the
battery voltage is low the warning buzzer will
beep 4 times.
Step 8:
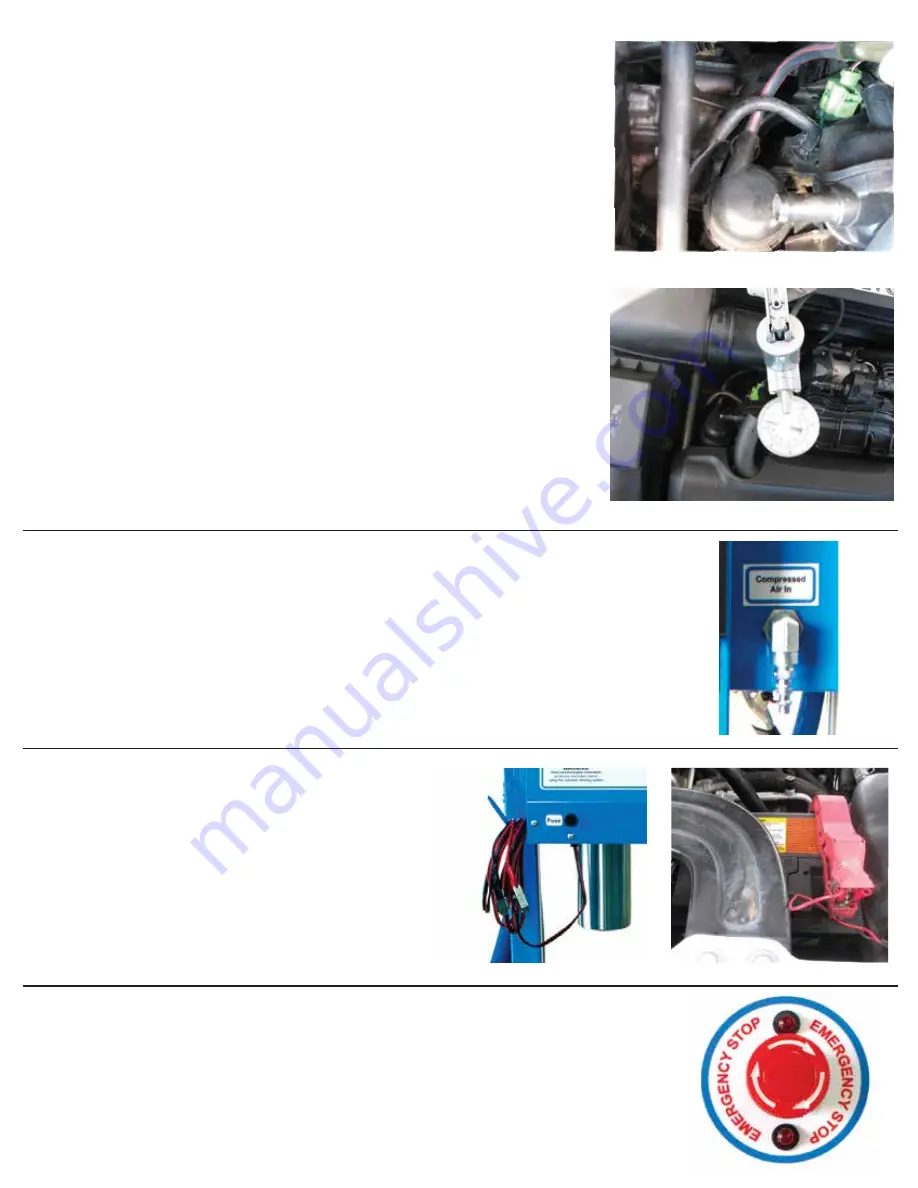
If the engine has intake charge valves these will need to be
opened during the entire cleaning process. If these are closed
the chemical will not be able to properly clean the induction
system. There are 2 types of these valves; vacuum and electric.
If the valve is vacuum operated pull the vacuum hose off and
connect a vacuum pump so the valve can be opened. If the
diaphragm is blown, manually move the valve to the open
position and zip tie it in place (make sure you remove this zip
tie when the cleaning is finished). If the diaphragm is blown the
valve will need to be replaced. Make sure to note this information
on the work order.
If the valve is electrically operated: on some engines you can
disconnect the linkage and then open the valve. On other
engines you can move them when the key is in the off position.
When the key is turned on hold the valve open. This will put the
control of the valve in default or a stuck position (Warning:
Never force the valve to the point you will break it). Make sure
when the cleaning is done that you reconnect the linkage.


