12
13
2. Select
and press
to switch FFC/NUC mode.
• Manual: Hold
in live view to correct the non-uniformity of display.
• Auto: The device performs FFC/NUC automatically according to the set
schedule when switching on the camera.
• External: Cover the lens, then hold
in live view to correct the non-uni-
formity of display.
3. Hold
to save the settings and exit.
5.9. CORRECT DEFECTIVE PIXEL
The device can correct the defective pixels on the screen which are not per-
forming as expected.
Steps
1. Hold
to show the menu.
2. Select
.
3. Press
to select the offset. The offset refers to the moving length of
cursor.
4. Press
or to select the moving direction.
5. Press
to move the cursor to the position of dead pixel. Hold
to
correct the dead pixel.
NOTE
If the menu blocks the dead pixel, hold
to perform mirror display.
6 . M E AS U R E T H E D I S TA N C E
The device can detect the distance between the target and the observation
position.
Before You Start
When measuring the distance, keep the hand and the position steady. Oth-
erwise, the accuracy may be affected.
Steps
1. Hold
to show the menu.
2. Select
and press
to go to the setting interface.
a. Press
or
to select the target from
Deer
,
Wolf
,
Bear
, and
Custom
.
b. Set the target height.
NOTE
The available height ranges from 0.1 m to 9.9 m.
c. Press
to confirm.
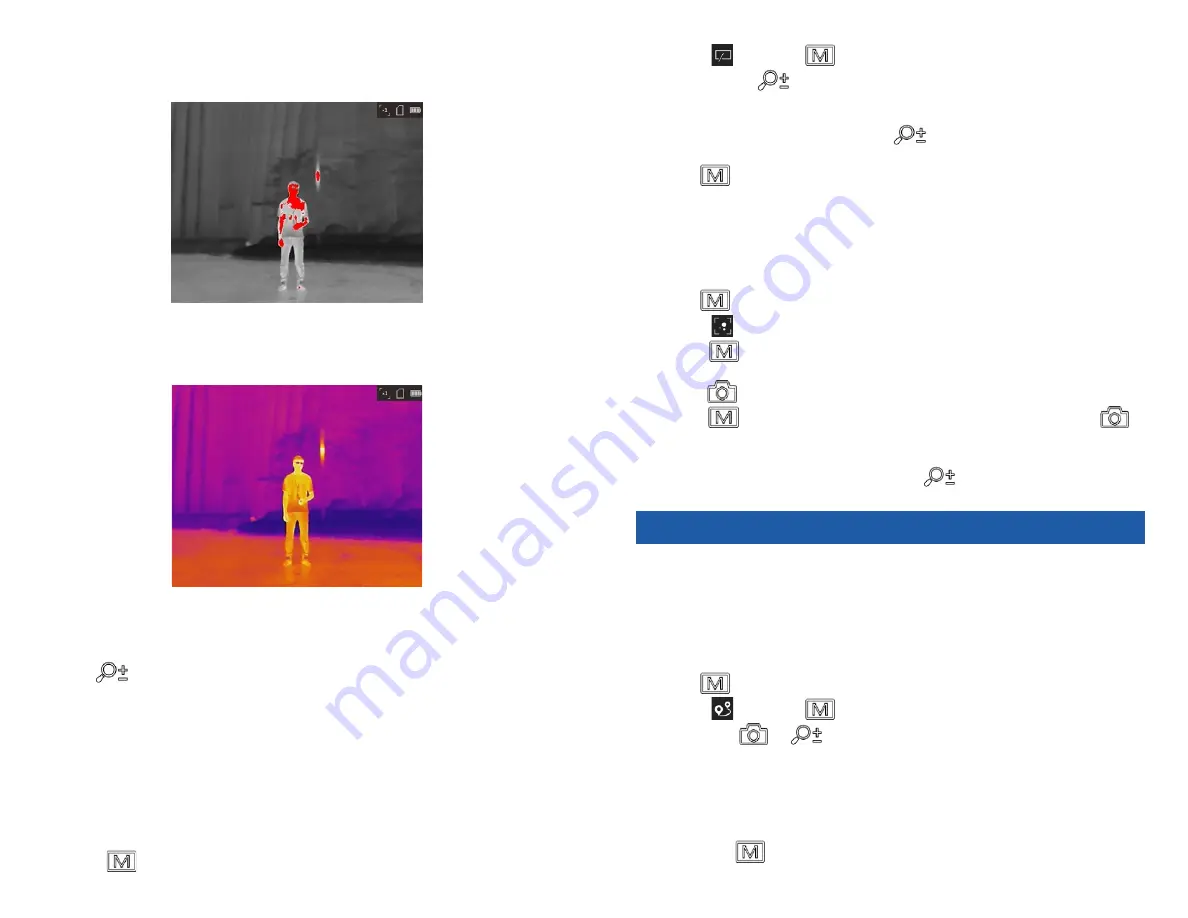
Red Hot
The hot part is red-colored in view. The higher the temperature is, the redder
the color is.
Fusion
From high temperature to low temperature, the image is colored in from
white, yellow, red, pink to purple.
5.7. ADJUST DIGITAL ZOOM
You can zoom the image by using this function.
Press
in the view mode, the live view switches between 1
×
, 2
×
, and 4
×
.
NOTE
This function varies according to different camera models.
5.8. FLAT FIELD CORRECTION / NON UNIFORM
CORRECTION
This function can correct non-uniformity of display.
Steps
1. Hold
to go to the menu.


