6
Atmel AVR365
8336A-AVR-03/12
3 Platform setup procedure
3.1 Install Battery Studio
Download and install Atmel AVR Battery Studio 2.0 from www.atmel.com/BM300.
3.2 Connection setup
1. Connect the battery cells to BM302 cell terminals
Connect the cells from the bottom of the stack to the top of the stack. For a 3S
application the following connection order must be used: Cell1- to 1- on BM302;
Cell1+ and Cell2- to 1+; Cell2+ and Cell3- to 2+; Cell3+ to 3+. For 3S- packs, 4+ on
BM302 should be connected to 3+.
CAUTION
The battery cell terminals polarity and the mounting order must be respected
during assembly and disassembly. When assembling; mount Cell1, then
Cell2, and then Cell3. When disassembling; remove Cell3 first, then Cell2,
and then Cell1.
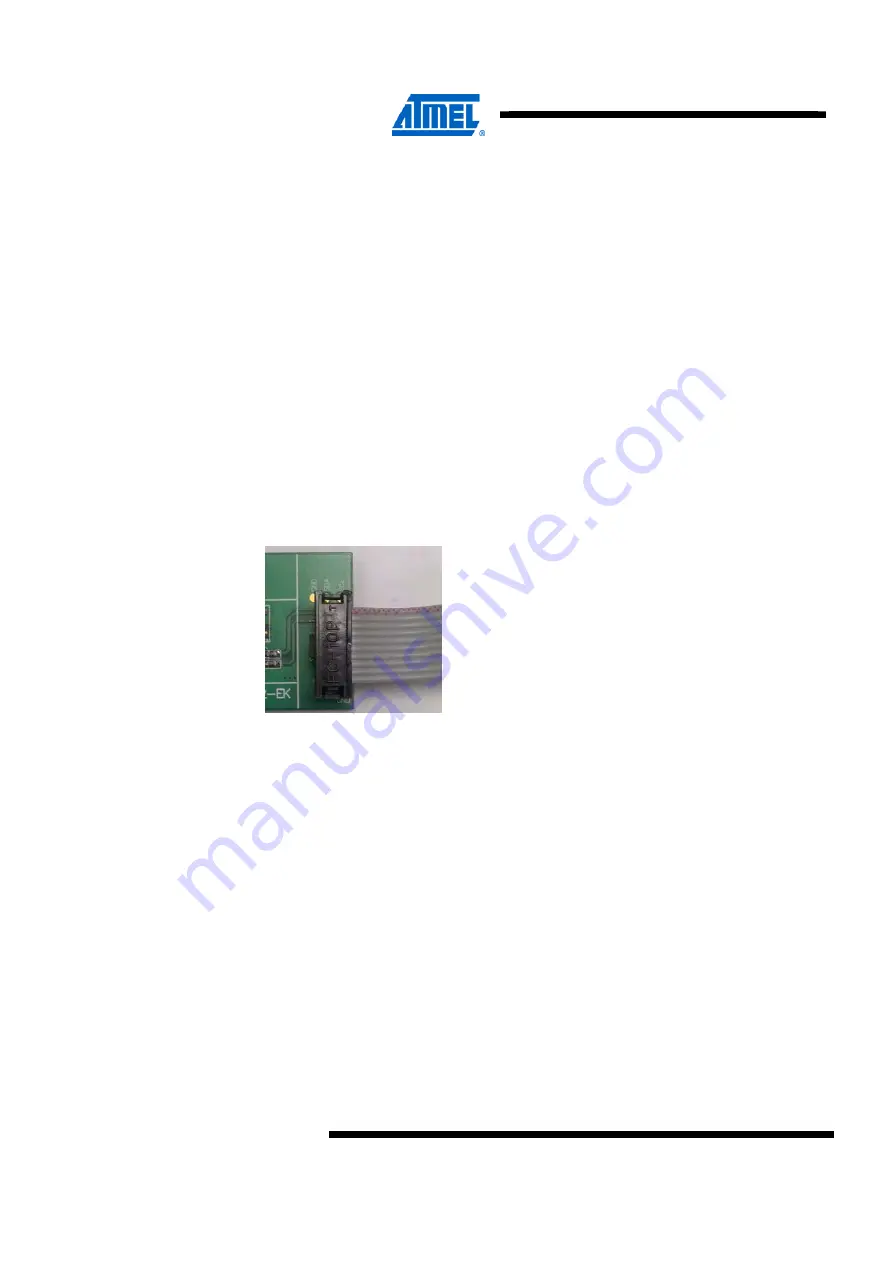
2. Connect BM300 to BM302 by the 10-pin cable
Figure 3-1.
Connect BM300 to BM302.
3. Connect BM300 to PC USB port
The BM300 is powered by USB and the power status is indicated by a red LED near
the USB connector.
3.3 Start the Atmel ATBM302
The ATBM302 device remains in power-off mode although the battery cells have
been connected to the BM302. An external power-up trigger is necessary in order to
power up the ATBM302 device. To start the device a charging voltage must be
applied between pack+ and pack-.
After power-up, the device will perform initialization in the first 30s. During this time,
the reported current will not be correct.
Run the Battery Studio 2.0. Please refer to the Atmel AVR363 Application Note to
learn about how to use Battery Studio 2.


