Using the ICE10
3-2
AVR
®
ATICE10 User Guide
3.3.1
Device
Depending on which device is selected, unavailable options will be grayed out. A grayed
out option indicates that this option is not applicable for the selected device. The
ATtiny15POD is completely configured by this emulator options dialog. The
AT90ADCPOD requires additional jumper settings to complete the configuration as
described in Section 4.
3.3.2
Clock Source
When using the AT90ADCPOD three clock source options are available. The
AT90ADCPOD can use one out of three available clock sources; the programmable
internal clock in the ICE10, a crystal or an external oscillator in the user application. The
ATtiny15POD only uses the internal clock option.
3.3.3
Internal Frequency
The internal clock can be adjusted between 400 kHz and 20 MHz. Any frequency within
this range can be selected, and will be produced with an accuracy better than 200 PPM
for most frequencies. In addition jumpers needs to be configured on the AT90ADCPOD
as described in Section 4.
3.3.4
External Range
When external clock source in the user application is used, this must be in the range
between 32.768 kHz and 10 MHz. To use an external clock source, select External
Oscillator in the menu. When using external crystal, it is important to select the proper
range in the External Range menu to make the clock system work properly.
Note:
Make sure the jumper settings on the AT90ADCPOD are set according to the
options selected in the Emulator Options menu.
3.4
Emulator
Configuration
System
The ICE10 has room to store 6 different devices in the Emulator unit Flash memory.
Using the AVR Emulator Configuration system found in AVR Studio (Tools -> ICEPRO/
AVRICE/ICE10 Configuration system), it is possible to select which device that should
be downloaded to the emulator. Only devices downloaded to the emulator can be emu-
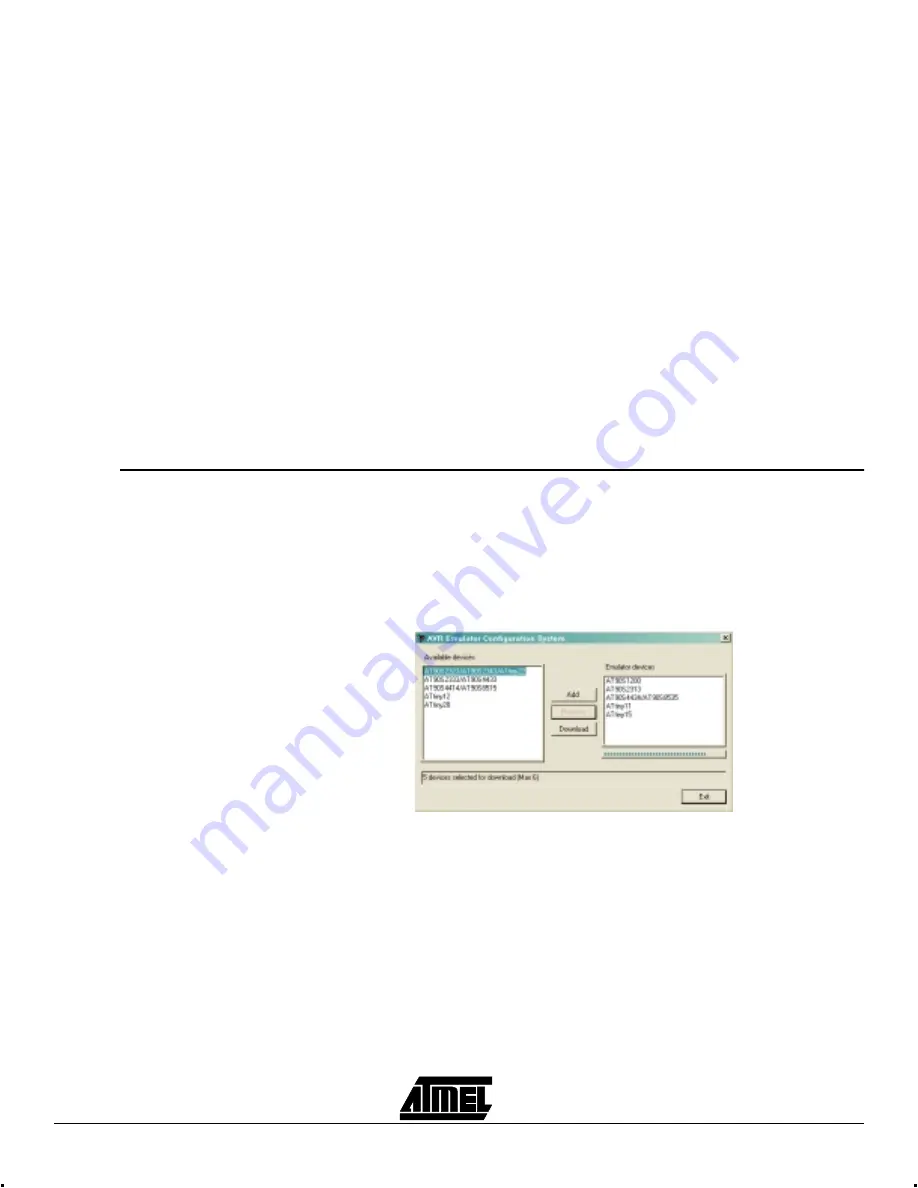
lated. Figure 3-1 shows the AVR Configuration System dialog box where devices can be
added or removed from the ICE unit.
Figure 3-1.
AVR Configuration System Dialog
The left side column shows which devices are supported by the emulator, but not cur-
rently loaded. To be able to emulate one of these devices, the appropriate device should
be marked, and the “Add” button should be pressed.
Note:
If 6 devices are already stored in the emulator, remove the appropriate number
of devices before trying to add more.
Once all wanted devices are listed in the right column press “Download” to start the
actual update of the ICE10. This might take a few minutes, and the green LED will flash
during the update. A dialog box will appear at the end of the update giving a confirma-
tion that the update was successful.
Note:
The update will not take effect util the next time the emulator is turned on.


