


® Copyright ATH-Heinl GmbH & Co. KG, All rights reserved / Misprints and technical changes reserved / As of: 2020-11
Manufacturer ATH-Heinl GmbH & CO.KG
- 32 -
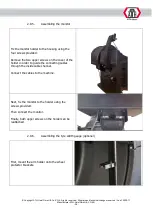
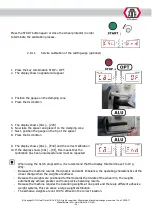
To finish the process, press the A↑ button 4 time
4x
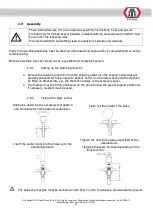
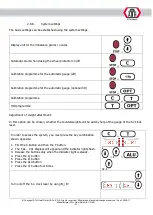
2.9.9.
Service calibration of the gauge
1.
Position the gauge to “0”
2.
Press the key combination STOP + < 5 g
3.
The display shown opposite will appear
+
4.
Position the gauge to “100 mm”
5.
Press the ALU button
6.
The display shows [CAL] – [215] / [235]
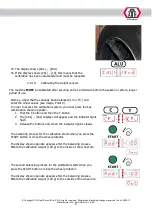
7.
Position the gauge to “215 mm / 235 mm”. When doing so,
position the measuring tip to the outer edge of the entry
cover.
8.
Press the ALU button
9.
The display shows [CAL.] – [15.0]
10.
This value can be changed using D+ / D-
11.
Confirm with [ALU].
12.
Then secure an appropriate wheel (e.g. 16”) on the machine
13.
Next, position the plunge on the edge of the wheel rim
14.
Press the ALU button
Summary of Contents for 80424200061
Page 3: ...BEDIENUNGSANLEITUNG ATH W42 ...
Page 63: ...OPERATING INSTRUCTIONS ATH W42 ...
Page 123: ...MANUEL D UTILISATION ATH W42 ...
Page 183: ...NÁVOD K OBSLUZE ATH W42 ...
Page 239: ...MANUAL DE INSTRUCCIONES ATH W42 ...
Page 299: ...BEDIENINGSHANDLEIDING ATH W42 ...
Page 359: ...INSTRUKCJA OBŁSUGI ATH W42 ...
Page 419: ...NÁVOD NA OBSLUHU ATH W42 ...


