background image

User Manual

CS-72M

Read this guide thoroughly and follow the installation and operation
procedures carefully in order to prevent any damage to the unit and/or any
devices that connect to it.

This package contains:

M

1

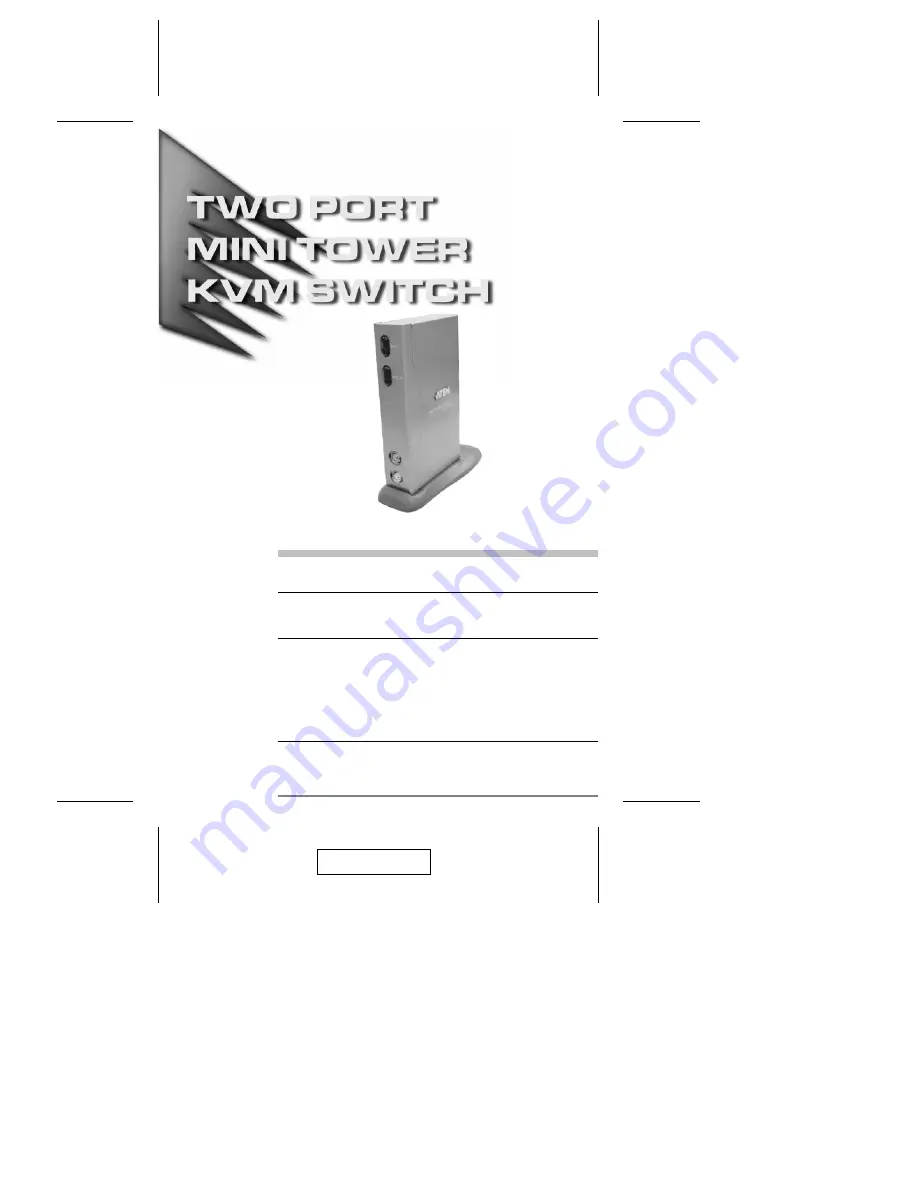
CS-72M Mini Tower KVM Switch

M

2

CS Custom KVM Cables

M

6

Mounting Pads / 2 Cable Keepers

M

1

User Manual

M

1

Quick Start Guide

If anything is damaged or missing, contact your dealer.

© Copyright 2003 ATEN® International Co., Ltd.
Manual Part No. PAPE-1224-100
Printed in Taiwan 08/2003

All brand names and trademarks are the registered property of their respective owners.

2003-08-01

Summary of Contents for CS-72M

Page 1: ...package contains M 1 CS 72M Mini Tower KVM Switch M 2 CS Custom KVM Cables M 6 Mounting Pads 2 Cable Keepers M 1 User Manual M 1 Quick Start Guide If anything is damaged or missing contact your deale...

Page 2: ...ations However there is no guarantee that interference will not occur in a particular installation If this equipment does cause harmful interference to radio or television reception which can be deter...

Page 3: ...n a single set of speakers on a one at a time basis There are two convenient methods to access the computers push button port selection switches located on the unit s front panel and Hotkey combinatio...

Page 4: ...switches to the next powered on port if the current one is shut down M Auto Scan function to monitor computer operation M LED display for easy status monitoring M Hot pluggable add or remove computers...

Page 5: ...ce it does not support serial mice Computers The following equipment must be installed on each computer that is to be connected to the system M A VGA SVGA or Multisync port M A PS 2 Style mouse port M...

Page 6: ...tton exits Auto Scan Mode and switches the KVM focus to its corresponding port 2 Port LEDs The Port LEDs are built into the Port Selection Switches A lit LED indicates that its corresponding Port is t...

Page 7: ...e Only cables designed to work with this switch can be used See the Cables section on p 3 for details 2 Monitor Port The video cable from your monitor plugs in here 3 Power Jack The power adapter cabl...

Page 8: ...package to the bottom panel of the switch or the bottom of the mounting stand The circular depressions show you where the pads should go 6 1 Make sure that power to all the devices you will be connect...

Page 9: ...CS 72M CPU Ports to the monitor keyboard and mouse ports of the computers you are installing 4 For stability use one of the Cable Keepers provided with your purchase to wrap around the KVM cable and s...

Page 10: ...8 2 3 4 1 2003 08 01...

Page 11: ...Manual Port Selection With Manual Port Selection you simply press the appropriate Port Selection switch on the unit s front panel to give the KVM focus to its corresponding port The Port LED lights to...

Page 12: ...the Num Lock key 2 Press and release the asterisk key or the minus key 3 Release the Num Lock key Num Lock or Num Lock Note The asterisk or minus key must be released within one half second otherwise...

Page 13: ...4 Once scanning begins it continues until you exit Auto Scan Mode by pressing either Port Selection switch or the keyboard Spacebar If you exit by pressing a Port Selection switch the KVM focus switch...

Page 14: ...CPU Ports 2 Port Selection Push Button Switches Hotkeys Connectors CPU 2 x SCSI 20 female Monitor 1 x HDB 15 male Audio 2 x Stereo earphone jacks Power DC 9V jack LEDs 2 Selected Port Green Emulation...

Page 15: ...or supplied by the operating system has been installed Because of the wide variety of mouse driver standards for the modern series of mice the ones with the extra buttons and wheels this unit only sup...

Page 16: ...Y EXCEED THE PRICE PAID FOR THE PRODUCT FROM DIRECT INDIRECT SPECIAL INCIDENTAL OR CONSEQUENTIAL DAMAGES RESULTING FROM THE USE OF THE PRODUCT DISK OR ITS DOCUMENTATION The direct vendor makes no warr...

Reviews: