CL6700MW User Manual
16
LCD OSD Configuration
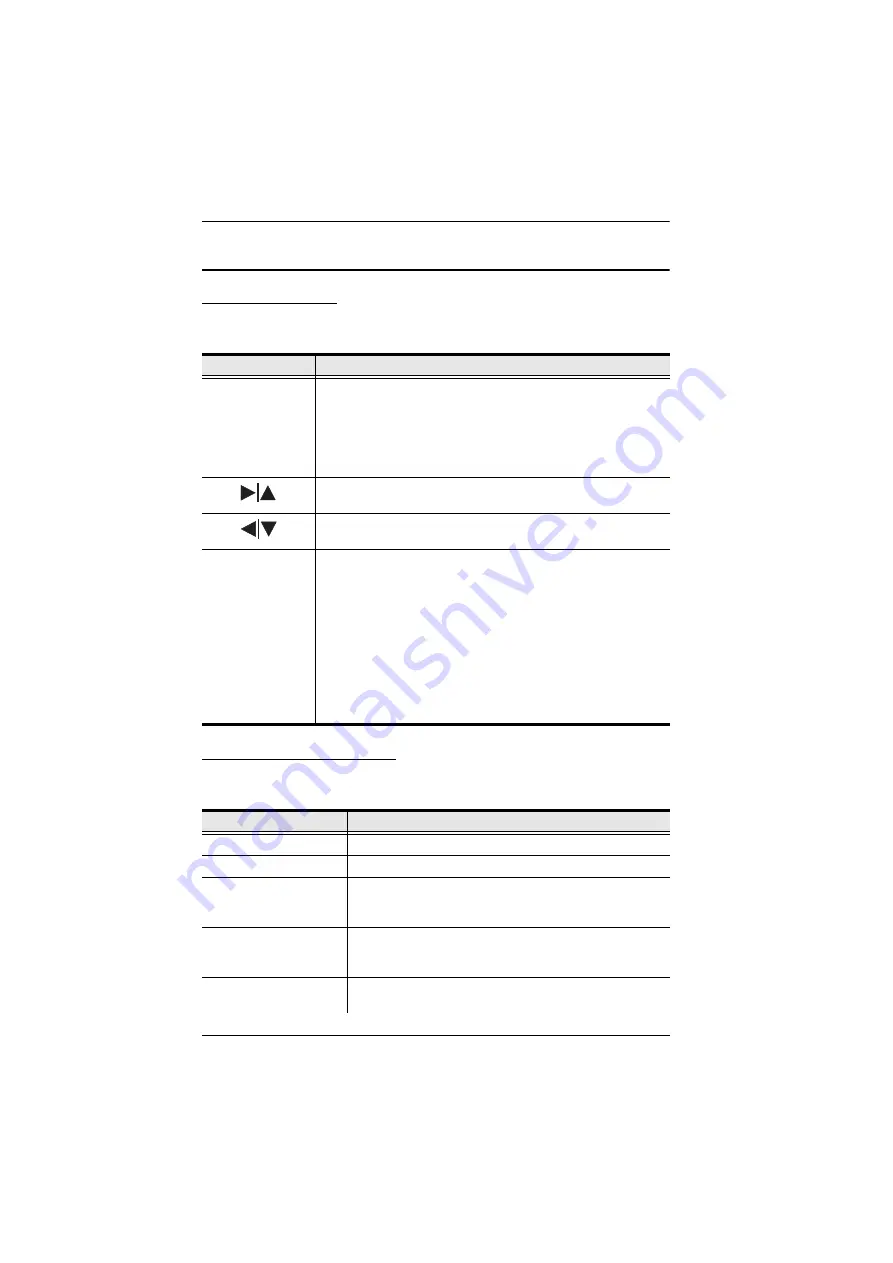
The LCD Buttons
The LCD OSD allows you to set up and configure the LCD display. Four
buttons are used to perform the configuration, as described in the table, below:
The Adjustment Settings
An explanation of the LED OSD adjustment settings is given in the table
below:
Button
Function
MENU
When you have not entered the LCD OSD Menu function,
pressing this button invokes the Menu function, and brings up
the Main Menu.
When you have entered the LCD OSD Menu function, and
have reached a setting choice with the navigation buttons,
pressing this button brings up its adjustment screen.
When navigating through the menus, this button moves you Right
or Up. When making an adjustment, it increases the value.
When navigating through the menus, this button moves you Left
or Down. When making an adjustment, it decreases the value.
EXIT
When you have not entered the LCD OSD Menu function,
pressing this button performs an auto adjustment. An auto
adjustment automatically configures all the settings for the
LCD panel to what the OSD considers their optimum values to
be.
When you have entered the LCD OSD Menu function, pressing
this button exits the current menu and returns you to the
previous menu. Use it to leave an adjustment menu when you
are satisfied with the adjustment you made.
When you are at the Main Menu, pressing this button exits the
LCD OSD.
Setting
Explanation
Brightness
Adjusts the background black level of the screen image.
Contrast
Adjusts the foreground white level of the screen image.
Phase
If pixel jitter or horizontal line noise is visible on the display,
your LED may have the wrong phase setting. Adjust the
phase setting to eliminate these problems.
Clock
If vertical banding is visible on the display, your LED may
have the wrong clock setting. Adjust the clock setting to
eliminate vertical banding.
H-Position
Positions the display area on the LED panel horizontally
(moves the display area left or right).
Summary of Contents for CL6700MW
Page 1: ...DVI Full HD LCD Console CL6700MW User Manual www aten com ...
Page 10: ...CL6700MW User Manual x This Page Intentionally Left Blank ...
Page 15: ...Chapter 1 Introduction 5 Components Front View 2 2 1 3 4 6 7 9 8 10 11 12 5 13 14 ...
Page 18: ...CL6700MW User Manual 8 This Page Intentionally Left Blank ...
Page 38: ...CL6700MW User Manual 28 This Page Intentionally Left Blank ...


