background image


Model: A700SI 

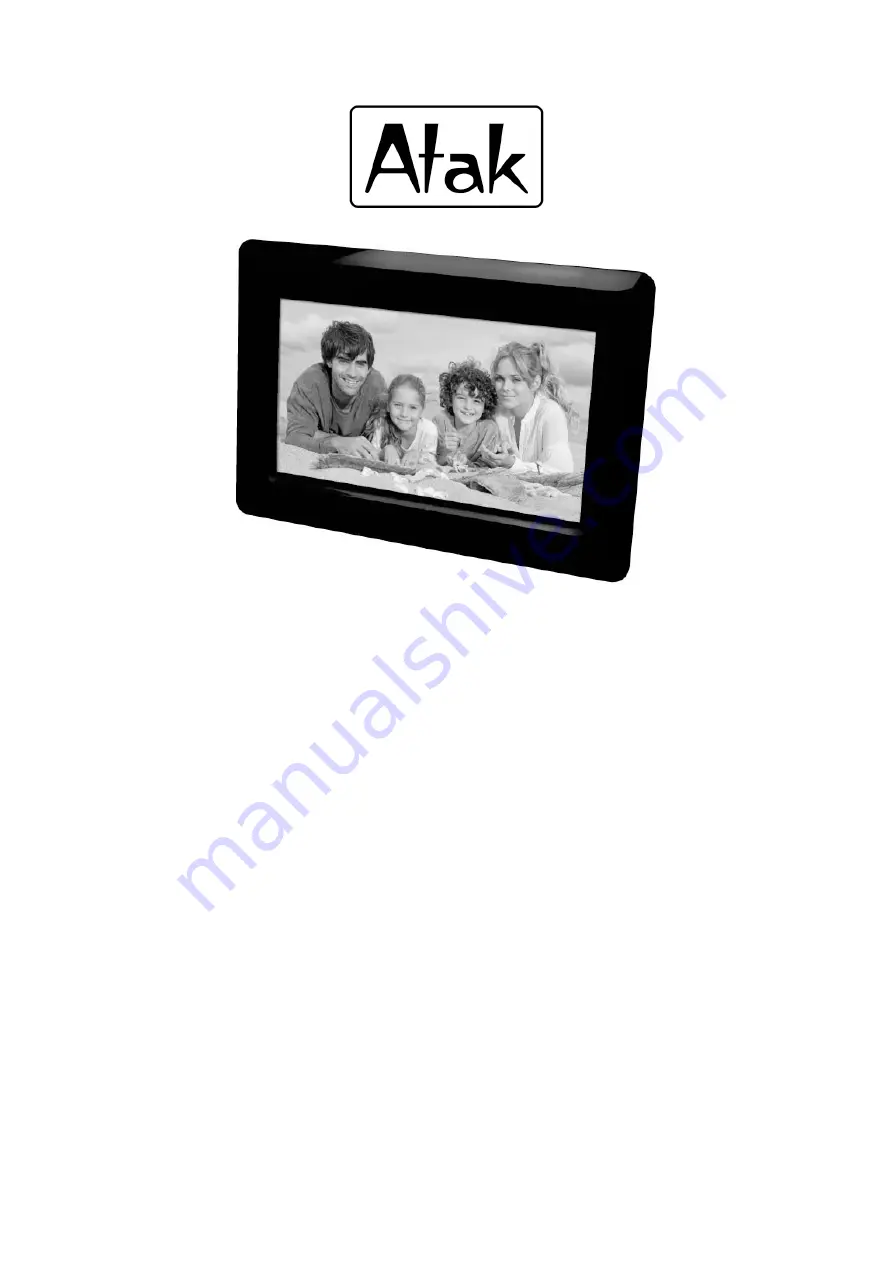
DIGITAL PHOTO FRAME 

Precautions and maintenance 

 For indoor use only 

  To  avoid  risk  of  fire  or  electric  shock,  do  not  expose  the  unit  to  moisture  or 

condensation. 

 To avoid overheating, do not block the ventilation holes on the back of the Digital Photo 

Frame. 

 Keep the Digital Photo Frame out of direct sunlight. 

 Always use the eject buttons on the memory storage card slots to remove the storage 

cards. 

 Do not dismantle the Digital Photo Frame. There is a risk of electric shock and there are 

no user-serviceable parts inside. Dismantling the Digital Photo Frame will void your 
warranty. 

Cleaning the LCD Screen 

 Treat the screen carefully. Because the screen of the Digital Photo Frame is made of 

glass and it would easily be broken or scratched. 

  If  fingerprints  or  dust  accumulate  on  the  LCD  screen,  we  recommend  using  a  soft, 

Summary of Contents for A700SI

Page 1: ...unlight Always use the eject buttons on the memory storage card slots to remove the storage cards Do not dismantle the Digital Photo Frame There is a risk of electric shock and there are no user serviceable parts inside Dismantling the Digital Photo Frame will void your warranty Cleaning the LCD Screen Treat the screen carefully Because the screen of the Digital Photo Frame is made of glass and it...

Page 2: ... HOST 3 Memory Card SD SDHC MMC 4 Built in flash memory to store pictures 5 View pictures in thumbnail mode 6 Auto Slideshow detects and plays a Memory Card or USB 7 Built in Clock and calendar with slideshow 8 Image display modes slideshow preview zoom rotate function 9 Adjustable slideshow speed 10 kinds of transition slideshow 10 Adjustable brightness contrast saturation 11 Copy and delete func...

Page 3: ...rame 3 1 2 Back Buttons of Frame 3 2 Getting Started 3 3 Operating Instruction 4 3 1 Main Menu 4 3 2 Picture Mode 4 3 3 Copy Delete Function 5 4 File 5 5 Calendar 6 6 Setup 6 7 Stand Instruction 7 8 Technical Specifications 7 9 Troubleshooting Guide 7 ...

Page 4: ... a standard 110 240V AC outlet and the other end into the right side the frame DC 5V Note There are different positions for the digital photo frame stand Please refer to Stand Instruction page 8 2 2 Remove the protective film covering the LCD screen 2 3 Press to turn the unit on 1 Power ON OFF 2 UP 3 Play Pause OK 4 Right 5 Left 6 Down 7 Menu Press hold Exit Press 1 SD SDHC MMC CARD 2 USB PORT 3 D...

Page 5: ...ert a memory card or USB drive and the frame will automatically play a slideshow Press MENU twice to access Photo File Calendar and Setup Slideshow Mode Press MENU 2x to choose between MEMORY SDMMC or USB In the main menu select Photo and then press to start the slide show there are 6 random picture transitions Single Picture Display From the Photo main screen press to select desired photo then pr...

Page 6: ...mode use to select the picture you want to delete then press hold MENU to enter the delete interface press to confirm To copy a photo from a SD or USB drive to the photo frame s memory Pause a single picture next press hold MENU then use to select Save Picture Press to save displayed picture to the digital photo frame s memory NOTE The memory will only hold 3 4 photo images Use to select the file ...

Page 7: ...o 40 highest Brightness Press to select Use to select from 00 lowest to 40 highest Saturation Press to select Use to select from 00 lowest to 40 highest Tint Press to select Use to select from 00 lowest to 40 highest 6 9 Set Time Date Press choose setup items with as follows Year Month Day Hour Minute Second press use to set Press Save Time to confirm 6 10 Set Time Format 12 24 Press select with p...

Page 8: ...own below 8 Technical Specifications l Adapter Input AC 100 240V 50 60HZ 350mA Output DC 5V 1A l Picture Format JPEG l Memory Cards SD SDHC MMC l USB connection USB 2 0 Host l Screen Parameter Resolution 480X234 Contrast 400 1 Aspect Ratio 16 9 9 Troubleshooting Guide l No power Verify the power cord is seated firmly both in the unit and in electrical outlet l Can not read the CARD or USB Confirm ...

Page 9: ...t Center is available 24 hours a day 7 days a week for technical assistance or troubleshooting Contact us by phone by calling 1 800 936 1168 This warranty does not cover any product which has been subject to damage due to an act of nature misuse neglect accident abuse commercial use or modification of or to any part of the product including the antenna Damage to any external media such as DVD CD S...

Reviews: