background image

                                                                                               ASUSTOR NAS Memory Installation Guide


   Page 4 of 10


2. 

I

I

n

n

s

s

t

t

a

a

l

l

l

l

a

a

t

t

i

i

o

o

n

n


G

G

u

u

i

i

d

d

e

e


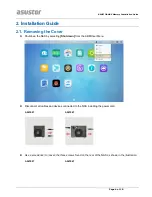
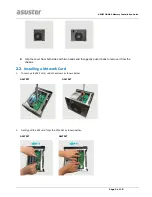
2.1.  Removing the Cover 

l

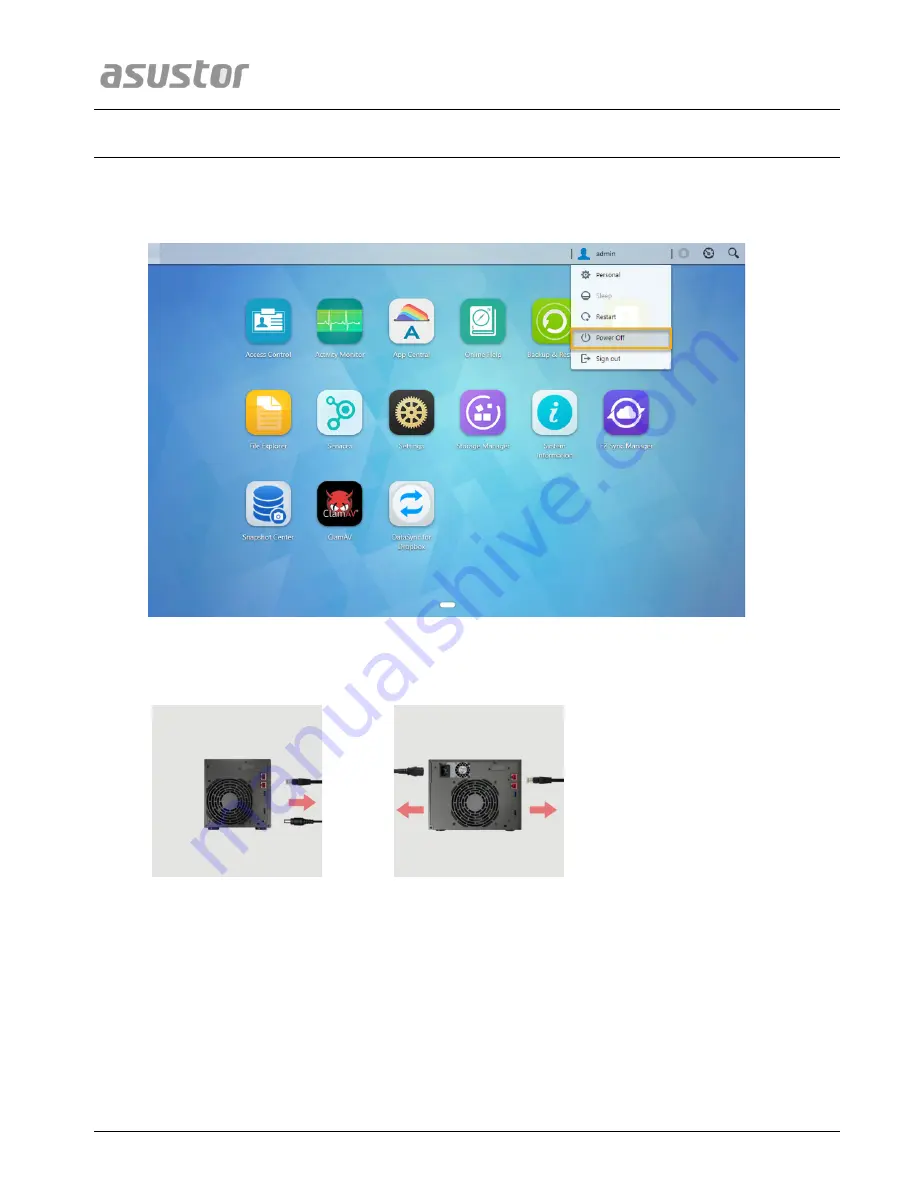
  Shutdown the NAS by selecting 

[Shut down]

 from the ADM User Menu. 


l

  Disconnect all cables and devices connected to the NAS including the power cord. 

AS6704T 

AS6706T 


l

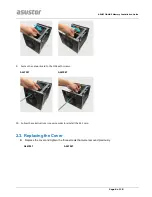
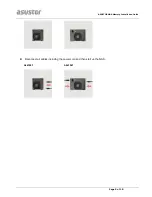
  Use a screwdriver to loosen the three screws found on the rear of the NAS as shown in the illustration. 

AS6704T 

AS6706T 

Summary of Contents for AS-T10G2

Page 1: ...Network Card Installation Guide For ASUSTOR AS6704T AS6706T NAS Ver 4 0 0116 ...

Page 2: ...ntents 1 Introduction 3 1 1 Notes and Precautions 3 1 2 Parts and Tools Needed 3 2 Installation Guide 4 2 1 Removing the Cover 4 2 2 Installing a Network Card 5 2 3 Replacing the Cover 8 3 Appendix 10 3 1 Troubleshooting 10 3 2 Contact ASUSTOR Technical Support 10 ...

Page 3: ... the AS T10G2 requires use of the included bracket designed for the Lockerstor Gen2 series of NAS devices 2 Your NAS must remain powered on for the duration of the switch between PCIe mode and M 2 mode Interrupting the power while your NAS is switching PCIe modes may result in your NAS becoming inoperable Your NAS will restart automatically to make the switch 1 2 Parts and Tools Needed Phillips he...

Page 4: ... 2 1 Removing the Cover l Shutdown the NAS by selecting Shut down from the ADM User Menu l Disconnect all cables and devices connected to the NAS including the power cord AS6704T AS6706T l Use a screwdriver to loosen the three screws found on the rear of the NAS as shown in the illustration AS6704T AS6706T ...

Page 5: ... from both sides with two hands and then gently push it back to remove it from the chassis 2 2 Installing a Network Card 1 To remove the M 2 card undo the screws as shown below AS6704T AS6706T 2 Gently pull the M 2 card from the PCIe slot as shown below AS6704T AS6706T ...

Page 6: ...ide Page 6 of 10 3 Undo the two screws that hold the bracket for the M 2 card in place AS6704T AS6706T 4 Lift the bracket out of the NAS AS6704T AS6706T 5 Remove both screws in the rear of the NAS and placeholder bracket AS6704T AS6706T ...

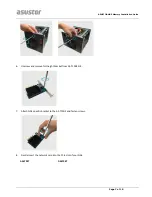
Page 7: ...ation Guide Page 7 of 10 6 Unscrew and remove full height bracket from AS T10G2 NIC 7 Attach NAS specific bracket to the AS T10G2 and fasten screws 8 Gently insert the network card into the PCIe slot of your NAS AS6704T AS6706T ...

Page 8: ... Fasten the network card to the NAS with screws AS6704T AS6706T 10 Follow these instructions in reverse order to reinstall the M 2 card 2 3 Replacing the Cover l Replace the cover and tighten the three screws that were removed previously AS6704T AS6706T ...

Page 9: ...ASUSTOR NAS Memory Installation Guide Page 9 of 10 l Reconnect all cables including the power cord and then start up the NAS AS6704T AS6706T ...

Page 10: ...ave used network card that is compatible with the system Also please reinstall the network card in order to confirm that it has been installed properly 3 If your NAS still does not operate normally please remove the newly installed network card and then restart the NAS to see if it is able to operate normally 4 If the previous steps have not solved your problem please contact your local dealer or ...

Reviews: