


A S U S R S 1 2 0 - E 3 ( P A 2 )
A S U S R S 1 2 0 - E 3 ( P A 2 )
A S U S R S 1 2 0 - E 3 ( P A 2 )
A S U S R S 1 2 0 - E 3 ( P A 2 )
A S U S R S 1 2 0 - E 3 ( P A 2 )
6 - 3 5
6 - 3 5
6 - 3 5
6 - 3 5
6 - 3 5
6.3.3
6.3.3
6.3.3
6.3.3
6.3.3
Creating a RAID 10 set ( Mirror)
Creating a RAID 10 set ( Mirror)
Creating a RAID 10 set ( Mirror)
Creating a RAID 10 set ( Mirror)
Creating a RAID 10 set ( Mirror)
To create a RAID 10 set:
1.
From the utility main menu, select 1 . C r e a t e R A I D V o l u m e
1 . C r e a t e R A I D V o l u m e
1 . C r e a t e R A I D V o l u m e
1 . C r e a t e R A I D V o l u m e
1 . C r e a t e R A I D V o l u m e, then
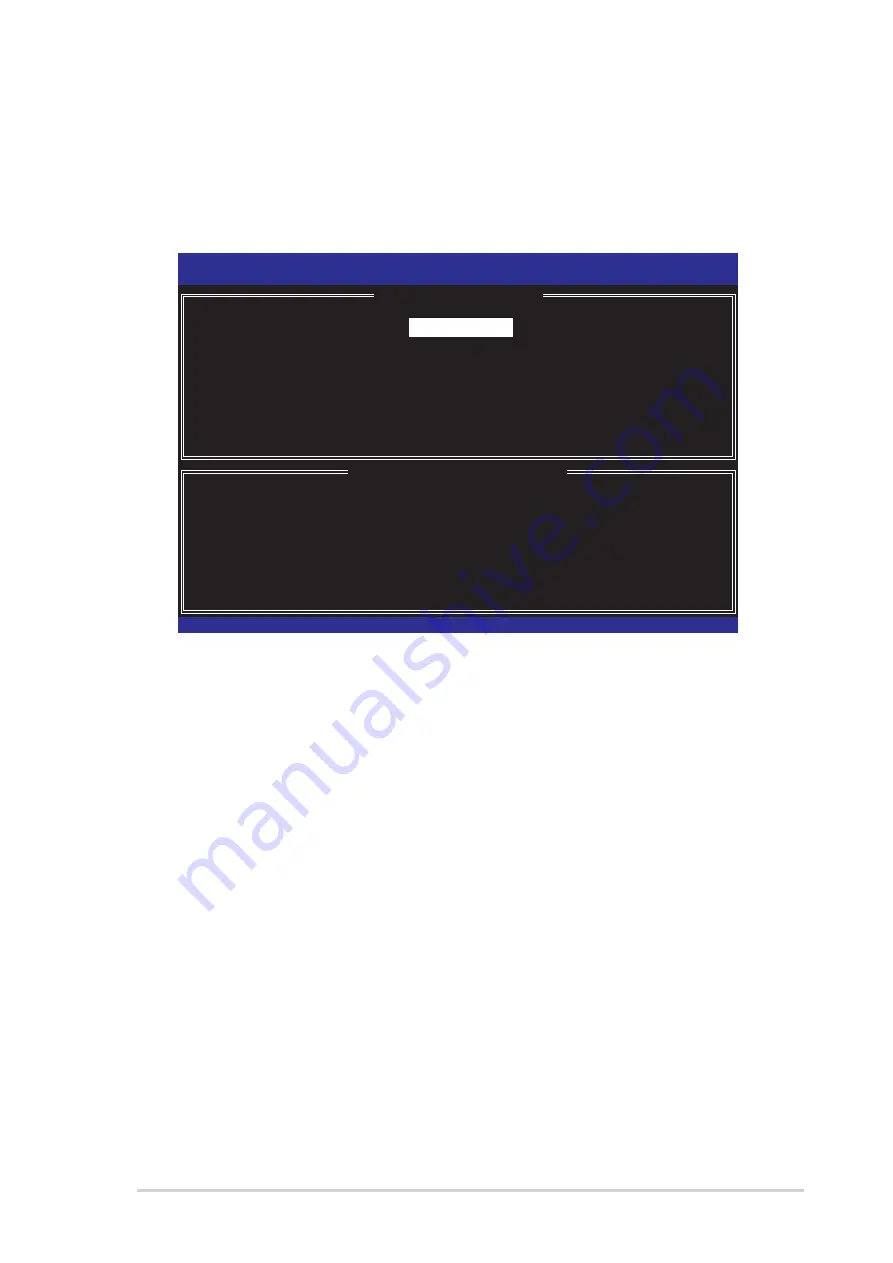
press <Enter>. This screen appears.
Intel(R) Matrix Storage Manager Option ROM v5.0.0.1032 ICH7R wRAID5
Copyright(C) 2003-05 Intel Corporation. All Rights Reserved.
[
CREATE ARRAY MENU
]
[
DISK/VOLUME INFORMATION
]
Enter a string between 1 and 16 characters in length that can be used
to uniquely identify the RAID volume. This name is case sensitive and
cannot contain special characters.
Name:
RAID Level:
Disks:
Strip Size:
Capacity:
Volume1
RAID10(RAID0+1)
Select Disks
128KB
0.0 GB
Create Volume
[
↑↓
↑↓
↑↓
↑↓
↑↓
]-Select
[ESC]-Exit [ENTER]-Select Menu
2.
Enter a name for the RAID 10 set, then press <Enter>.
3.
Highlight R A I D L e v e l
R A I D L e v e l
R A I D L e v e l
R A I D L e v e l
R A I D L e v e l, press the up/down arrow key to select
|R A I D 1 0 ( R A I D 0 + 1 )
R A I D 1 0 ( R A I D 0 + 1 )
R A I D 1 0 ( R A I D 0 + 1 )
R A I D 1 0 ( R A I D 0 + 1 )
R A I D 1 0 ( R A I D 0 + 1 ), then press <Enter>.
4.
Follow steps 4 to 9 of section “6.3.1 Creating a RAID 0 set (striped)”
to create the RAID 10 set.


