Chapter 2
–
Hardware Information
18
1U
Rack
mou
nt
Net
work
Ap
pli
an
ce
FW
S-
75
41
2.5 Hardware Installation
This section details the hardware assembly steps for the FWS-7541. Please read this
section thoroughly before beginning installation and ensure you have all necessary
components ready. A Phillips head screwdriver is required.
2.5.1
Hard Disk Drive (HDD) Installation
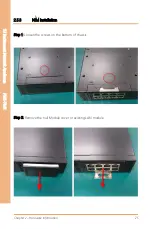
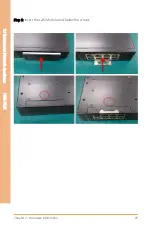
Step 1: Unscrew the upper lid.
Step 2: Place assembled cushions on the hard disk driver bracket.
Summary of Contents for AAEON FWS-7541
Page 1: ...Last Updated July 6 2022 FWS 7541 1U Rackmount Network Appliance User s Manual 1st Ed ...
Page 14: ...1U Rackmount Network Appliance FWS 7541 Chapter 1 Chapter 1 Product Specifications ...
Page 18: ...1U Rackmount Network Appliance FWS 7541 Chapter 2 Chapter 2 Hardware Information ...
Page 20: ...Chapter 2 Hardware Information 7 1U Rackmount Network Appliance FWS 7541 ...
Page 21: ...Chapter 2 Hardware Information 8 1U Rackmount Network Appliance FWS 7541 Board Component Side ...
Page 22: ...Chapter 2 Hardware Information 9 1U Rackmount Network Appliance FWS 7541 Solder Side ...
Page 40: ...1U Rackmount Network Appliance FWS 7541 Chapter 3 Chapter 3 AMI BIOS Setup ...
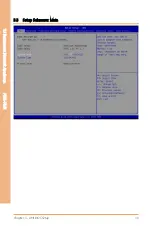
Page 43: ...Chapter 3 AMI BIOS Setup 30 1U Rackmount Network Appliance FWS 7541 3 3 Setup Submenu Main ...
Page 47: ...Chapter 3 AMI BIOS Setup 34 1U Rackmount Network Appliance FWS 7541 3 4 2 Hardware Monitor ...
Page 50: ...Chapter 3 AMI BIOS Setup 37 1U Rackmount Network Appliance FWS 7541 3 4 4 SIO Configuration ...
Page 64: ...Chapter 3 AMI BIOS Setup 51 1U Rackmount Network Appliance FWS 7541 3 5 2 SATA Configuration ...
Page 70: ...Chapter 3 AMI BIOS Setup 57 1U Rackmount Network Appliance FWS 7541 3 5 8 Memory Topology ...
Page 71: ...Chapter 3 AMI BIOS Setup 58 1U Rackmount Network Appliance FWS 7541 3 5 9 IIO Configuration ...


