


Chapter 3 Changing the Screen Display and Settings
11
3.3 Settings Menu List
3.3 Settings Menu List
This section shows the functions that can be configured from the menu screen.
Display Control
Sets the display method except for image display information.
The setting items are as follows.
Setting item 1
Setting item 2
Content (initial value: underlined)
Format
Off, On
Off
: Does not display format information for the input signal.
Displays format information
for the input signal.
On
: Displays format information for the input signal.
Camera Info.
Off, On
Off
: Does not display supplemental output information.
Displays supplemental information
output from the camera.
(*For future use)
On
: Displays supplemental output information.
Marker On
Off, On
Off
: Does not display any markers.
Switches between showing and
hiding the markers.
On
: Displays all the markers.
Flip Screen
Off, On
Off
: Does not flip the input image.
Switches between flipping and not
flipping the input image.
On
: Flips the input image.
Zebra
Off, On
Off
: Does not display a zebra pattern on the input image.
Switches between showing and not
showing the zebra pattern on the
input image.
On
: Displays a zebra pattern on the input image.
Mono
Off, On
Off
: Displays the input image in color.
Switches between displaying and
not displaying the input image in
monochrome.
On
: Displays the input image in monochrome.
Blue Only
Off, On
Off
: Displays the input image in color.
Switches between displaying and
not
displaying
only
the
blue
components in the input image.
On
: Displays only the blue components in the input image.
Peaking On
Off, On
Off
: Does not display peaking.
Switches between showing and
hiding peaking.
On
: Displays peaking.
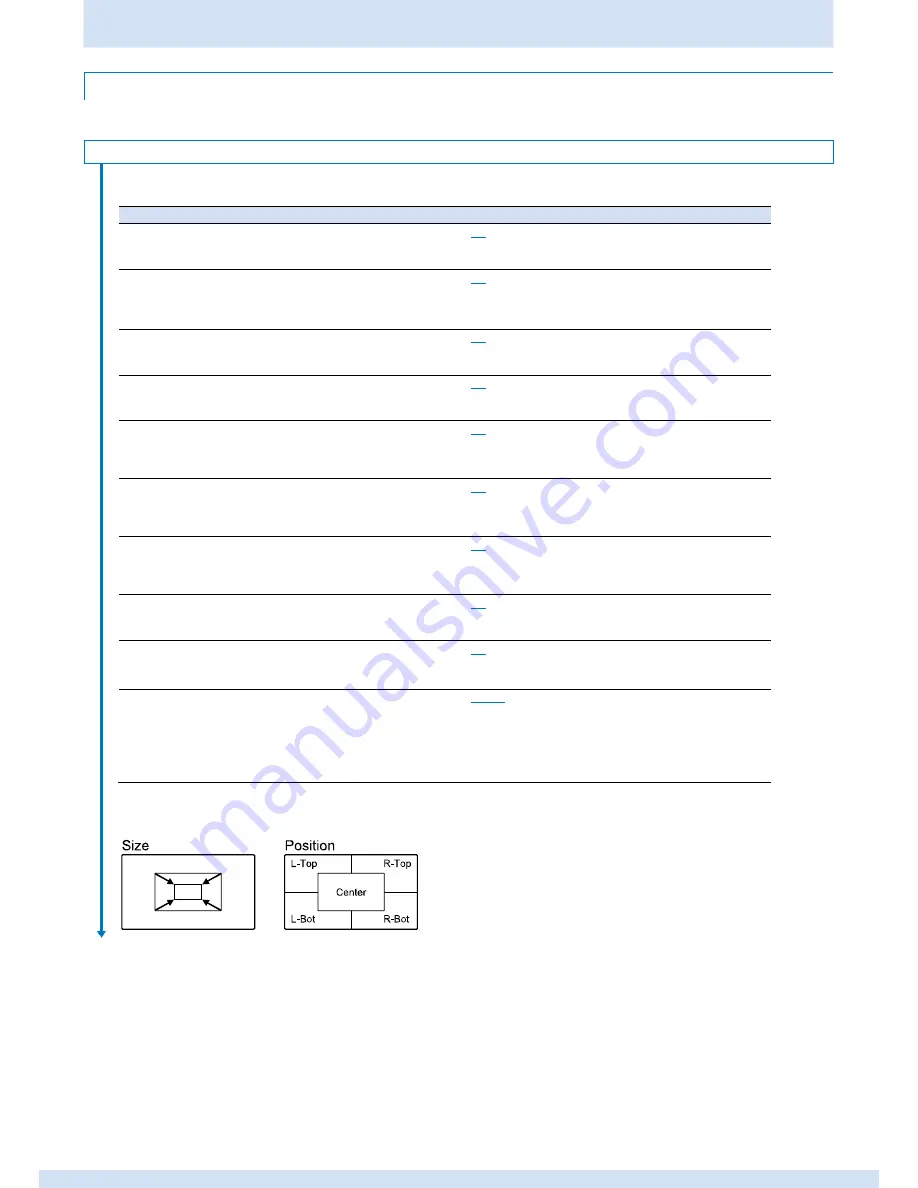
Mag Size(*)
Off, x2, x4
Off
: Does not magnify the displayed image.
Magnifies the displayed image.
x2
: Magnifies the displayed image by two.
x4
: Magnifies the displayed image by four.
Mag Position(*)
Center, L-Top, R-Top, L-Bot,
Center
: Magnifies the image at the center of the display.
Sets the display position for the
R-Bot
L-Top
: Magnifies the image at the top-left of the display.
magnified image.
R-Top
: Magnifies the image at the top-right of the display.
L-Bot
: Magnifies the image at the bottom-left of the display.
R-Bot
: Magnifies the image at the bottom-right of the
display.
(*)
Magnifies the input image by 2 or 4 times.
You can also set the display position for the magnified image.
Continued on next page
4 times
2 times


