


21
logo or graphic on the layout as illustrated. The logo can be edited with Windows paint by
double clicking on it.
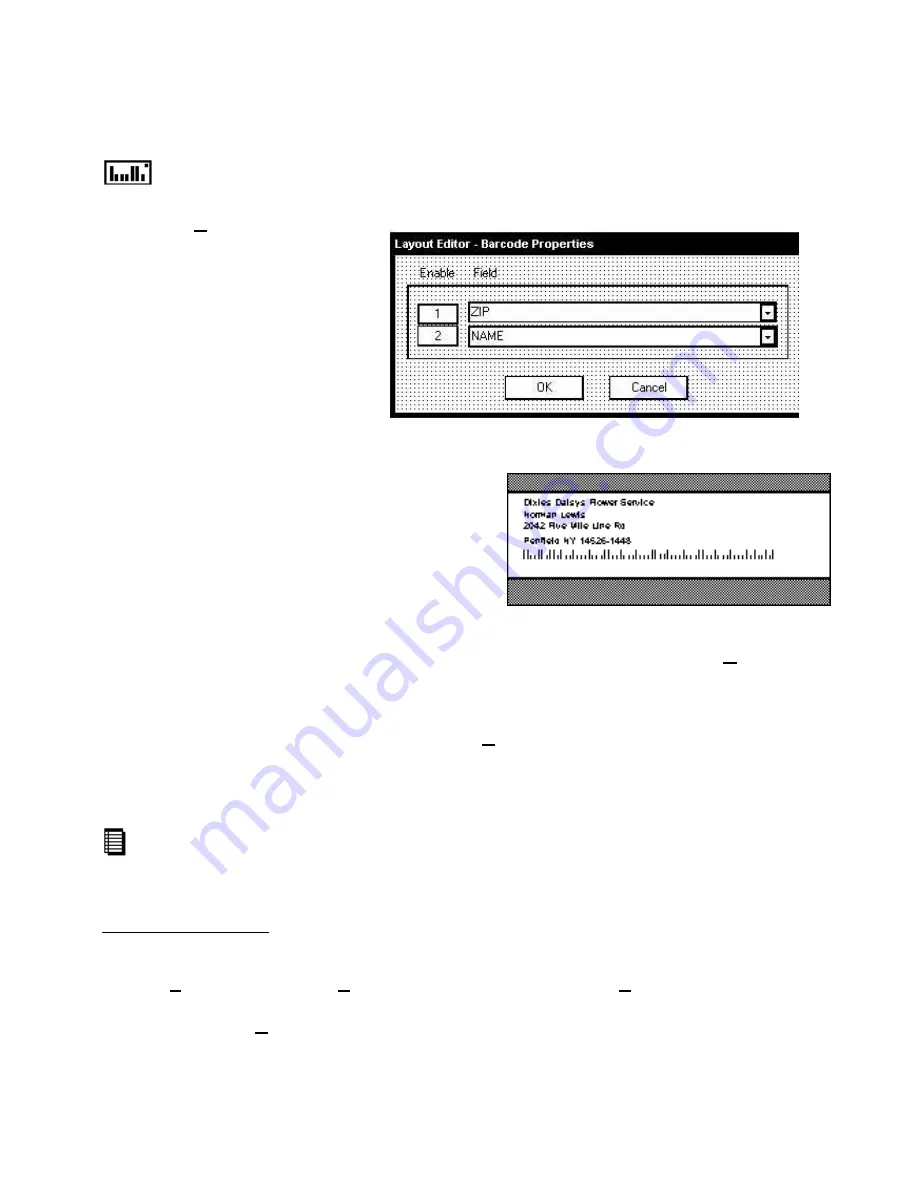
Press this button to add the USPS bar code to the address. Press the number 1
Enable
button and then select the Field where the bar code is located in the database.
Then press
OK.
The bar code
will appear in the lower right
hand corner of your screen just
below the layout in the blotter
area. Click and drag the bar
code to its position under the
address as shown.
IMPORTANT NOTE:
The bar
code displayed in the Layout
Editor view is a representation of
the positioning of the bar code
on your layout. If you use the data base view
function in the Layout Editor, the bar code will
appear the same for each record. When the
record is printed on the AstroJet Printer the bar
code will be the correct one for each zip code in
the database.
You may also add a barcode with the “Layout
Editor”. This is used when the barcode
appears as a five plus four in one data field and a separate two-digit delivery point in
another field. Click on the
Text Field Properties
icon and
Enable
a font. Click
OK
. Drag
the field to a position under or over the address and double click on it. When the “Text Field
Editor” window opens, click on the barcode icon to select the “Astro USPS” font. Then
select the fields that contain the barcode information from the drop down box and combine
them on the same line without any spaces. Click
OK
and position the resulting image on
the layout.
The image will appear as follows: | ~FIELD_4~ | | ~FIELD_5~ | When in database view the
actual barcode for each address will display.
The actual database records can be viewed by clicking on the Template/Database View
icon. A set of arrow buttons will appear below the icons that will permit you to step through
the records or search for specific records..
Saving the Template
Now that you have designed the template using the layout editor, it is time to save it.
Click on
File
and select either
Save Template
or
Save Template As…
and the “Save As”
window will appear. You must give the template file a unique name with the extension
“
.AJPJT
” then click
Save
. The Template will be saved in the AstroJet Data
1
Projects
folder.
Summary of Contents for AstroJet 2000
Page 1: ...ASTRO AstroJet 2000 High Speed Inkjet Printer Installation Operating and Parts Manual...
Page 4: ...ii Notes...
Page 6: ...2 Notes...
Page 12: ...8 Notes...
Page 42: ...38 Notes...
Page 49: ...45 ASTROJET 2000 PARTS CATALOG...
Page 50: ...46 Group 1 Covers...
Page 52: ...48 Group 2 Mechanical...
Page 54: ...50 Group 3 Feed Table...
Page 56: ...52 Group 4 Metering Plate...
Page 58: ...54 Group 5 Electrical...
Page 60: ...56 Notes...
Page 61: ......
Page 62: ...Copyright 2000 Astro Machine Corporation Elk Grove Village Illinois 60007 05 31 2000...


