Page 41
VI.
Go to Preset
Select a preset point from the drop-down menu, the camera will move its view to the
preset point where you have previously assigned its preset point with. Click on
icon to delete a preset point from the drop down list.
VII.
Control Mode
Under
Continue Mode
, when controlling the 8-direction arrows, press and hold the
arrow button to let the camera lens move smoothly. While under
Normal Mode
,
clicking on the arrow button will let the camera lens move normally.
VIII.
Speed
The bigger value selected, the faster each click on the arrow button will make the
camera view move.
IX.
Patrol
Click to start patrolling from the preset points created in
Go to Preset
drop-down list.
The camera will move according to the patrol route and dwell time you had set.
X.
Auto Pan
The function allows the camera to patrol between two preset points. Set up the
start and end preset points from the IP camera setup interface, then click on
Auto-pan
to start the operation.
XI.
Stop
Click to stop the camera during its
Patrol
or auto
Auto Pan
route.
E.
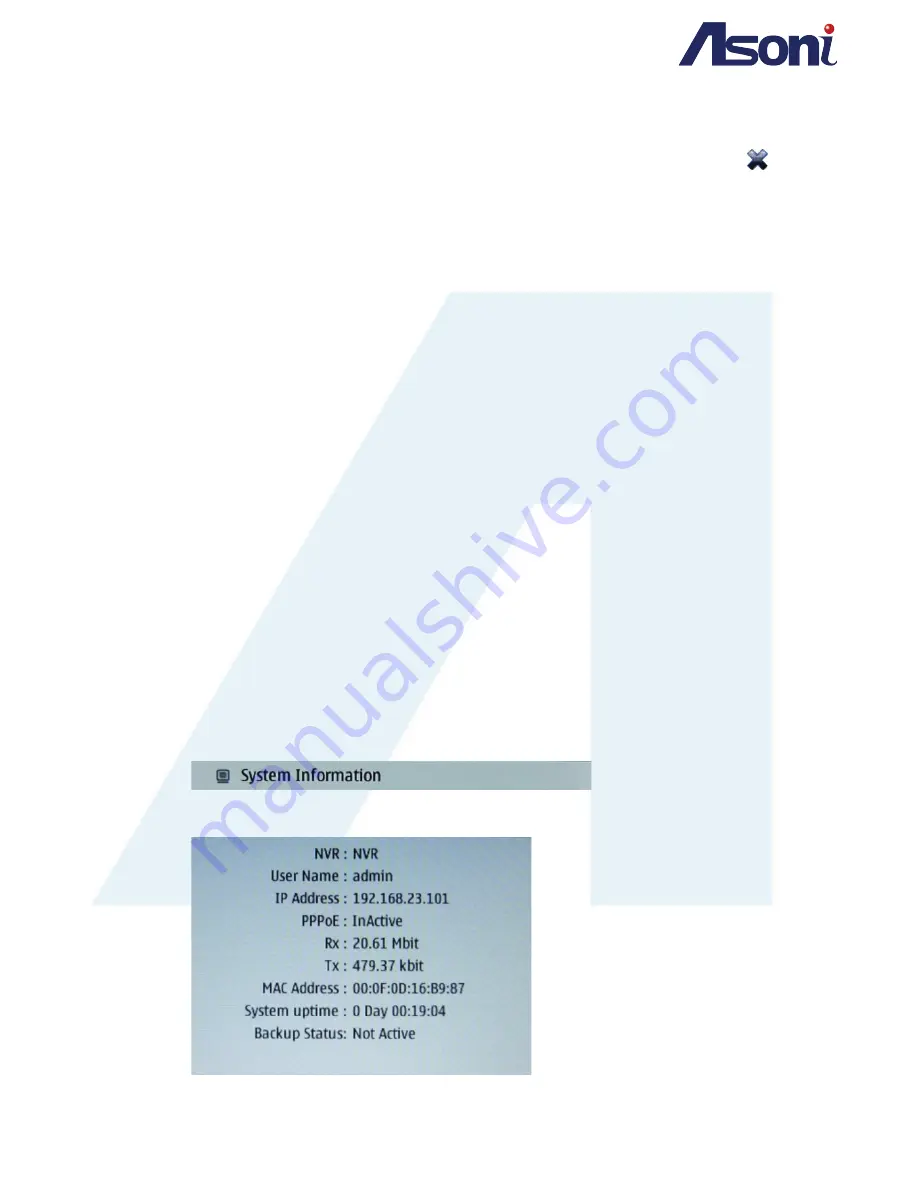
System Information
Displays the system information of the NVR


