


Chapter 3 Connection Mode
29
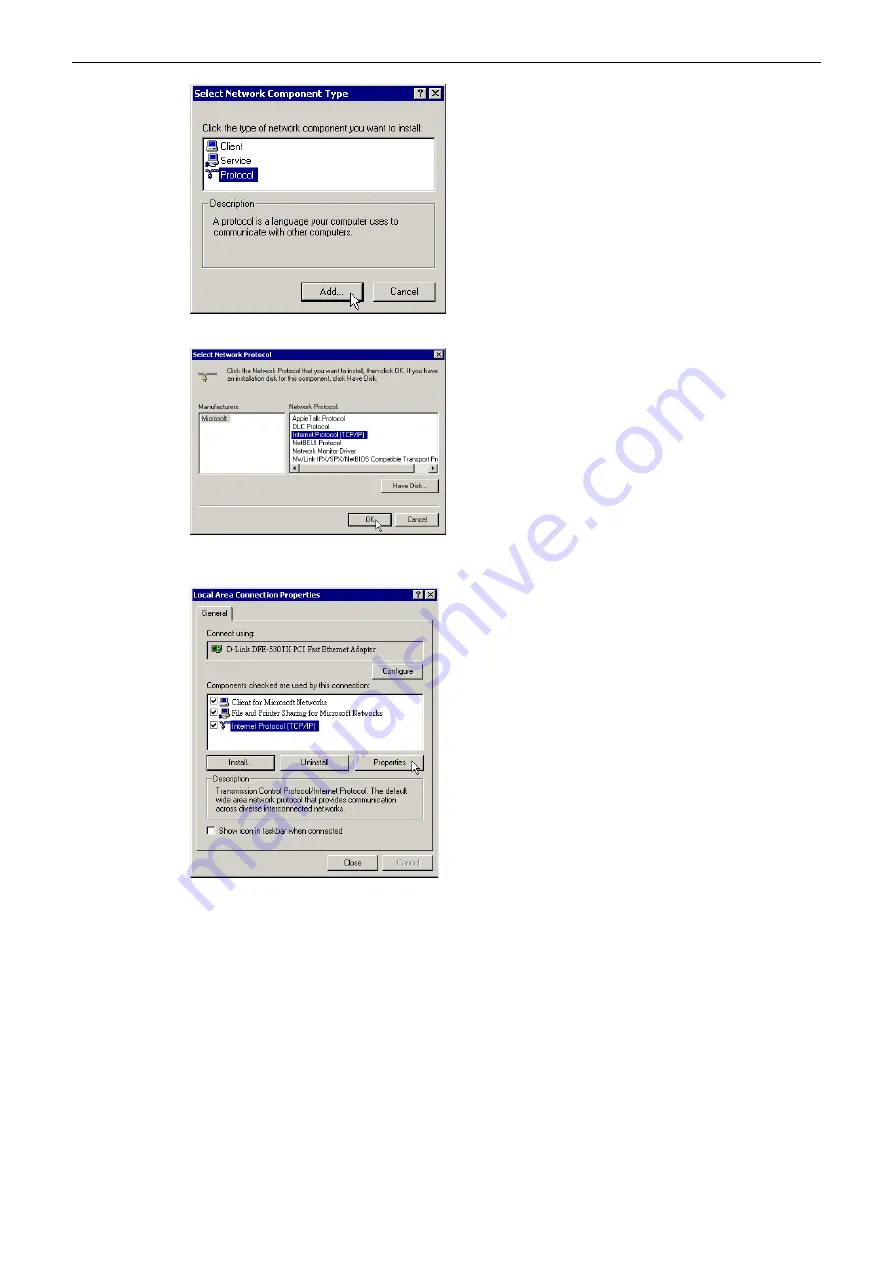
5.
Click Internet Protocol(TCP/IP) and then click OK.
6.
When returning to Local Area Connection Properties window, highlight Internet Protocol (TCP/IP) and then
click Properties.
7.
Under the
General
tab, enable
Use the following IP Address
. Enter the
IP address
:
192.168.1.x
(x is between
2 and 254),
Subnet Mask
:
255.255.255.0
and
Default
gateway
:
192.168.1.1
. Then click
OK
. When prompted
to restart your computer, reboot it to enable the settings.


