background image


Electrical energy can perform many useful functions, but it can also cause personal injuries and property 

damage if improperly handled. This product has been engineered and manufactured with the highest 

priority on safety. But IMPROPER USE CAN RESULT IN POTENTIAL ELECTRICAL SHOCK OR FIRE 

HAZARD. In order to prevent potential danger, please observe the following instructions when installing, 

product, please read the following precautions carefully before using the product. 


Caution: To prevent electric shock, match wide blade of plug to wide slot, fully insert. Refer to the 
identification/rating label located on the back panel of your product for its proper operating voltage. 
 

1.  Read these instructions

---All operating instructions must be read and understood before the product 

is operated. 


2.  Keep these instructions

---These safety and operating instructions must be kept in a safe place for 

future reference. 


3. Heed 

all 

warnings

--- All warnings on the product and in the instructions must be observed closely. 


4. Follow 

all 

instructions

---All operating instructions must be followed. 


5. Attachments

---Only use attachments/accessories specified by the manufacturer. Do not use 

attachments not recommended by the manufacturer. Use of improper attachments can result in 

accidents. 


6. Power 

source

---This product is intended to be supplied by a listed power supply indicated on the 

marking label. If you are not sure of the type of power supply to your home, consult your product dealer 

or local power company. For added protection for this product during a lightning storm, or when it is left 

unattended and unused for long periods of time, unplug it from the wall outlet and disconnect the cable 

system. 


7.  Power cord protection

 ---Protect the power cord from being walked on or pinched particularly at plugs, 

convenience receptacles, and the point where they exit from the apparatus. 


8. Overloading

---Do not overload wall outlets, extension cords, or convenience receptacles on other 

equipment as this can result in a risk of fire or electric shock. 


9.  Entering of objects and liquids

---Never insert an object into the product through vents or openings. 

High voltage flows in the product, and inserting an object can cause electric shock and/or short internal 

parts. For the same reason, do not spill water or liquid on the product. 


10. Servicing

---Refer all servicing to qualified service personnel. Servicing is required when the apparatus 

has been damaged in any way, such as power-supply cord or plug is damaged, liquid has been spilled 

or objects have fallen into the apparatus, the apparatus has been exposed to rain or moisture, does not 

operate normally, or has been dropped. 


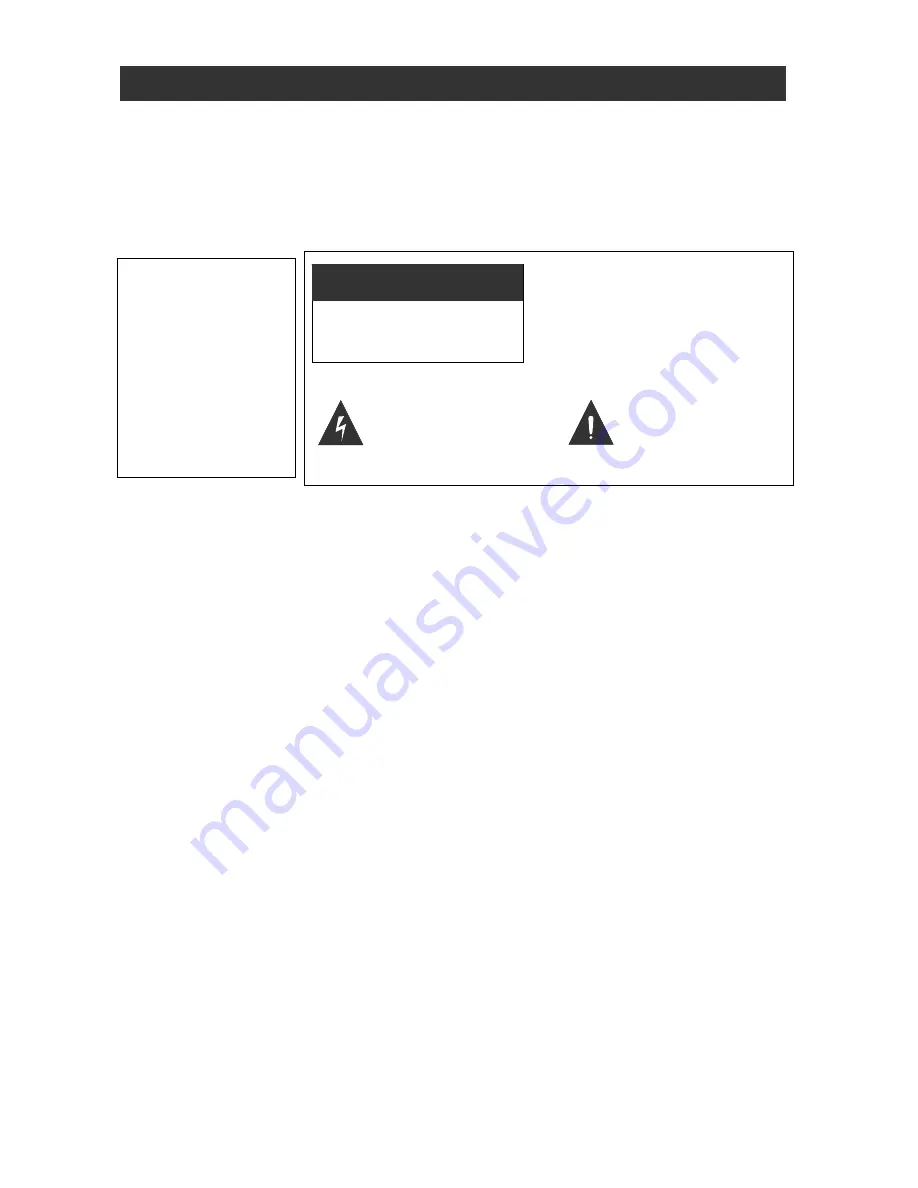
WARNING


To reduce the risk of fire 
or electric shock, do not 
expose this product to 
rain or moisture. 
Apparatus shall not be 
exposed to dripping or 
splashing and no objects 
filled with liquids, such as 
vases, shall be placed on 
the apparatus. 


Caution

: To reduce the risk of 

electric shock, do not remove 
cover (or back). No user 
serviceable parts inside. Refer 
servicing to qualified service 
personnel. 


This symbol indicates 
“dangerous voltage” 
inside the product that 
presents a risk of electric 
shock or personal injury. 

This symbol 

indicates important 

instructions 

accompanying product. 

IMPORTANT SAFETY INSTRUCTIONS 


RISK OF ELECTRIC SHOCK. 

DONOT OPEN


CAUTION


operating and cleaning the product. To ensure your safety and prolong the service life of your PDP TV 

                                                                                                   1

Summary of Contents for APW4240N

Page 1: ...OPERATION MANUAL Please read this manual carefully before operation APW4240N 42 ATSC NTSC PLASMA TV ...

Page 2: ...r long periods of time unplug it from the wall outlet and disconnect the cable system 7 Power cord protection Protect the power cord from being walked on or pinched particularly at plugs convenience receptacles and the point where they exit from the apparatus 8 Overloading Do not overload wall outlets extension cords or convenience receptacles on other equipment as this can result in a risk of fir...

Page 3: ... as damage to the product 15 Careful move When a cart is used use caution when moving the cart apparatus combination to avoid injury from tip over Sudden stops excessive force and uneven floor surfaces can cause the product to fall from the trolley 16 Lightning Unplug this apparatus during lightning storms or when unused for long periods of time For added protection for this television equipment d...

Page 4: ...nterference to radio or TV reception which can be determined by turning the equipment off and on the user is encouraged to try to correct the interference by one or more of the following measures 1 Reorient or relocate the receiving antenna 2 Increase the separation between the equipment and unit 3 Connect the equipment into an outlet on a circuit different from that to which the unit is connected...

Page 5: ...deformation of the unit The remote control may not work properly if the remote sensor window of the main unit is under or operate the remote control closer to the remote sensor window If the remote control fails to operate the PDP TV functions replace the batteries in the remote control 1 Open the battery cover 2 Insert two size AAA batteries 3 Replace the cover until the lock clicks Place the bat...

Page 6: ...ion of the electronic program guide Dolby AC 3 decoder SPDIF Output Optical digital audio output connect to the external SPDIF receiver V Chip Function V Chip technology allows parents to block unsuitable programming for younger viewers CCD Function Allow you to select from the closed caption mode for programs that are broadcast with closed caption MTS Sound System Enjoy stereo bilingual and mono ...

Page 7: ...onveyance 4 Please plug the audio and video port of the same external appliance in the corresponding terminal 5 When connecting PC or HDMI cable plug directly and lightly to the interface otherwise you will damage the stitch Screw down the screws on both PC cable sides in clockwise to secure it after plugging it in 6 The pictures are for function illustration only Please take the TV as the standar...

Page 8: ...o exit the menu operation 10 OK Press to select or confirm sub menu of the OSD 11 14 Up Down Left Right Press to adjust the menu operation 15 VOL Volume Up 16 VOL Volume Down 17 CH Channel Up 18 Channel Down 19 SLEEP Press to select time of TV to sleep mode 20 CC Press to switch CC mode On CC on mute Off 21 ZOOM Press to adjust displayable aspect ratio among full zoom cinema and normal 22 MTS In A...

Page 9: ...fferent language mode applied on the screen menu display Here the Remote Control operation will be set as an example Press the TV MENU to display the main menu Press to choose Press OK to enter the correspondent menu option and press to choose from the options then press OK to enter the submenu The menu display time is 30 seconds If no menu operation during the period the menu will be closed autom...

Page 10: ...er Color Temp Three modes to be selected Normal Warm Cool Using the Picture Menu Press Menu to enter Picture Menu Adjust the picture s quality in picture menu Press to highlight the item to be adjusted Press to adjust parameters Using the SOUND Menu Select the SOUND menu and adjust the selected field Sound Mode To select the desired sound mode among News Music Movie Sports and User Return 60 0 Ste...

Page 11: ... language of audio Only for the digital TV signal Using the TIME Menu Sleep To set how long will the TV enters into the Standby mode that is the length from the current set time to be in Standby mode This can be set with the remote control SLEEP button Time Zone There are some time zones on screen display Daylight Savings Use to switch the daylight saving time Clock To display the time information...

Page 12: ...o switch the transparency Aspect Ratio Four modes to be selected Full Zoom Cinema Normal DNR Use to select the level of Dynamic Noise Reduction PC Set Up Setting values in the PC mode To adjust the parameter of the picture in PC mode The function of Auto can proofread the parameter of the picture automatically in PC mode Advance 11 ...

Page 13: ...Closed Caption You can switch the CC on screen display Advance Use to enter the submenu OK select the preferences and press OK to enter the edit mode To Off DLC Hotel Mode 12 ...

Page 14: ...o set the default volume The default volume is the volume when the TV Max Volume Use to set the max volume When the max volume is lower than the default volume the max volume is the priority On Antenna On Source On TV On Source Use to set the default signal source The default source will be display when the TV turns on Optional signal sources are as following HDMI1 HDMI2 VGA TV AV SVIDEO COMPONENT...

Page 15: ... number button to enter the password The default password is 0000 Press the number button on the remote control to set the new password When done a Parent Lock When Parent Lock is OFF no programs are blocked from viewing After a password correction has been confirmed please remember it for when entering into the Child Lock menu each function can not be activated until the correct password is enter...

Page 16: ...TV MA Mature Audience only MPAA N A None G All children and General Audience PG Parental Guidance suggested PG 13 Parental Guidance for children under 13 R Restricted viewing Parental guidance is suggested for children under 17 NC 17 and X No one 17 and under allowed Canada Press OK to enter the edit mode RRT Setting Press to enter and set the RRT Only the Digital Signal Source have the RRT messag...

Page 17: ... Auto Search and press to search the NTSC and ATSC TV programs automatically During searching the searched programs are stored When antenna is air select Start to Scan when searching is finished the TV will automatically return to the first founded channel When antenna is cable there are four cable plans on the screen display select one mode and Start to Scan 16 ...

Page 18: ...recover the channel which is erased press OK to change the Skip state again Channel No Select the desired item to adjust press to adjust the channel Channel Labels 1 Select the Channel Labels and you can edit that individually 2 Select the desired channel number then press OK to enter the edit mode 3 Select the input character with When one character is finished edition Press to edit another chara...

Page 19: ... source is low grade or the signal cord is in a lower quality Use the qualified signal cord No Video signal in AV mode No Video signal or the signal cord is improperly not connected 1 Connect the signal cord properly 2 unplug one cord Picture is unclear or moves or have black stripes on horizontal position in PC mode PC Picture is not in the middle of the screen Picture is not well adjusted Adjust...

Page 20: ... WARRANTY PERIOD Asiaventurelink Co Ltd will repair or replace without charge at its option your product which proves to be defective in material or workmanship under normal use during the warranty period listed below from the date of original purchase No other express warranty is applicable to this product The duration of any implied warranties including the implied warranty of merchantablility i...

Reviews: