

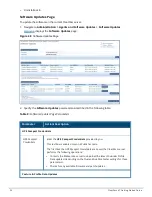


Parameter
Action/Description
Uninstall
To uninstall a skin, click
Uninstall
(for details, see
Using Microsoft Hyper-V to
Install ClearPass on a Virtual Appliance
).
NOTE:
You cannot uninstall cumulative or point patch updates.
Needs Restart
The
Needs Restart
link appears when an update needs a reboot of the server
in order to complete the installation.
Clicking this link displays the
Install Update
dialog box, which shows the log
messages generated during the installation.
Installed
The
Installed
link appears when an update has been successfully installed.
Clicking this link displays the
Install Update
dialog box, which shows the log
messages generated during the installation.
Install Error
This link appears when an update install encounters an error. Clicking this link
displays the
Install Update
dialog box, which shows the log messages
generated during the install.
Other
Check Status
Now
Click this button to perform an on-demand check for available updates.
Check
Status Now
applies to updates only on a Publisher node, as well as Firmware
& Patch Updates.
Delete
Use this option to delete a downloaded update.
Changing the Administration Password
When the cluster password for this ClearPass server is set upon initial configuration (see
Completing the Virtual
Appliance Configuration on page 48
), the administration password is also set to the same password. If you
wish to assign a unique
admin
password, use this procedure to change it.
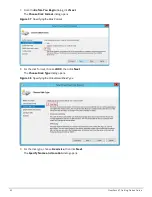
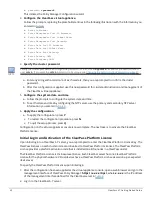
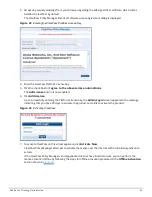
To change the administration password:
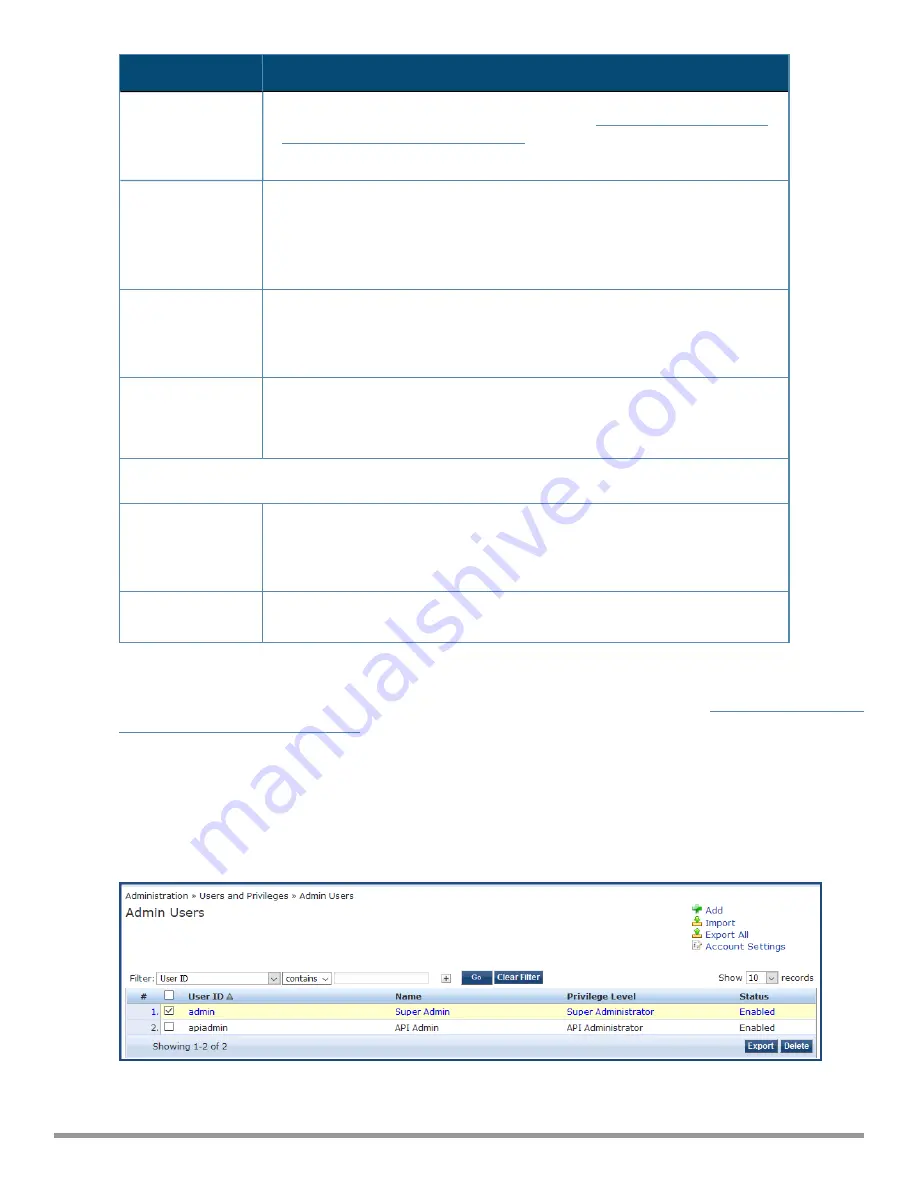
1. In ClearPass, navigate to
Administration
>
Users and Privileges
>
Admin Users
.
The
Admin Users
page opens.
Figure 49
Admin Users Page
2. Select the appropriate
admin
user.
55
ClearPass 6.7 Getting Started Guide