6
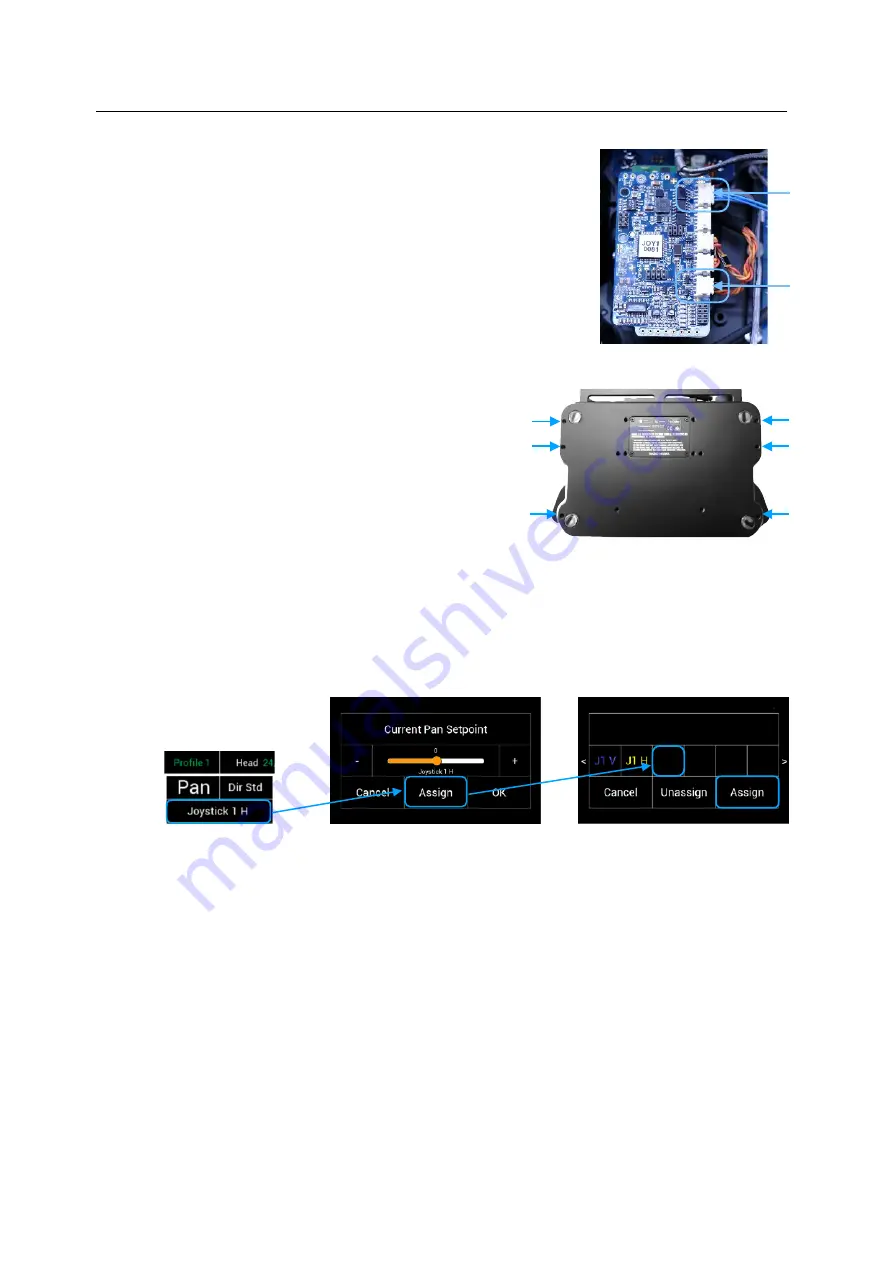
2.7 Connecting the Microforce Joystick
Plug carefully the BLUE and BLACK
cables into the new Microforce Joystick.
2.8 Attaching the bottom cover
Turn the panels over and place the
bottom cover on the housing.
Place the Torx screws and tighten
the screws evenly.
3
Assigning the new controller
NOTE
SUP 2.3 is required to use the Microforce joystick
3.1 Assigning Pan
• Touching the area below Pan, will open a new touchscreen display menu.
• Next touch
Assign
• Select
MF1P
(Microforce Joystick Pan)
• Press Assign
3.2 Assigning Tilt
• Touching the area below Pan, will open a new touchscreen display menu.
• Next touch
Assign
• Select
MF1T
(Microforce Joystick Tilt)
• Press Assign
Controller Assignment
Assign Pan Setpoint
MF1P
MF1T
K1
K2
Torx screws


