background image

KARINA

1

2

3

4

4

Summary of Contents for KARINA

Page 1: ...English ASSEMBLY INSTRUCTION Español INSTRUCCIONES PARA EL ENSAMBLAJE KARINA ...

Page 2: ...KARINA ...

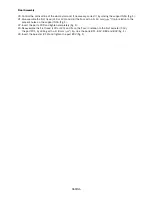
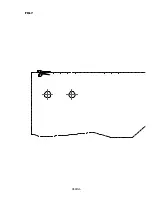
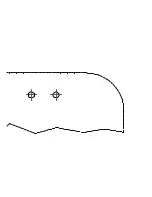
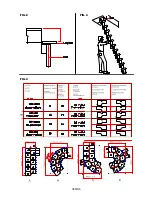
Page 3: ... on Now determine 8 which will be the first tread from the top fig 3 Cut along the shape fig 7 center page 9 Decide where to assemble the railing inside or outside fig 3 and pierce the treads L19 L20 with the 10 drill bit D 6 5 mm 1 4 using the template only for the straight sides To find the fixing point on the short side of the winding treads L19 L20 maintain the same distance as the one between...

Page 4: ...or with a D 14 mm 21 35 64 tip in relation to the present holes on the support N16 fig 1 Insert the parts C39 and tighten completely fig 1 22 Reassemble the first tread L19 or L20 and fix on the floor in relation to the first baluster C12 23 the part F01 by drilling with a D 8 mm 5 16 tip Use the parts B11 B12 B83 and B02 fig 1 Insert the baluster C12 and tighten the part B02 fig 1 24 ...

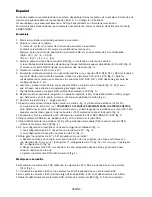
Page 5: ... L20 y seguir 8 así Determinar en este punto cual va a ser el primer peldaño de arriba fig 3 Recortar la plantilla fig 7 página central 9 Decidir donde colocar la barandilla interior o exterior fig 3 y taladrar los peldaños L19 L20 10 con una broca de Ø 6 5 mm 1 4 utilizando la plantilla solamente para los tramos rectos Para determinar el punto de fijación en el lado corto y el lado largo de los p...

Page 6: ...y taladrar el pavimento con una broca de Ø 14 mm 21 35 64 en la situación de los orificios presentes en el soporte N16 fig 1 Introducir los elementos C39 y apretar definitivamente fig 1 22 Volver a montar el primer peldaño L19 o L20 y fijar al pavimento el elemento F01 a la altura del primer 23 barrote taladrando con una broca Ø 8 mm 5 16 Utilizando los elementos B11 B12 B83 y B02 fig 2 Introducir...

Page 7: ...KARINA A B B02 62 B11 2 B12 2 B71 20 B75 40 B83 62 B86 30 C12 15 C13 60 C14 30 C15 20 C28 15 C39 4 C40 55 F01 2 F23 30 L19 6 L20 5 N16 1 N17 1 N18 8 N19 1 N26 11 TAB 1 ...

Page 8: ...KARINA ...

Page 9: ...KARINA FIG 1 ...

Page 10: ...KARINA FIG 7 ...

Page 11: ......

Page 12: ...KARINA FIG 2 FIG 4 FIG 3 ...

Page 13: ...KARINA FIG 5 ...

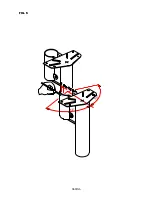
Page 14: ...KARINA FIG 6 ...

Page 15: ...KARINA ...

Page 16: ...English PRODUCT DETAILS Español DATOS DE IDENTIFICACIÓN ...

Page 17: ...KARINA 1 2 3 4 4 ...

Page 18: ...composed by vertical balusters 3 in metal fixed to the treads 2 materials balusters Fe 370 fixings 4 nylon finishing balusters epoxy powder coated in furnace CLEANING clean with a soft wet cloth without any product containing solvents or abrasive materials MAINTENANCE about 12 months after the installation date check the tightening of bolts on the various components special maintenance must be don...

Page 19: ...fijados a los peldaños 2 materiales barrotes Fe 370 fijaciones 4 nylon acabado barrotes barnizado en horno con polvos epoxídicos LIMPIEZA limpiar con un trapo suave humedecido con agua y sin ningún producto que contenga disolventes o materiales abrasivos MANTENIMIENTO transcurridos unos 12 meses desde la fecha de instalación comprobar que los tornillos que fijan las distintas partes sigan bien apr...

Page 20: ... additional parts or general questions regarding products or assembly please call fax or email us at ARKE by Fontanot Albini Fontanot SpA 75 Jackson Street Suite 303 Newnan GA 30263 Toll Free 888 782 4758 Phone 770 683 7200 Fax 770 683 7209 Email info arkestairs com ...

Reviews: