DV89
14
DV89
15
To program a special sequence
Press
PROG
on the remote control to open the ‘Programme’
menu. Note that playback must be stopped first.
DVD-video
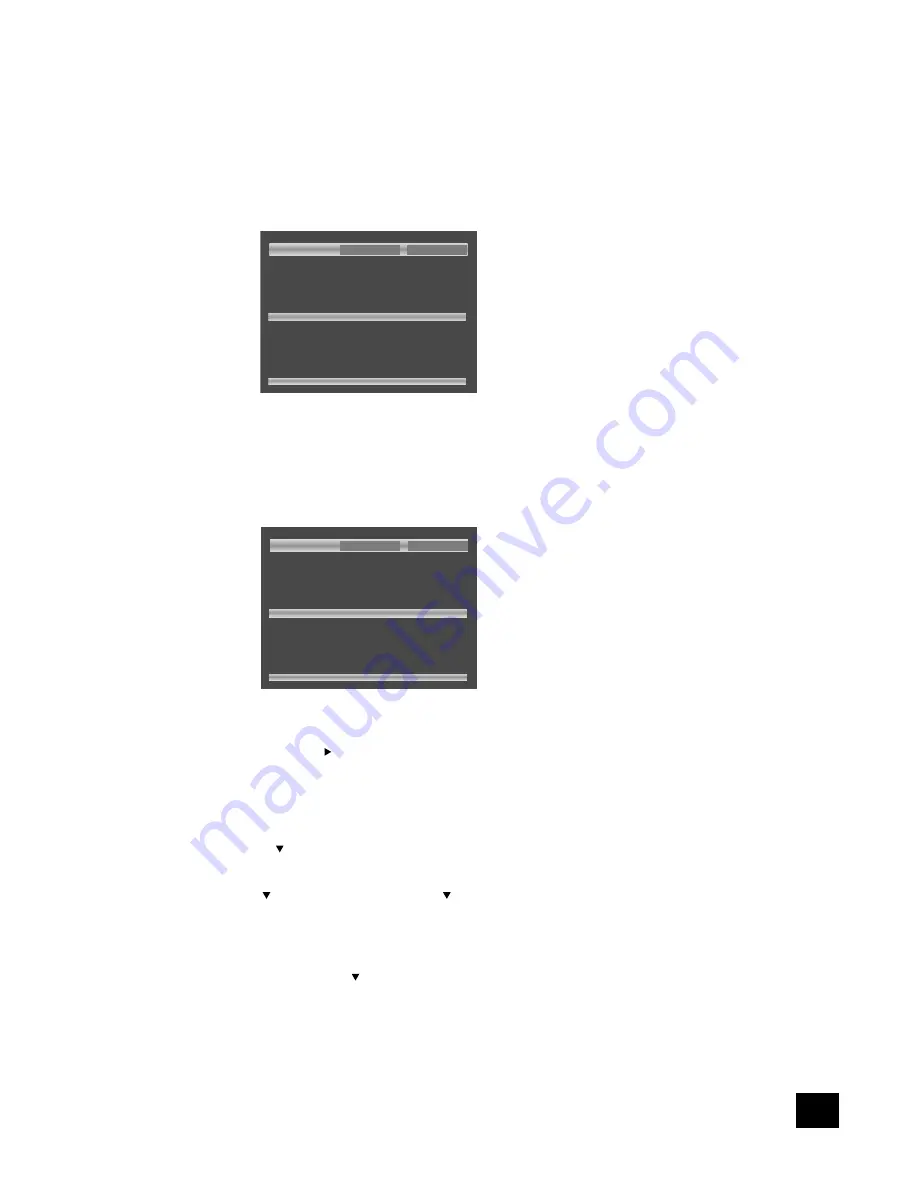
The bottom of the screen shows the number of titles present
on the disc, together with the number of chapters in the title
selected currently (or the first title if no title has yet been
specified). Below this is an information line, giving relevant
information for the cursor position.
2 Title(s) on this disc.
27 Chapter(s) in this title.
Enter title number.
Play
Clear All
1: – –
2: – –
3: – –
4: – –
5: – –
6: – –
7: – –
8: – –
9: – –
10: – –
11: – –
12: – –
13: – –
14: – –
15: – –
16: – –
17: – –
18: – –
19: – –
20: – –
You can enter a sequence of up to 20 title/chapter
combinations for programmed playback. If you enter data that
is invalid for the current disc, the field is erased automatically.
A number of aids have been built in to the programme menu
to make it easier to use. These are best illustrated by an
example. Let’s assume that you want to play chapters 5, 7, 9,
4, 8, 3, and 1 (in that order) of title 1, then all of title 2.
2 Title(s) on this disc.
27 Chapter(s) in this title.
Enter title number.
Play
Clear All
1: 1 5
2: 1 7
3: 1 9
4: 1 4
5: 1 8
6: 1 3
7: 1 1
8: 2 All
9: – –
10: – –
11: – –
12: – –
13: – –
14: – –
15: – –
16: – –
17: – –
18: – –
19: – –
20: – –
First, highlight the title position for the first programmed item
(as shown in the screen above). Then press the number
1
on the remote control: ‘1’ is shown in the position. Using the
remote control, press
to highlight the chapter position. The
message at the bottom of the screen changes accordingly,
prompting you for the required information. Press
5
on the
remote handset.
Since we have a number of chapters all from the same title, it
would be a lot of work to have to enter the title number each
time. Press on the remote handset. Notice that the player
assumes that the title number remains the same for this entry
as for the previous one. Enter the remaining chapter numbers,
pressing after each one. (Note that pressing at the bottom
of a column places the cursor at the top of the next column.)
Next, we want to specify all of title 2. For this, highlight the
title position of the next entry (entry 8) and enter the number
2
, indicating title 2. Highlight the chapter position and, without
entering any number, press . The player fills in the text ‘All’ to
indicate that all the chapters in title 2 will be played.
DVD-audio
The programming of a sequence for a DVD-audio disc
is essentially the same as for a DVD-video disc, and the
instructions given above should be followed. For DVD-audio
discs, the “titles with chapters” combination found on DVD-
video discs changes to “groups with tracks”.
VCD
The bottom of the screen shows the number of tracks present
on the disc. Below this is an information line, giving relevant
information for the cursor position.
You can enter a sequence of up to 20 tracks for programmed
playback. If you enter data that is invalid for the current disc,
the field is erased automatically.
To program the player, highlight the first entry (using the
cursor pad on the remote control), then press the number of
the track you want to play first. To enter a second track, move
down, then type the number of the second track to play, etc.
To enter a track number greater than 9, press the two digits
sequentially (e.g., for track 10, first press
1
, then press
0
).
To play the programme you have entered, highlight the
PLAY
button on the screen and press
OK
. The ‘PROG’ indicator
shows on the front panel display and the programmed
sequence begins.
If you make a mistake while programming, you can clear a
single field by highlighting it and pressing
CLEAR
. To clear
all the fields at once, highlight the ‘CLEAR ALL’ button on the
screen and press
OK
.
To stop the programmed sequence and return to normal
playback, select the ‘PLAY’ button in the programme menu with
no programme specified. This clears programme mode and
causes normal playback order to be resumed.
Note that in programmed playback mode, skipping
track forward or back skips forward or back through the
programmed sequence.
General
To play the programme you have entered, highlight the ‘PLAY’
button on the screen and press
OK
. The ‘PROG’ indicator
shows in the display and the programmed sequence begins.
If you make a mistake while programming, you can clear a
single field by highlighting it and pressing
CLEAR
. To clear
all the fields at once, highlight the ‘CLEAR ALL’ button on the
screen and press
OK
.
To stop the programmed sequence and return to normal
playback, select the
PLAY
button in the programme menu, with
no programme specified. This clears the programme mode and
causes normal playback order to be resumed.
Note that skipping forward or back through tracks while
in programmed play mode skips through the programmed
sequence.
Summary of Contents for DV89
Page 1: ...DV89 H A N D B O O K Arcam DV89 DVD player...
Page 22: ...DV89 22 Notes...
Page 23: ...DV89 23 Notes...


