16
Installation guide page 1
Attention!
The already assembled membranes can be stored for approx. 5 months in the sealed
pressure tube, preferably cool, but preferably not above 20 ° ambient temperature.
However, we recommend installing and using the Watermaker as soon as possible.
Warning!
Hose connections below the water line should secured with 2 hose clamps.
All hose clamps must check time to time and tighten if need.
During assembly of the hose nozzles and fittings, few windings of Teflon-tape have to be
wrapped around the screw thread against screw direction as tightly as possible. The
fittings may not be screwed too tightly in the filters or valves.
Thru-hull fitting, Strainer and feed pump
Install a thru-hull fitting and sea-cock, preferably deep under water line. The best place is about mid-ships behind
the keel. Install strainer and feed pump close as possibly to the sea-cock.
Attention!
To avoid mechanical stress, do not mount the strainer directly to the sea-
cock. The thru-hull fitting, coarse filter and the feed pump have to be located
in an area that will always be under the waterline when the boat is used under
normal running conditions.
In order to avoid accumulation of air,
if possible, install hoses
moved upward from the thru-hull fitting to the filters and up to the high-pressure pump.
From the sea-cock outlet to the feed pump inlet, the installation must be horizontal or
better rising. In order to stay as deep as possible below the waterline, a 90 ° hose nozzle
at the sea-cock outlet can be helpful.
Attention!
Avoid connecting to an existing inlet e.g. Main machine air conditioning. Common
operation is usually not possible because the existing hose cross-sections prevents
sufficient inflow.
Attention!
The feed pump is not self-priming and must be flooded before switching on, otherwise
the bearing will be destroyed by dryness.
To allow air to escape, switch the pump on and off several times and, if necessary, open
the vent valves on the prefilter.
If necessary, remove the high-pressure hose to the membrane at the high-pressure pump
and close it again after the water has escaped while the feed pump is running. This also
ensures that the HP pump is filled with water.
The system can also be vented by flushing with fresh water.
If necessary, refer to the further notes under Troubleshooting.
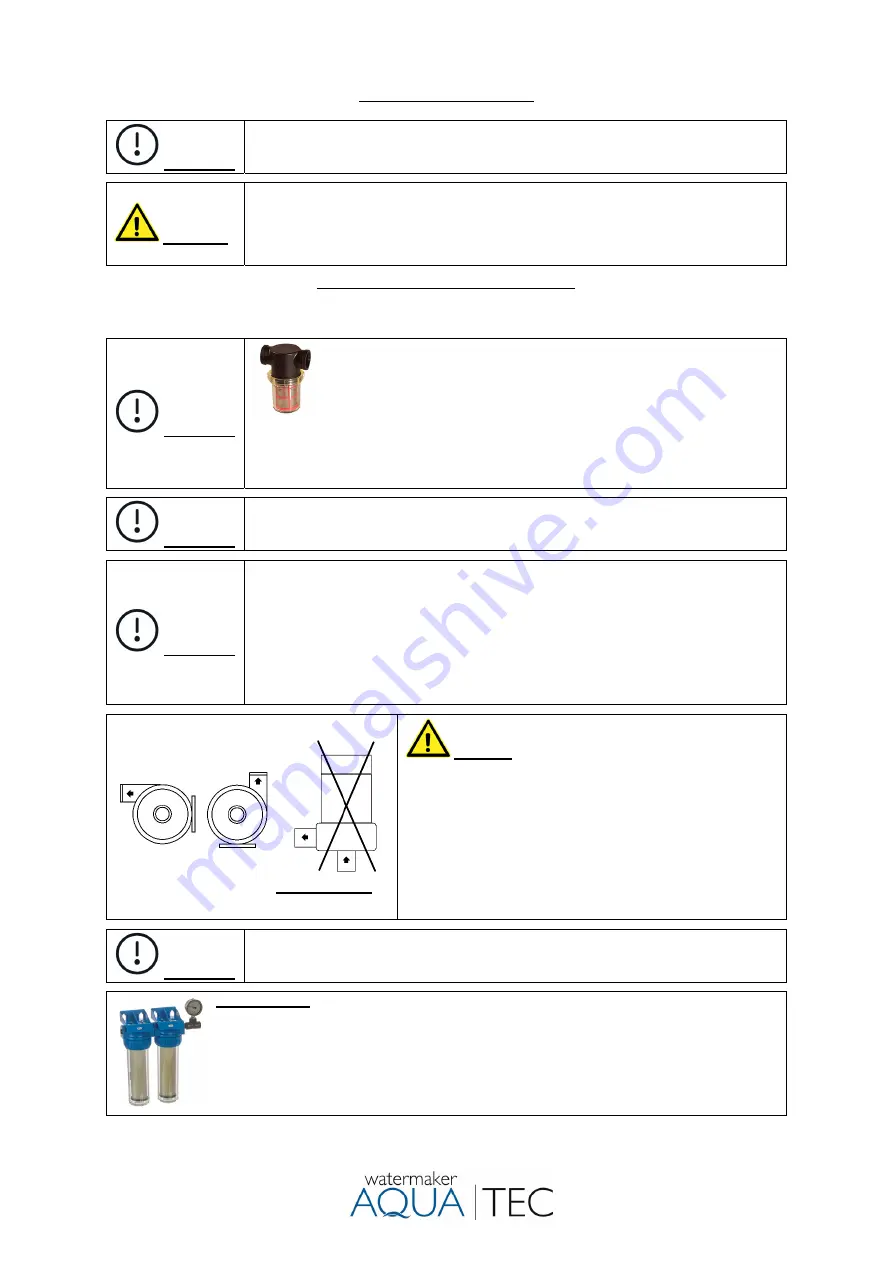
Mounting position of the feed pump
OK OK
not permitted
Warning!
Do not connect the feed pump directly to a
filter housing, tap or similar (risk of breakage).
Only connect to other components with the enclosed hose
nozzles and hose. The following installation position must be
observed in order to make it difficult to set deposits and to
allow the escape of air.
Permissible system pressure fresh water flush:
Feed pump
MD 40,
115 or 230V, 2 bar (29 psi).
Feed pump
B-C20/A,
400 or 440V, 3.5 bar (50 psi)
(If necessary, install a pressure reducer.)
Attention!
Depending on the used thru-hull fitting, hull shape and speed, the inflow of seawater can
be hampered or even be impossible. Damages to the plant due to insufficient or missing
seawater inflow will not be covered by the warranty or guarantee.
Filter housing:
For a good sealing of the filter housing, please lubricate the O-rings in the filter bowls with
acid-free silicone grease.
Mount the filter housing at an easily accessible place. Connect the filter inlet with the outlet of
the feed pump and the filter outlet via PVC hose with the high-pressure pump. Secure all hose
connections with stainless steel hose clamps. Install all hose connections in a way that air
accumulations are avoided.
Summary of Contents for Watermaker AC 110
Page 13: ...13 Memos...
Page 15: ...15 Flow diagram AC 190 Flow diagram AC 240...
Page 35: ...35 Specification...
Page 38: ...38...


