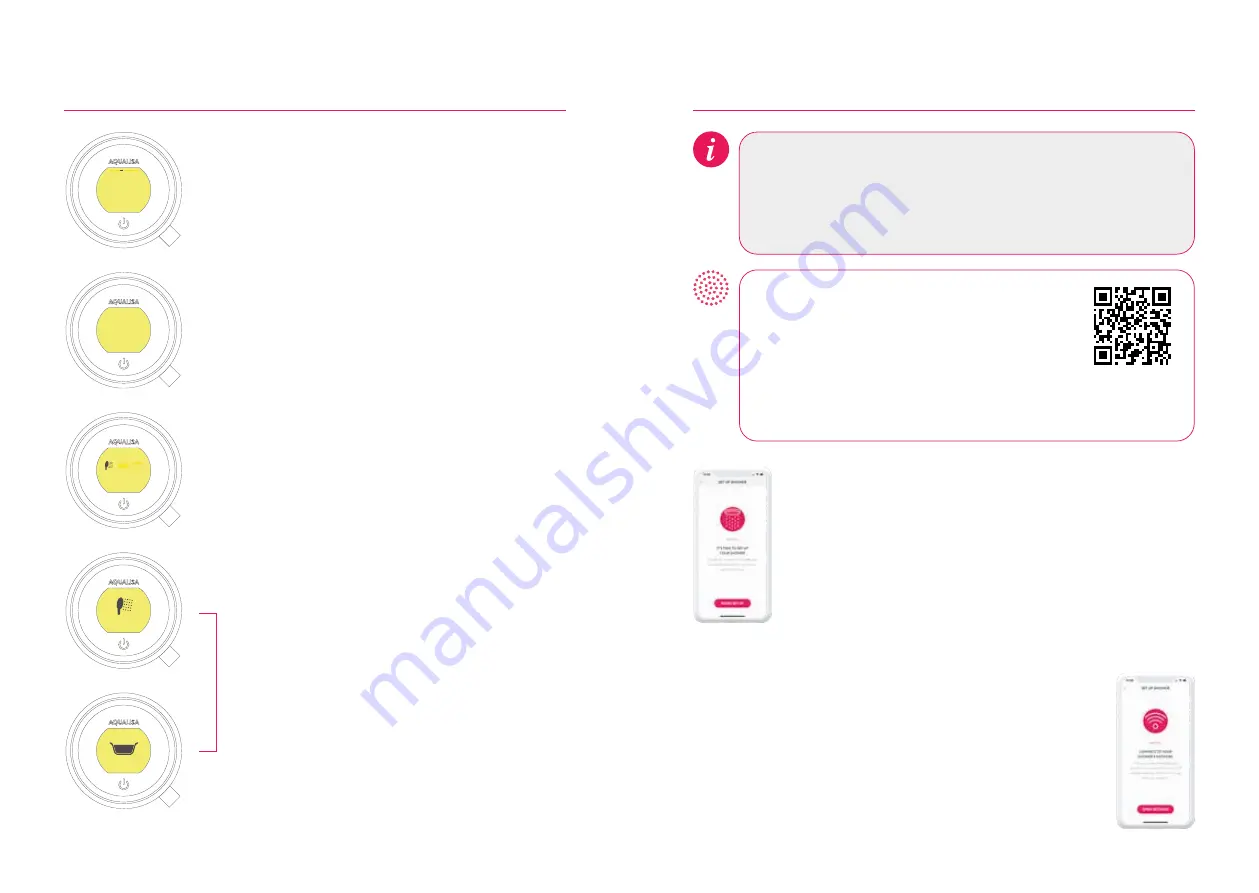
Configuring your Outlets
When you enter this setting you will first be asked to switch
on the shower. You will then be prompted to confirm if the
outlet running is the desired Primary Outlet.
Next, move the lever left or right to browse icons. Push the
lever to select the icon that matches your installation.
When you have selected the icons, your choice will be
confirmed with OK.
This setting enables you to choose the icons that represent
your outlets. If you have multiple outlets, you can also
select the most commonly used, this is known as the
primary outlet. Water will divert to this outlet unless you
select otherwise.
NB: Only available with divert models. You can not configure outlets whilst the shower is in use.
OK
Primary Outlet?
YES
NO
OK
Choose an icon
Confi gure Outlets
YES
NO
Connecting to the App
Set up Shower - Controller
Wake the controller and navigate to the Settings Menu.
From the settings menu, navigate to and select the Wi-Fi setting.
Following the instruction on the screen of the controller – push
the lever to connect.
Set up Shower - Wi-Fi
The Aqualisa app will direct you to the Wi-Fi settings menu on your
mobile device.
From the list of available Networks select:
QSVC XXXX
The password is:
SmartShower
Follow the instructions on the Aqualisa app. Upon completion of this,
continue with the instuctions on the next page.
Before starting you will need your Network Name (SSID code) and
password as they are required during the Aqualisa app setup journey.
These can normally be found on your internet router.
For Wi-Fi set up, the Aqualisa SmartValve
TM
must be powered, but the
shower must not be in use.
Download and open the Aqualisa app on your
personal smart device and follow the instructions
to create Your Home profile before continuing with
this section.
For further advice, information on compatible
devices, or if you have any trouble downloading the
app scan the QR code or go to www.aqualisa.co.uk/smartapp.
14
15
Summary of Contents for Quartz Touch
Page 1: ...USER GUIDE QUARTZ TOUCH...


