Assembly
WARNING:
Proper assembly is essential to the safety and performance of
your product. We strongly reccomend professional assembly and installation of
the Revolution. North Sports, Inc. is not responsible for any damage, injuries or
losses due to improper handling. Here are some general guidelines for assem-
bly of your product. These guidelines are not intended to replace the need for
professional installation.
1) Locate a flat, dry area with access to electrical outlet or extension cord.
IMPORTANT:
Because of the size and weight of the Revolution™, careful
thought must be given to the setup area. Ideally, the Revolution™ tube should
be carefully carried or rolled into position while inside protective storage. The
best setup position will also make launching easy. Therefore, locate the product
near the water’s edge.
NOTE: Dragging or sliding the Revolu-
tion™ tube over ground either before or after inflation will
cause damage.
2) Once in the setup/ launch position, unroll and place the Revolution™ on the
ground
or sand near the waters edge, and locate the valve. Remove
valve cover and push valve plunger in.
Turn the plunger to the left to lock
into open position as shown in Fig. 1.
3)
WARNING:
Due to the size of the Revolution™, the inflated tube can gener
-
ate considerable windage and motion, especially in ‘Rock-N-Mode’. Be aware
of the wind and sea state, as it may be necessary to have control lines to hold
the tube in place during inflation.
4)
WARNING:
Before you begin to inflate the Revolution™, be certain that you
have carefully considered the points outlined in the Anchoring section. Be
certain that that your moorings have been professionally installed and are
ready to handle the Revolution™.
5) Using a high output inflator/deflator place the inflation hose with proper adaptor
into the valve.
Inflate to 0.45 psi
(.031 bar)
or until tube is firm and tight.
Check for proper air pressure using a manometer. Inflation times can vary by
inflator, but the Revolution should be firm and tight when completely inflated.
In hot weather, be sure to leave room for air expansion.
DO NOT OVER-
FILL
. After inflation, turn valve to the right to lock out any air passage.
Replace cover.
WARNING:
Do not use an air compressor to inflate tube. Air compressors
are designed for high pressure inflation and can cause tube to burst if over-
inflated. The inflator/deflator described above cannot over-inflate the tube.
5) Once fully inflated, you are now ready to place your Revolution™ in the water.
To launch the product, make sure to have at least 4-6 people evenly spaced
around the product to help carry the weight.
NEVER DRAG THE
REVOLUTION™! YOU MUST LIFT AND SET TO AVOID ANY
ACCIDENTAL TEARING ON SHARP OBJECTS.
Anchoring
IMPORTANT:
Proper anchoring is essential to the safety and performance
www.Aquaglide.com
North Sports, Inc. #1 North Shore Dr, SE White Salmon, WA 98672 TEL: (509) 493-4938 FAX: (509) 493-4966
Owner’s Manual
of your product. Due to the wide variety of
conditions, we advise using a professional
skilled in mooring and anchoring, and expe-
rienced with local conditions. If improperly
anchored, the product can move and/or float
away. North Sports Inc. is not responsible
for any damage, injuries or losses due to
improper anchoring.
NOTE:
There are 2 anchoring positions on
the Revolution. In ‘Slide Mode’ you will find
2 heavy duty anchor rings underneath the
center of the tube. We strongly reccomend
using ‘Slide Mode’ for long term anchoring of
the product.
In ‘Rock-N-Mode’ you will find 2 heavy duty anchor rings in the center
of the tube. Use these rings for temporary anchoring while the Revolu-
tion™ is in Rock-N-Mode.
DO NOT leave the product unattended for
extended periods in this position as it is unstable, and generates
significantly more windage.
Due to the high loads that may be gener-
ated, we reccomend using 2 rings in either
anchoring mode to spread the load and
properly secure the product under normal
conditions. We strongly reccomend using
optional 2-Way Heavy Duty Mooring Bridles,
not included.
Here are some general guidelines for
anchoring your product. These guidelines
are not intended to replace the need for
professional installation.
1) Choose a location for your Revolution™.
Place the product in at least
8ft. (2,44m)
water depth
and in an area protected from
the wind and boat traffic. Review your lake
rules and restrictions with your local authori-
ties.
2) Carefully check the water and seabed below the selected area for sharp
or dangerous objects (i.e. rocks or stumps).
3) Keep a safe distance from docks, boats, boat lifts, and any other struc-
tures.
DO NOT
tie the product to a dock!
4) Anchors and anchor chain are sold separately. We recommend at least
200 lbs. for short-term mooring of the Revolution™ in settled conditions.
Heavier and/ or multiple moorings (350 lbs. or more) should be used on
large, windy bodies of water.
5) Attach anchor chain securely to the anchor. Use a buoy tied to the other
end of the chain to easily locate your anchor.
6) When the product is in place, remove the buoy and shackle the anchor
chain to the anchor rings underneath the product. BE SURE TO ALLOW
enough slack in the anchor chain to allow the product to move in wind or
waves without displacing your mooring.
7) If strong winds or storms are expected, it is best to remove the product
from the water and deflate it.
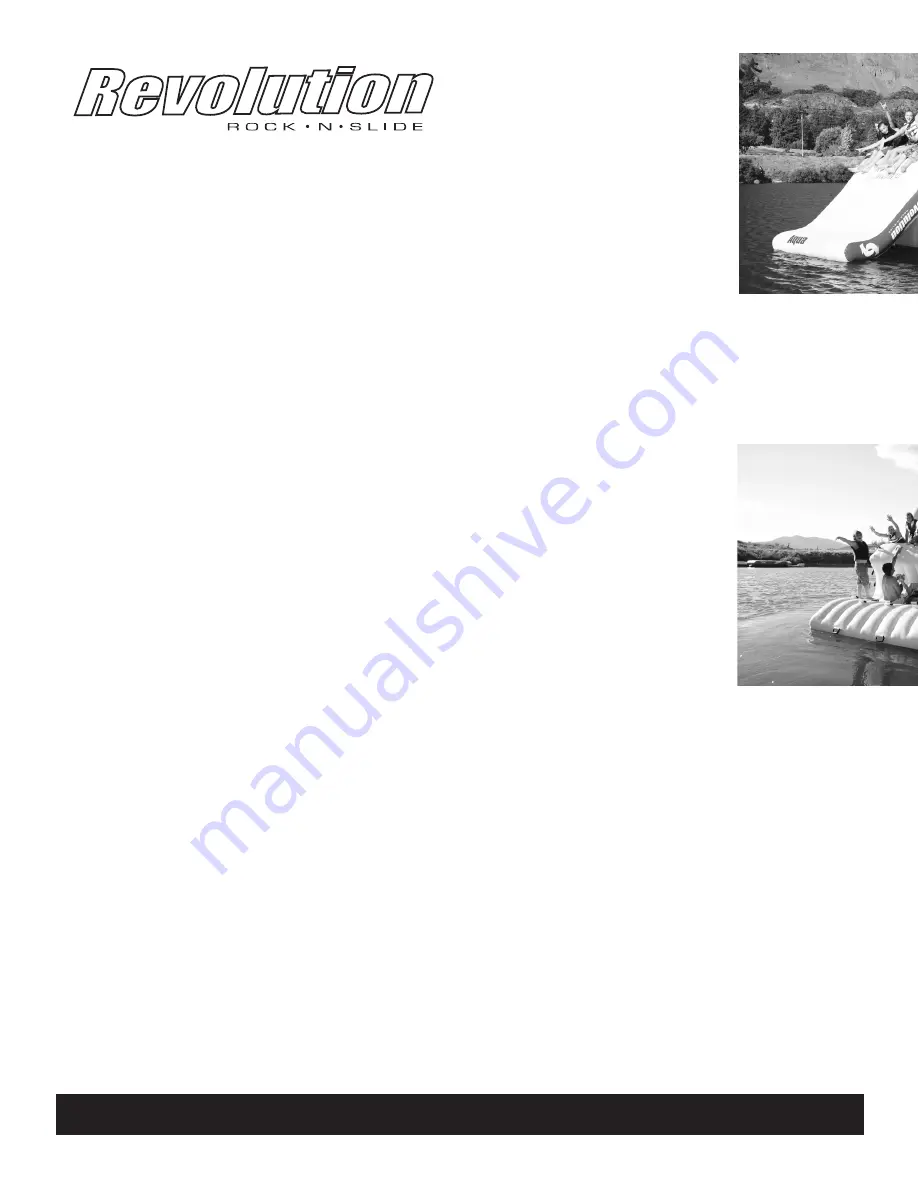
‘Revolution in
‘Slide Mode’
‘Revolution in
‘Rock-N-Mode’


