APsystems ECU-3 V4 Installation/User Manual
16
Local Network Interface
The ECU can be configured, and its data reviewed, by connecting
a computer to the ECU via the Local Area Network (LAN), or by
connecting directly to the ECU via its Ethernet port or Wi-Fi hotspot.
Connecting to the ECU via the LAN
1. Make sure both your computer and the ECU are correctly
connected by the LAN.
2. Using a standard web browser on your computer, enter the
IP Address that is displayed on your ECU in to the URL
search field.
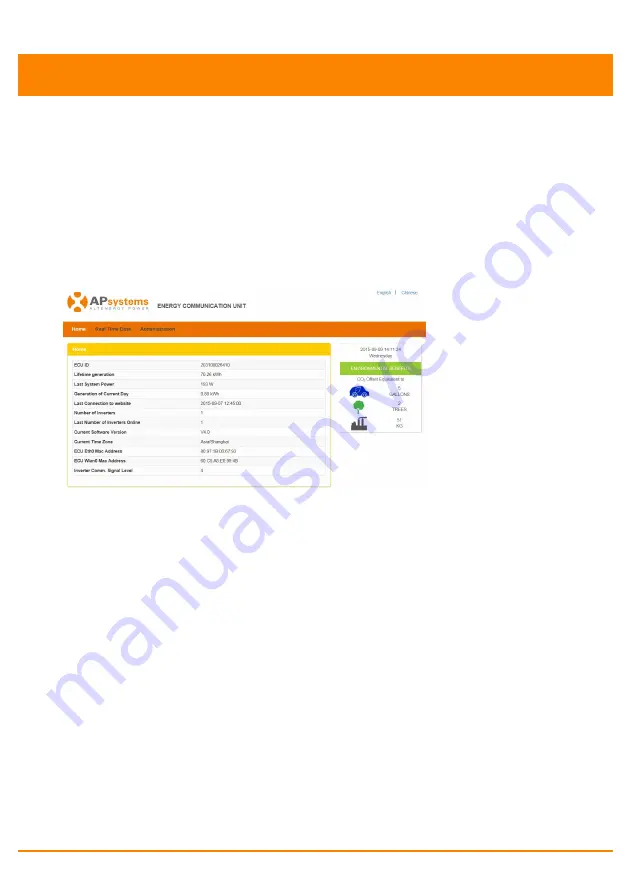
The ECU’s “splash” screen is displayed.
Figure 23
Connecting directly to the ECU via wired lan
Using a Windows-based PC
1.
Connect the computer to the ECU using a CAT5
network cable.
2.
Power up the ECU by connecting the power cable.
3.
Open the “Network and Sharing Center” in the
Control Panel on the PC.
4.
Select “Local Area Connection” for “Unidentified
Network”.
5.
Select “Properties” when “Local Area Connection
Status” (LAC) window is displayed.
6.
Highlight “Internet Protocol Version 4 (TCP/IPv4)”
when the “Local Area Connection Properties” window
is displayed.
7.
Select “Use the Following IP Address” radial button
and the enter IP Address and Subnet Mask as listed
below. Do not enter anything in the DNS Server address
section.
IP Address: 192.168.131.1
Subnet Mask: 255.255.255.0


