


2580 series Hydraulic Installation Tools
(HK961)
4
1.
A half hour long hands-on training session with qualified per-
sonnel is recommended before using Huck equipment.
2.
Huck equipment must be maintained in a safe working condi-
tion at all times. Tools and hoses should be inspected at the
beginning of each shift/day for damage or wear. Any repair
should be done by a qualified repairman trained on Huck pro-
cedures.
3.
Repairman and Operator must read manual prior to using
equipment. Warning and Caution stickers/labels supplied with
equipment must be understood before connecting equipment
to any primary power supply. As applicable, each of the sec-
tions in this manual have specific safety and other information.
4.
Read MSDS Specifications before servicing the tool. MSDS
Specifications are available from the product manufacturer or
your Huck representative.
5.
When repairing or operating Huck installation equipment,
always wear approved eye protection. Where applicable, refer
to ANSI Z87.1 - 2003
6. Only genuine Huck parts shall be used for replacements or
spares. Use of any other parts can result in tooling damage or
personal injury.
7. If a part affixed with warning labels is replaced, or labels are
missing or damaged, the end user is responsible for replace-
ment. Refer to assembly drawing and parts list for replace-
ment part number and proper placement.
8.
Disconnect primary power source before performing mainte-
nance on Huck equipment or changing Nose Assembly.
9.
Tools and hoses should be inspected for leaks at the begin-
ning of each shift/day. If any equipment shows signs of dam-
age, wear, or leakage, do not connect it to the primary power
supply.
10.
Mounting hardware should be checked at the beginning of
each shift/day.
11.
Make sure proper power source is used at all times.
12.
Release tool trigger if power supply is interrupted.
13.
Tools are not to be used in an explosive environment unless
specifically designed to do so.
14.
Never remove any safety guards or pintail deflectors.
15.
Where applicable, ensure deflector or pintail collector is
installed and operating prior to use.
16.
Never install a fastener in free air. Personal injury from fasten-
er ejecting may occur.
17.
Where applicable, always clear spent pintail out of nose
assembly before installing the next fastener.
18.
There is possibility of forcible ejection of pintails or spent man-
drels from front of tool.
19.
Check clearance between trigger and work piece to ensure
there is no pinch point when tool is activated. Remote triggers
are available for hydraulic tooling if pinch point is unavoidable.
20.
Unsuitable postures may not allow counteracting of normal
expected movement of tool.
21.
Do not abuse tool by dropping or using it as a hammer. Never
use hydraulic or air lines as a handle or to bend or pry the
tool. Reasonable care of installation tools by operators is an
important factor in maintaining tool efficiency, eliminating
downtime, and in preventing an accident which may cause
severe personal injury.
22.
Never place hands between nose assembly and work piece.
Keep hands clear from front of tool.
23.
There is a risk of crushing if tool is cycled without Nose
Assembly installed.
24.
Tools with ejector rods should never be cycled with out nose
assembly installed.
25.
When two piece lock bolts are being used always make sure
the collar orientation is correct. See fastener data sheet for
correct positioning.
26.
Tool is only to be used as stated in this manual. Any other use
is prohibited.
27.
There is a risk of whipping compressed air hose if tool is pneu-
draulic or pneumatic.
28.
Release the trigger in case of failure of air supply or hydraulic
supply.
29.
Use only fluids or lubricants recommended.
30.
Disposal instruction: Disassemble and recycle steel, aluminum
and plastic parts, and drain and dispose of hydraulic fluid in
accordance with local lawful and safe practices.
31.
If tool is fixed to a suspension device, ensure that the device is
secure prior to operating the tool.
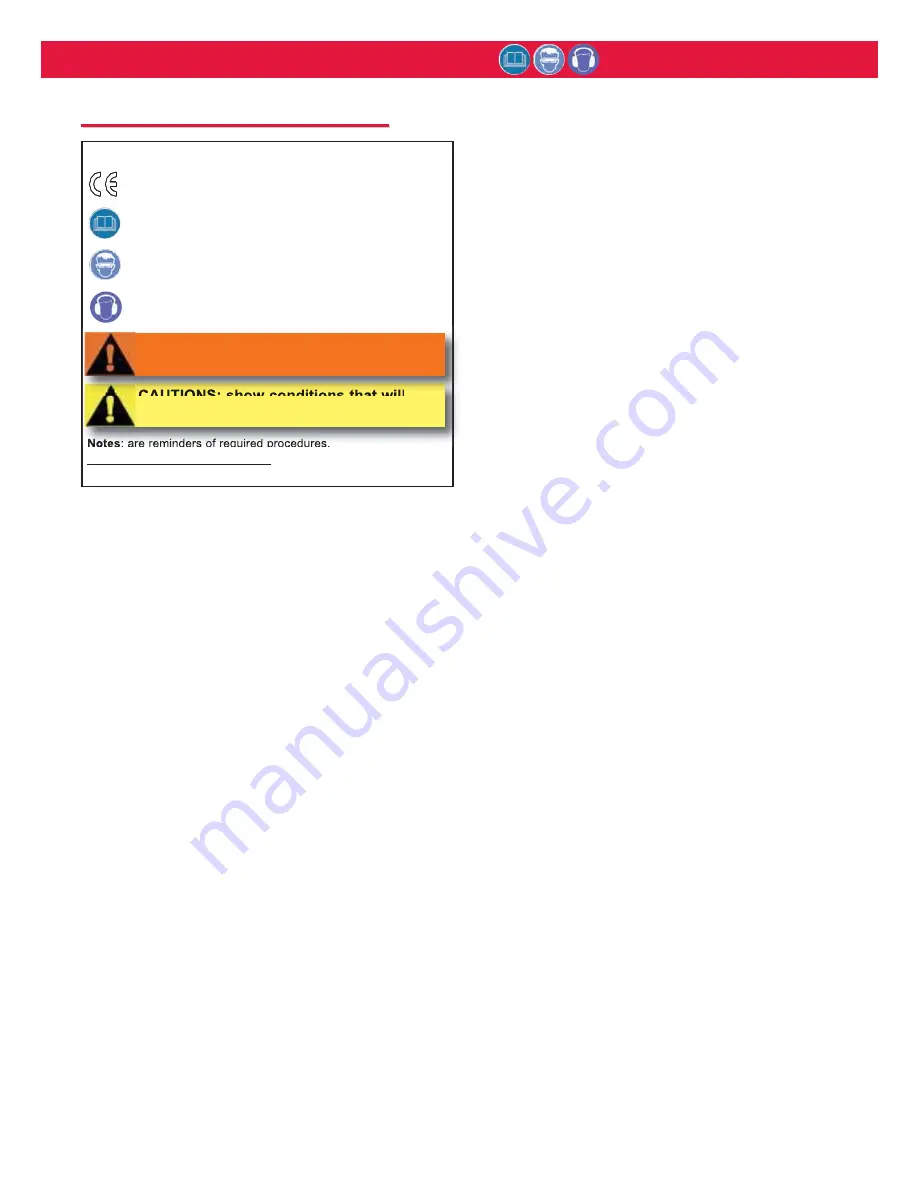
GLOSSARY OF TERMS AND SYMBOLS:
-
Product complies with requirements set forth by the rel-
evant European directives.
-
READ MANUAL
prior to using this equipment.
-
EYE PROTECTION IS REQUIRED
while using this
equipment.
-
HEARING PROTECTION IS REQUIRED
while using
this equipment.
Notes
: are reminders of required procedures.
Bold, Italic type and underlining
:
emphasizes a specific instruc-
tion.
S
S
AFETY
AFETY
I
I
NSTRUCTIONS
NSTRUCTIONS
CAUTIONS: show conditions that will
damage equipment and or structure.
WARNINGS: Must be understood to avoid
severe personal injury.
Summary of Contents for HK961
Page 1: ...Instruction Manual Alcoa Fastening Systems Model 2580 Series Hydraulic Installation Tool...
Page 2: ...2580 series Hydraulic Installation Tools HK961 2...
Page 6: ...2580 series Hydraulic Installation Tools HK961 6 Fig 1 Outside Dimensions...
Page 7: ...2580 series Hydraulic Installation Tools HK961 7 Fig 2 Main Components...
Page 18: ...2580 series Hydraulic Installation Tools HK961 18 Fig 3 2580 Series Sectional View...
Page 19: ...2580 series Hydraulic Installation Tools HK961 19 Fig 3a 2580 Sectional View...
Page 20: ...2580 series Hydraulic Installation Tools HK961 20 Fig 3b A2580 Sectional View...
Page 21: ...2580 series Hydraulic Installation Tools HK961 21 Fig 3c 2580 25 Sectional View...
Page 22: ...2580 series Hydraulic Installation Tools HK961 22 Fig 3d 2580 12 Sectional View...
Page 25: ...2580 series Hydraulic Installation Tools HK961 25 Fig 5 Removing Piston...
Page 26: ...2580 series Hydraulic Installation Tools HK961 26 Fig 6 Installing Piston...
Page 27: ...2580 series Hydraulic Installation Tools HK961 27 Fig 7 Optional Hose Kit 122854...
Page 29: ...2580 series Hydraulic Installation Tools HK961 29...
Page 30: ...2580 series Hydraulic Installation Tools HK961 30...
Page 31: ...2580 series Hydraulic Installation Tools HK961 31...
Page 32: ...2580 series Hydraulic Installation Tools HK961 32...
Page 33: ...2580 series Hydraulic Installation Tools HK961 33...
Page 34: ...2580 series Hydraulic Installation Tools HK961 34...


