background image

SOUND

 $% +$& $!$<%+&$%

&&!&($./&-$%$,

-K

1$

9

SOUND

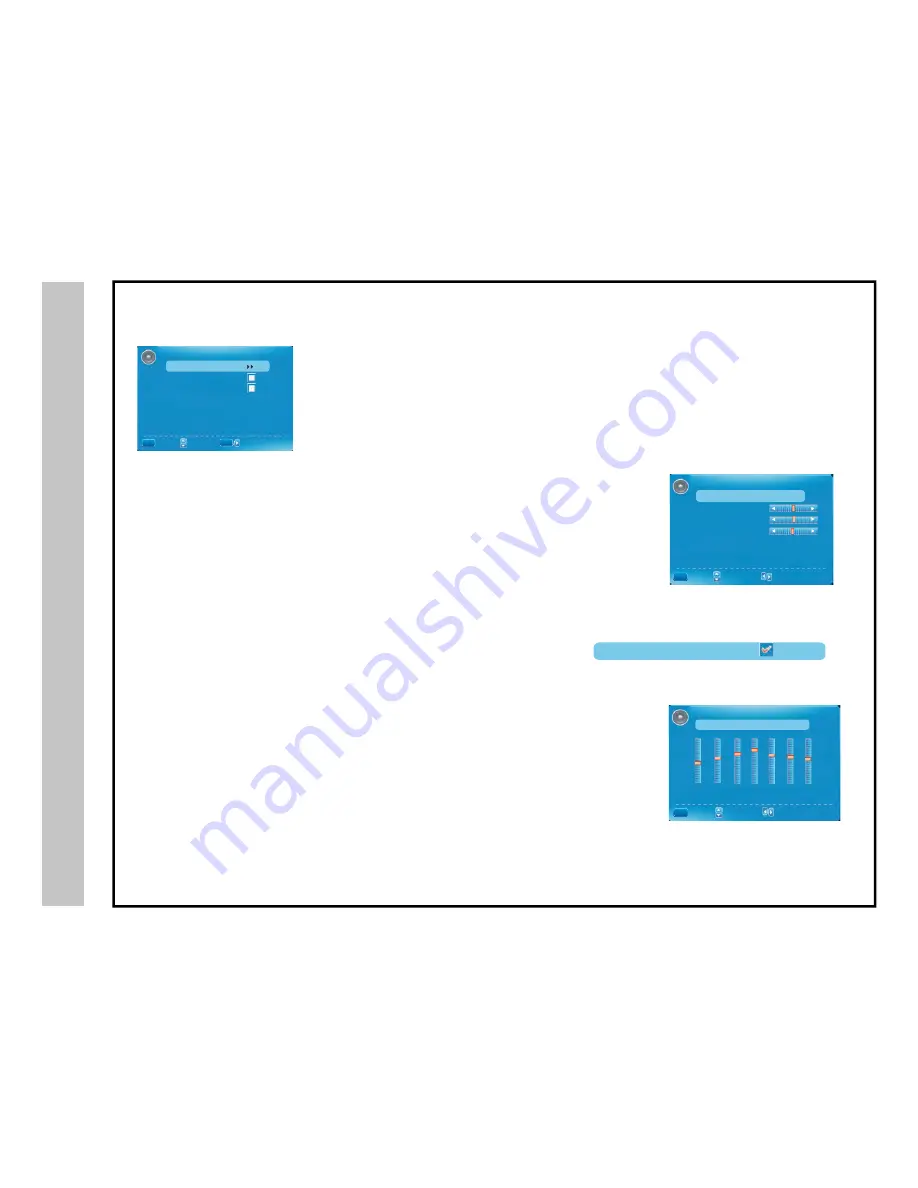
Sound  Settings

Surround  Mode

Analog  Sound                           

Stereo

Digital  Sound     


English

Digital  Audio  Output

Equalizer  Settings

MENU

ENTER

:

Return

:

Move

:

Go  to  Next  Menu

AVL


P

CM

SOUND  SETTING

Sound  Mode                                                        User

Bass

Treble

Balance

MENU

:

Return

:

Move

:

Change  Setting 

1

.

Press  ENTER  when  the  Sound  Settings  item  is  high  lighted

Then  you  will  go  to  the  sub

-

menu  as 


following

.

2

.

Press 

/

▲ 

to  select  the  desired  menu  item

Press  ENTER  to  proceed  if  necessary

.

3

.

Press 

/

► 

to  the  desired  level

.

4

.

When  you  have  changed  the  settings

you  can  exit  from  the  menu  by  pressing  MENU

.

Sound  Settings

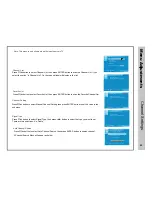
Surround Mode

Surround Mode

Press 

ͩƷ

button to select the item Surround Mode

then press ENTER button to adjust

It can set 

the picture to fit the screen automatically

When the Auto Wide is selected

the symbol will show as 

following

EQUALIZER  SETTINGS

Mode                                     

Off

100

0

(

N

/

A

)

250

500

1K

2K

4K

10K

:

Return

:

Move

:

Change  Setting 

MENU

Equalizer  Settings

Equalizer  Mode

Press  ▼/▲  button  to  select  the  item  Equalizer  Mode then  press 

◄/►

button  to  select  the  desired 

mode

Available  Equalizer  Mode

Off

Rock

Pop

Jazz

User

.

0

(

N

/

A

)

0

(

N

/

A

)

0

(

N

/

A

)

0

(

N

/

A

)

0

(

N

/

A

)

0

(

N

/

A

)

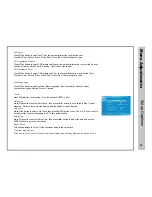
AVL

Digital  Audio  Output

Press 

▼/▲ 

button  to  select  the  item  AVL

then  press 

button  to  select  ON  or  OFF

Auto 

Volume  Level  can  set  the  volume  automatically  adjust  corresponding  to  the  input  audio

.

Press 

▼/▲


button  to  select  the  item  Digital  Audio  Output

then  press 

◄/► 

button  to  select  the 

desired  digital  audio  output

Available  digital  audio  output

, Raw and 

Off

 .

PCM

ENTER

Summary of Contents for LD4688T

Page 1: ...46 LCD TELEVISION LD4688T ...

Page 2: ... 0 121 3 5 1 7 5 1 0 1 9 5 1 A B 0 1 5 1 7 0 0 1 5 0 1 1 1 C51 E 15 ...

Page 3: ... ...

Page 4: ... ...

Page 5: ...No Operation Power Off All Reset Picture Settings Screen Size PC Settings Color Temperature Advanced Picture Settings Equalizer Settings Sound Settings Surround Mode AVL Analog Sound Digital Sound M M 9 K J V CHIP Change Password Lock Parental Control Parental Setting Keypad Lock Source Lock I I Closed Caption Menu Languge Clock 1 ...

Page 6: ...LD4688T 46 LCD TELEVISION LD4688T LD4688T 1 920 1 080 1080P ...

Page 7: ... A 5 49 8 8 9 84 8 35 A F J I A B 1 A A 0 A 2 5 8 9 4 5 A _ 62 5 8 0 1 4 3 4 5 ...

Page 8: ...7 d d 9 d 71 d F1 7 9 3 4 9 5 3 1 9 2 549 8 99 _ 5 54E83 0 1 0 b 7 d 7 d 7 d I 7 d 7 d J 7 d M 7 d 7 d 9 7 d 7 d 3 7 7 A d F d 2 d 8 1 h 5 0 0 A M 0 A 1 d 1 1 d 75 d 7 0 M 1 M 3 d 1 1 7 8 1 4 5 9 6 6 5 6 5 9 Also use numerical keypad to select channel ...

Page 9: ...POWER POWER ...

Page 10: ...RF IN PC IN PC IN Component Audio in Component Audio in Component Audio in SERVICE SE SERVICE VICE Audio Out V R L AUDIO OUT ...

Page 11: ...9 C7 89 7 59 7 7 8 7 22 5 9 1 251 B 9 D 9 7 59 8 9 72 C 7 7 1 1 9 7 5 1 9 77 89 7 2 9 1 1 C7 89 8 1 84 F 1 B F B 1 G B RF IN PC IN PC IN Component Audio in Component Audio in Component Audio in SERVICE SE SERVICE VICE Audio Out V R L RF IN PC IN PC IN Component Audio in Component Audio in Component Audio in SERVICE SE SERVICE VICE Audio Out V R L ...

Page 12: ... 1 7 F G 7 5 5 4 8 5 4 54 5 D9 E4 54 9 9 5 9 6 8 2 4525 5 89 56 3 2 E4 54 5 4 2 5 22 I 7 9 9 A 7 7 5 5 7 5 0 8 A 7 A 5 5 7 I F H 2 F B 7 7 7 PC IN PC IN SERVICE SE SERVICE VICE to toggle between HDMI inputs ...

Page 13: ... F G 0 9 9 25 9 A F 0 A b 1 A F B A 5 5 E 0 A B B 5 5 5 0 9 8 A 7 A 5 0 5 G G 0 0 1 1 Component Audio in Component Audio in Component Audio in SERVICE SE SERVICE VICE Audio Out V R L Component Audio in ...

Page 14: ... 2 G 0 0 9 9 25 8 9 A F 0 A E b 1 A F B A 5 5 1B0 10 0 A B B 5 5 1B0 10 B 0 9 8 A 10 A 5 5 10 G G 0 Component Audio in Component Audio in Component Audio in SERVICE SE SERVICE VICE Audio Out V R L ...

Page 15: ... 9 9 A 0 1 0 1 0 9 9 8 A I 0 9 8 A 5 5 0 1 A 0 1 1 2 G RF IN PC IN PC IN ...

Page 16: ...9 62 9 9 44 2 58 2 362 E 8 4 58658 9 2 5 2 46 544 4 0 1 0 1 405 8 2 9 95 4 853 9 8 5 8 8 362 E 8 58 52 85 10 A B 0 F B 362 E 8 58 6 8 2 8 46 45 5 95 4 4 8 853 0 9 8 B 5 5 9 8 B 0 1 1 0 1 1 0 8 0 RF IN PC IN PC IN V R L Coaxial Audio cable 5 2 ...

Page 17: ... 5 F H 5 J 9 1 0 H 0 0 1 ...

Page 18: ... 0 G 1 6 INPUT ...

Page 19: ...54 5 8 9 54 3 4 8553 2 4 6 8954 2 68 8 K ENTER Move Move Screen Size Move Normal Normal PC Settings The item is available only for PC DB15or PC DVI input mode Color Temperature Press to select the color temperature that you feel comfortable ...

Page 20: ...m Surround Mode then press ENTER button to adjust It can set the picture to fit the screen automatically When the Auto Wide is selected the symbol will show as following EQUALIZER SETTINGS Mode Off 100 0 N A 250 500 1K 2K 4K 10K Return Move Change Setting MENU Equalizer Settings Equalizer Mode Press button to select the item Equalizer Mode then press button to select the desired mode Available Equ...

Page 21: ...ENTER button to scan the Channel List If you select the option In Channel List On the channel label will display in the list Channel List Press button to select Manual Channel Setting then press ENTER button to set the value in the sub menu CHANNEL SETTING No Channels Present Please Perform Channel Search First Return Move Select Channel MENU Channel Setting Press button to select Signal Type then...

Page 22: ...reset is selected Custom Press button to select the item Closed Caption then press button to adjust CLOSED CAPTION Caption Display Analog Caption Type Digital Caption Type Digital CC Preset Digital CC Style N A Off CC1 Service1 Custom Return Move MENU On Off Closed Caption DIGITAL CC STYLE CC Size Default CC Font CC Opacity Text Color CC Background Opacity CC Background Color CLOSED CAPTION Return...

Page 23: ...K Time Zone Alaska Auto Clock Setup Time 2009 10 21 20 00 00 Day Of Week N A Sat N A Change Setting Move Press button to select the Clock then press ENTER to edit Clock Time Zone Auto Clock Setup Time Day Of Week Press button to select Timer Zone then press button to set Available Size Central Mountain Pacific Alaska Hawaii Samoa Newfoundland Atlantic Eastern Press button to select Auto Clock then...

Page 24: ...below V CHIP MENU ENTER Return Move Go to Next Menu Movie Rating G PG PG 13 R NC 17 X Move Lock Unlock ENTER Press button to select Movie Rating then press ENTER button to adjust A sub menu will appear as below Movie Rating TV Rating D L S V FV TV Y TV Y7 TV G TV PG TV 14 TV MA Move Lock Unlock ENTER Press button to select Rating then press ENTER button to lock Press button to select TV Rating the...

Page 25: ...e two operation only valid when playing the downloadable data stream The operations are the same as US V CHIP Press button to select Change Password then press ENTER button to adjust the value A Sub Menu Will appear as below If the password is changed all of the passwords in the menu will be changed at the same time CHANGE PASSWORD Press button to select US V CHIP then press ENTER button to adjust...

Page 26: ... K Other Execute ...

Page 27: ... Maximum Colors millions Response Time ms Audio Power Dimension with Pedestal Installed Weight with Pedestal Input Connections LCD TV 46 Diagonal 16 9 480i 480p 720p 1080i 1080p 1 920 x 1 080 500 178 178 16 7M 5ms 2 X 10W 43 H x 29 3 W x 13 D Composite Video 1 YPbPr Audio L R 1 HDMI 3 RF 1 SPDIF Coaxial Digital Output 1 PC VGA 1 PC Audio IN 1 44 lbs 5 0 50 000 1 Output Audio 1 ...

Page 28: ...Troubleshooting 6 ...

Page 29: ...ucts or parts accessories that have been lost discarded damaged by misuse accident neglect acts of God such as lightning voltage surges in the home improper installation rendered illegible Warranty does not cover cosmetic damage How to Obtain Warranty Service If after following the operating instructions and reviewing the FAQ pages for televisions at www tmaxdigital com contact Customer Service di...

Reviews: