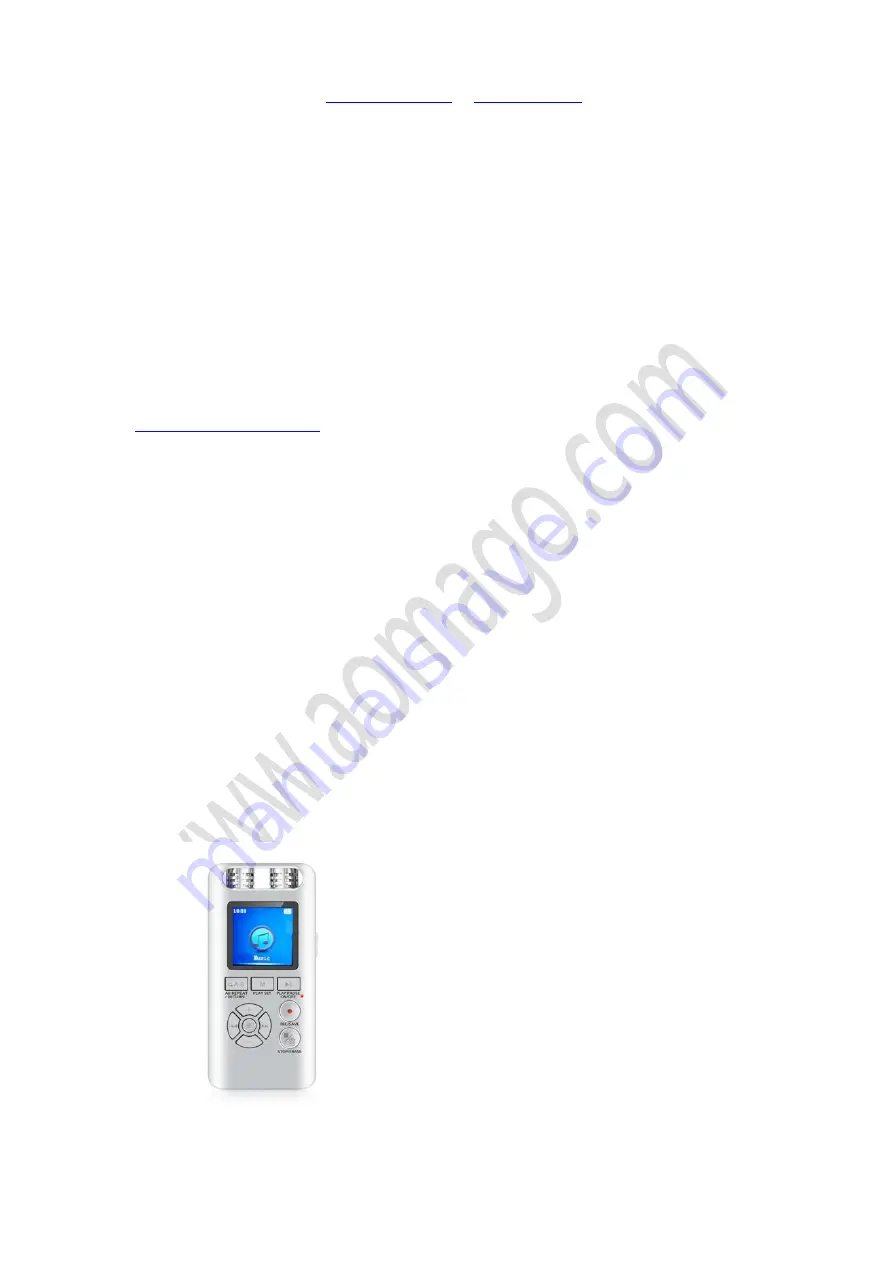
Aomago VOICE RECORDER
E:
W:
Page 10 of 16
Go to the drive, there is a folder
“
RECORD
”
, all your recordings will be inside this folder
You could copy them to your computer
NOTE: when connect to computer keep this in mind,
1) because of the recorder support to record while charging, so do not press any buttons when
connect to computer, or it will exit connection mode
2) Switch off your voice recorder ( by press PLAY )before connect to computer
3) When successfully connected to computer you will see the connection information on the
voice recorder
4) If unfortunately, failed connect to computer, do not give up the last chance, please kindly
contact us by email:
And describe how this issue happened, we will give you solutions.
9. Transfer music to recorder
When successfully connected your voice recorder to computer.
Just copy your music file into the
A19
drive directly
(do not put music file inside RECORD folder)
The recorder support normal music songs format, like .mp3 .wav .flac and so on
10. Playback Music on recorder
After you successfully uploaded music songs into the recorder drive, reject it from your computer
And turn on your voice recorder
Press the
Selection
buttons, switch it to music menu


