


6.
6.
6.
6. Viewing your scans
Viewing your scans
Viewing your scans
Viewing your scans
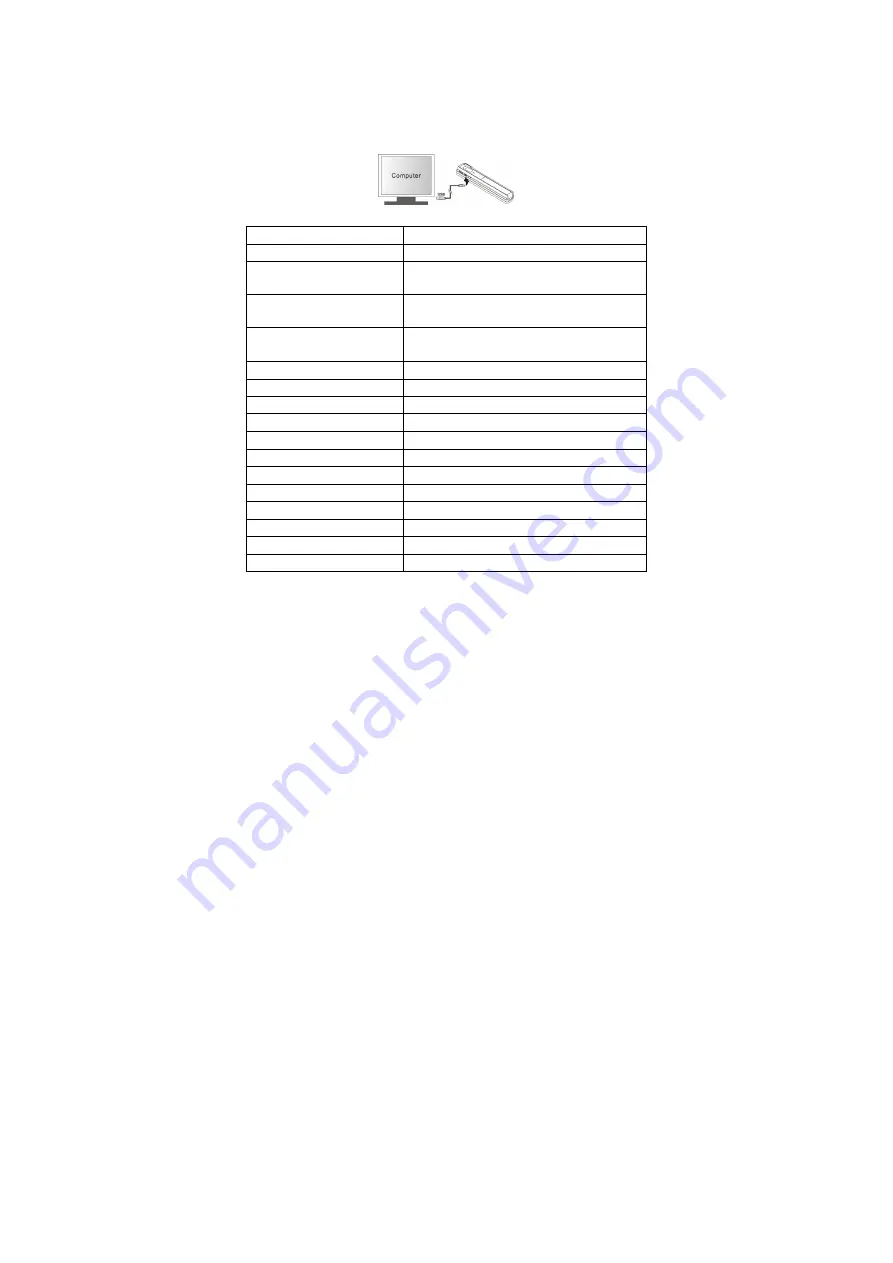
1.
Connect your scanner to your computer and then turn on your scanner.
2.
Your computer should recognize the scanner as a
“
Removable Disk.
”
Click
“
Open folder to view files
”
to view and import scans.
NOTE: If the Removable Device window did not launch automatically, go to your
“
My Computer
”
(PC) and find the device under Removable Storage.
NOTE: In power off mode, connect your scanner to your computer to charge the
battery. OR use the power adapter that is included.
7.
7.
7.
7. Specifications
Specifications
Specifications
Specifications
Image sensor
Color Contact Image Sensor
Number of sensor
6048 dots
Resolution
Low resolution : 300x300 dpi(default)
High resolution: 600x600 dpi
Maximum scanning speed
Color High resolution: 6 Seconds
Color Low resolution: 5 Seconds
Capacity
Based on 1GB microSD card.
600dpi color: 550 Photos(Min.)
300dpi color: 1200 Photos(Min.)
Scan width
Approx. 5
”
Scan length
300DPI: 53"(Max), 600DPI: 26"(Max)
File format
JPEG
LCD
Scanning status display
Auto Power Off
3 Minutes
USB Port
USB 2.0 high speed
External memory
microSD Card
Standard Battery
4.2V Rechargeable Lithium Polymer battery
Charging time
For about 4 hours
Frequency that can be used
400 times or less
Weight
120 g(battery icontained)
Size
167.2x30.3x23.7mm
Summary of Contents for 3R-HSA651BT
Page 6: ...5 4 LED 5 LED 6 4 4 4 4 8 8 8 8 1 LED 2 4 4 4 4 9 9 9 9 1...
Page 10: ...9 9 9 9 9 1 2 1 2 1 MicroSD 2 3 MicroSD 1 MicroSD 2 MicroSD 3 4 4 1 2 1 2 1 2 1 2 LED...
Page 11: ...10 2 4GHz 2 4GHz...
Page 12: ...11...
Page 13: ...12 3R 1 2 3 4 5 6 7 8 9 1...
Page 14: ...13 2 3 4 5 1 2 3 4 5 3 6 7...
Page 25: ...9 3R 1 2 3 4...
Page 26: ...10 5 6 7 8 1 2 3 4 5 1 2 3 4 5 12 6 7...
Page 32: ...4 3 4 LED 5 LED 6 6 6 6 4 4 4 4 8 8 8 8 1 LED 2 2 2 2...
Page 34: ...6 6 6 6 6 PC PC PC PC 1 PC MicroUSB 2 ON USB USB PC...
Page 36: ...8 9 9 9 9 1 2 1 2 1 MicroSD 2 MicroSD 3 MicroSD 1 MicroSD 2 MicroSD 3 4 4 1 1 2 1 2 LED ON...
Page 37: ...9...
Page 38: ...10 1 2 3 4 5 6 7 8 9...
Page 39: ...11 1 2 3 4 5 1 2 3 4 5 3 6 7...


