8
®
P/N 1011446 Rev. I 12/18
Installing Belts
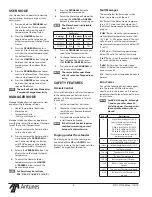
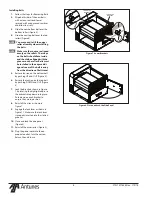
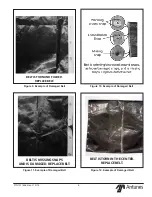
1. Follow the steps for Removing Belts.
2. Wipe both sides of the new Belts
with a clean, sanitized towel
sprayed with an approved sanitizer
and allow to air dry.
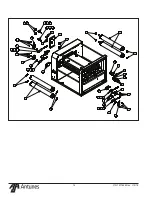
3. Slide the new bottom belt over the
bottom rollers (Figure 6).
4. Slide the new top belt over the top
rollers (Figure 6).
NOTE:
You may need to lift the upper
roller assembly when installing
the belts.
NOTE:
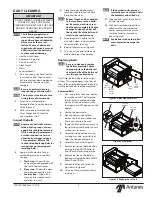
Make sure the snaps are aligned
evenly on the rollers. The snaps
on the belts should face inside
and should be aligned with the
grooves on the roller. Belts must
be installed so the exposed di-
agonal seam of the belt is away
from the direction of belt travel.
5. Restore tension on the bottom belt
by pushing UP and OUT (Figure 4).
6. Restore the tension on the top belt
by pushing DOWN and OUT (Figure
4)
7. Lock the brackets shown in Figure
7 by rotating the highlighted pin so
the brackets drop down into place.
Push down on each bracket to
ensure they are in position.
8. Reinstall the clips as shown in
Figure 7.
9. Engage the lock lever as shown in
Figure 11. Make sure the lock lever
is properly inserted into the slotted
grooves.
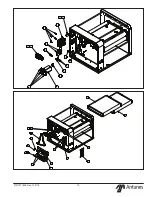
10. Close and lock the side panel
(Figure 8).
11. Reinstall the accessories (Figure 3).
12. Plug the power cord into the ap-
propriate outlet, turn the unit on.
Return the unit to use.
CLIP
CLIP
PIN
PIN
LOWER THIS
BRACKET
LOWER THIS
BRACKET
Figure 7. Lower Brackets
Figure 8. Close and Lock the Side Panel

