Capture multiple traces to a database
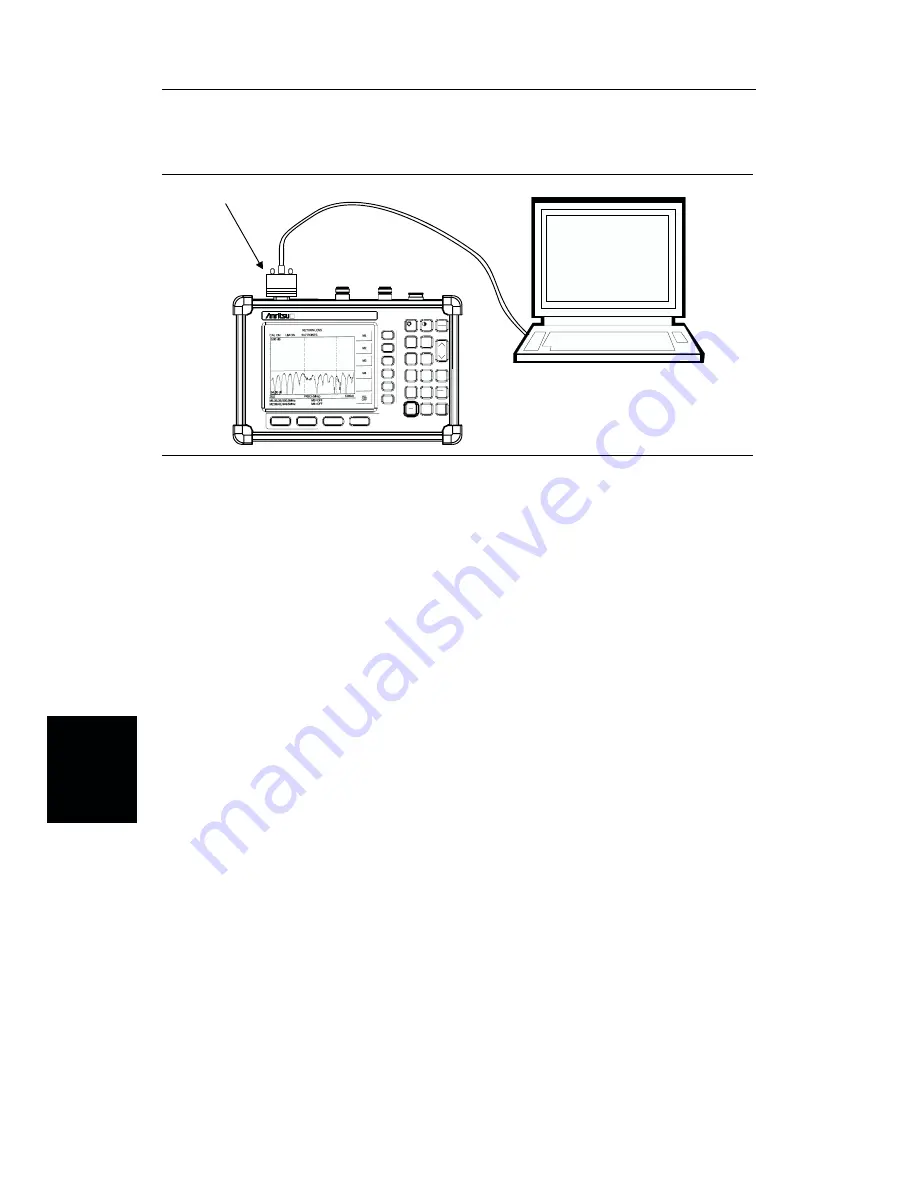
Step 1. Connect the supplied cable as shown in Figure 5-2.
Step 2. Open the Site Master Software Tools program.
Step 3. Double-click on the “Site Master Software Tools” icon to open the program.
Step 4. Click on
Capture
, in the top menu bar, and select
Capture Plots To Database
from the drop-down menu.
Step 5. Follow the database instructions to download the plot(s) to either a new database
or an existing database.
Step 6. Enter the number(s) of the stored-display memory location(s) (1 to 200) from
which you wish to store to the database, and click
OK
.
Step 7. Observe that the “Acquiring Control” box appears on the screen, then disappears
as traces are automatically acquired. The “Database” box appears when the
plot(s) has been completely captured into the database.
Capture single or multiple traces to PC screen
Step 1. Perform steps 1, 2, and 3 of the capture-multiple-traces-to-database procedure.
Step 2. Click on the
Start Plot Capture
icon or click on
Capture
, in the top menu bar,
and select
Capture Plots to Screen
from the drop-down menu.
Step 3. Enter the number (or numbers) of the stored-display memory location(s) (1 to
200) from which you wish to display traces in Site Master Software Tools.
Step 4. Select
OK
.
Step 5. Observe that the “Acquiring Control” box appears on the screen, then disappears
as the traces are automatically acquired and displayed.
5-4
Chapter 5 Software Tools Program
COM port
(Program defaults to COM2)
Serial Interface
HOLD
RUN
START
CAL
AUTO
SCALE
SAVE
SETUP
RECALL
SETUP
LIMIT
MARKER
SAVE
DISPLAY
RECALL
DISPLAY
MODE
FREQ/DIST
AMPLITUDE
SWEEP
SYS
ENTER
CLEAR
ESCAPE
ON
OFF
/
1
2
4
5
6
7
8
9
0
3
+
-
.
Site Master S332B
Figure 5-2.
Serial Cable Connection


