


- 37 -
5.4 Reboot
Click Reboot in the Header Menu to access the Camera Reboot page to restart the camera. Rebooting the
camera will retain all the settings and configurations.
A reboot is normally necessary when you insert a microSD card into the camera.
5.5 Camera Menu
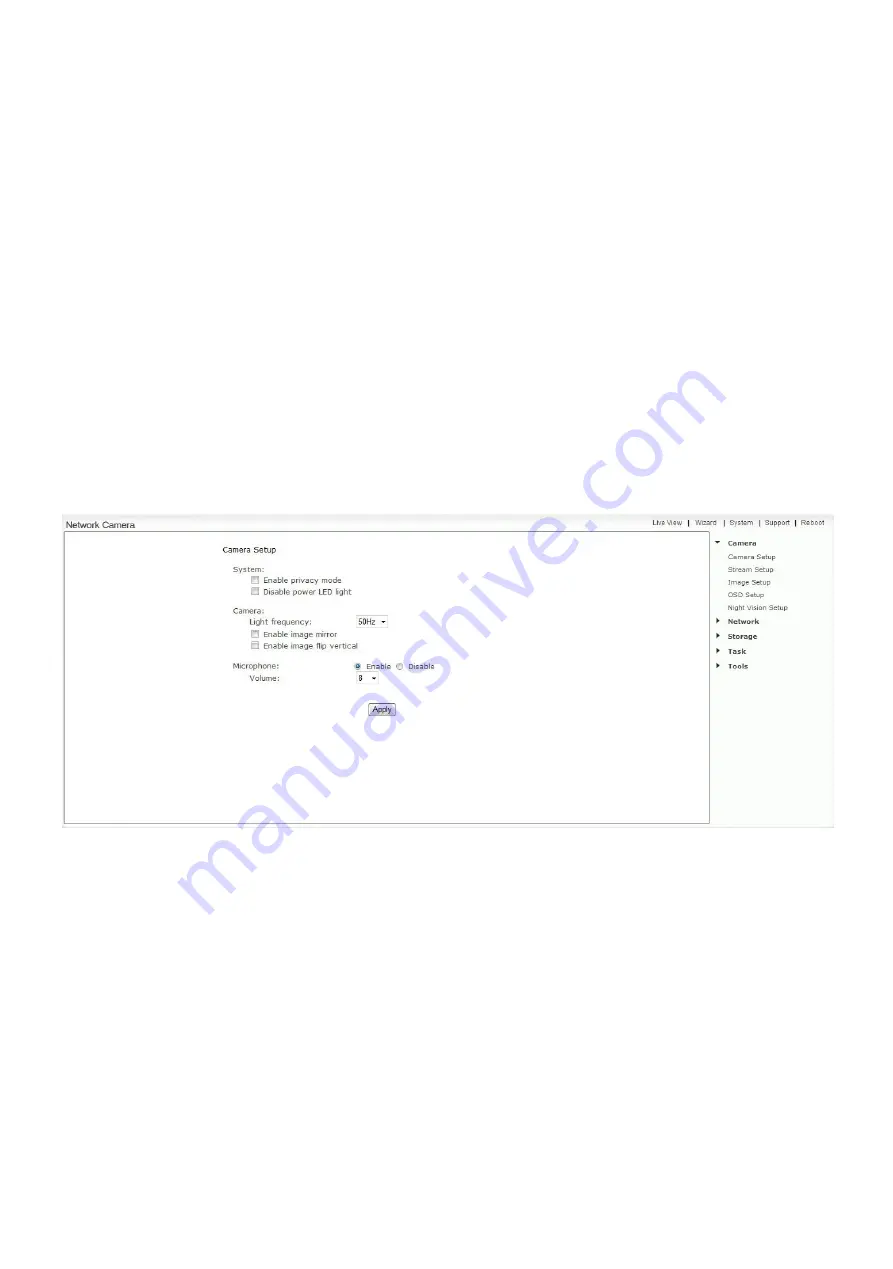
5.5.1 Camera Setup
The Camera menu is located on the right of the Settings screen. When you click on the word “Camera”, a sub-menu
of camera setup options will be displayed.
For most users, many of these settings can be left as default.
Camera Setting Options
System:
[Enable privacy mode]
Videos will not be seen
.
[Power LED light]
Turns off the camera front LED on or off
Camera:
[Light Frequency]
Two options: 50Hz & 60Hz. This should be set according to the mains frequency of the country
the camera is being used in. For EU this would be 50Hz. For the USA this would be 60Hz.
[Enable image mirror]
Display a mirrored view of the video.
[Enable image flip vertical]
Display video upside down – useful if you have installed the camera upside down.
Microphone:
[Microphone]
Enables or disables the built-in microphone.
[Volume]
Adjusts the sensitivity of the microphone from 0~10 where 0 is the lowest.
Click
Apply
to confirm your setting.


